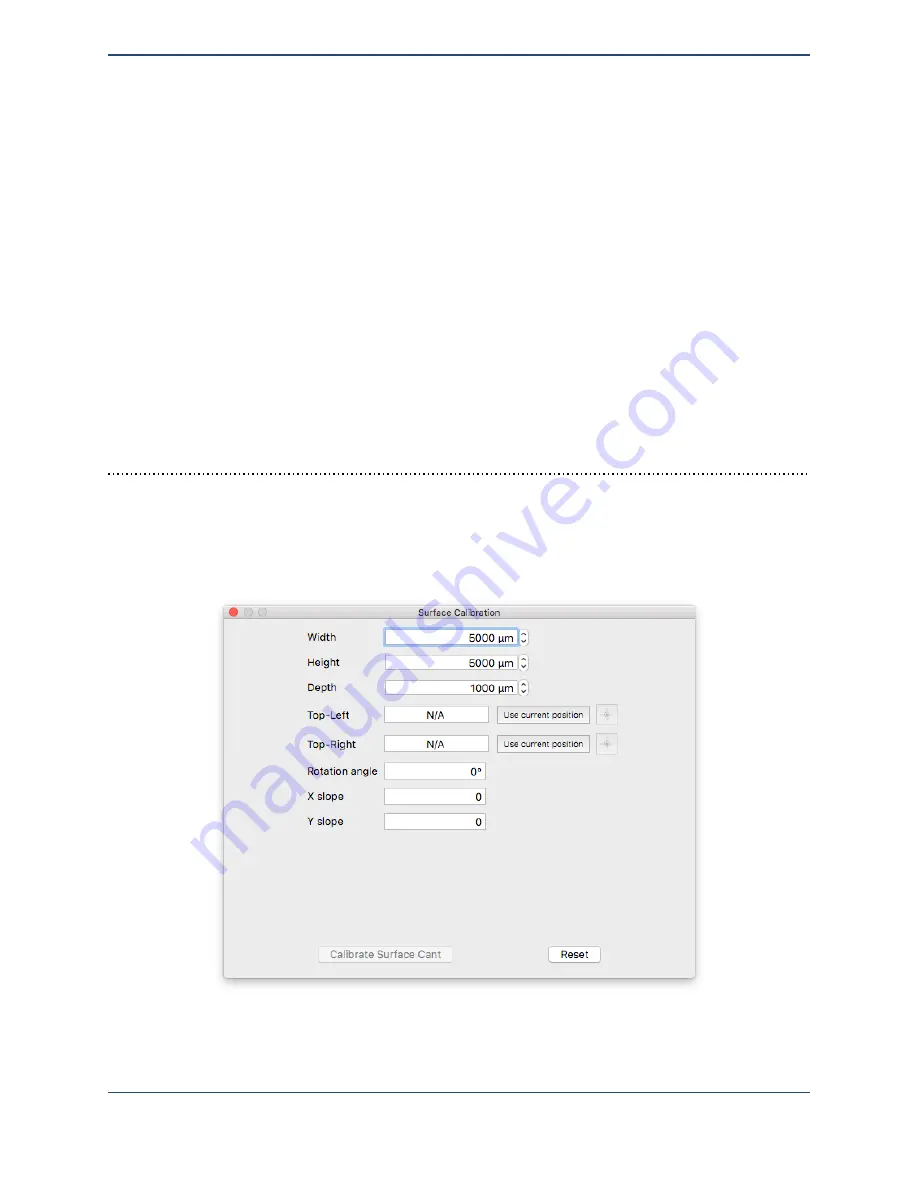
Enter the width and height of the area that you would like to be calibrated in the X and Y
directions (in microns). If calibrating a sample, choose distances that are a little less than the
dimensions of the sample, keeping the measurements within the bounds of that sample. Once
the proper distances have been set, bring the dispenser to approximately 1 mm over the top left
corner of the sample, then click on
Use current position
next to the
Top-Left
option.
The
Top-Left
and
Top-Right
options are for calibrating the rotation of the sample. This will
be covered in the next section.
Click on
Calibrate surface cant
to begin the surface leveling process. The surface height
will be electronically sensed at five points in the horizontal and vertical directions. After the
sensing run has completed, the cant of the surface in X and Y will be calculated, stored, and
reported in this window. This is expressed as a slope (the number of microns to rise for every
micron out in that direction). Values of 0.0001 to 0.005 are typical for apparently level surfaces.
The calculated cant will be used with automatically dispensed patterns to calculate the correct
height the dispenser needs to move to for each feature.
Rotational calibration
In addition to surface leveling, you may wish to calibrate the rotation of a particular substrate to
ensure that your printed features align with prepatterned elements. You can do this in the
Calibrate Surface
window. A dialog box similar to the following will be shown.
To calibrate the rotation of a prepatterned element, choose two points that make up a horizontal
line on that element. Move the positioner to the first point (
Top-Left
) and click the
Use
49
Summary of Contents for MICROPLOTTER Proto
Page 2: ......
Page 4: ...Dispenser refurbishing 58 Revision History 60 3...
Page 6: ......
Page 10: ......
Page 16: ...Select the components to install 13...
Page 21: ...Fully installed Microplotter Proto system 18...
Page 22: ......
Page 58: ......
Page 62: ......
Page 64: ......
Page 66: ...59...


