


SMA 210/410 Deployment Guide
Additional Configuration
20
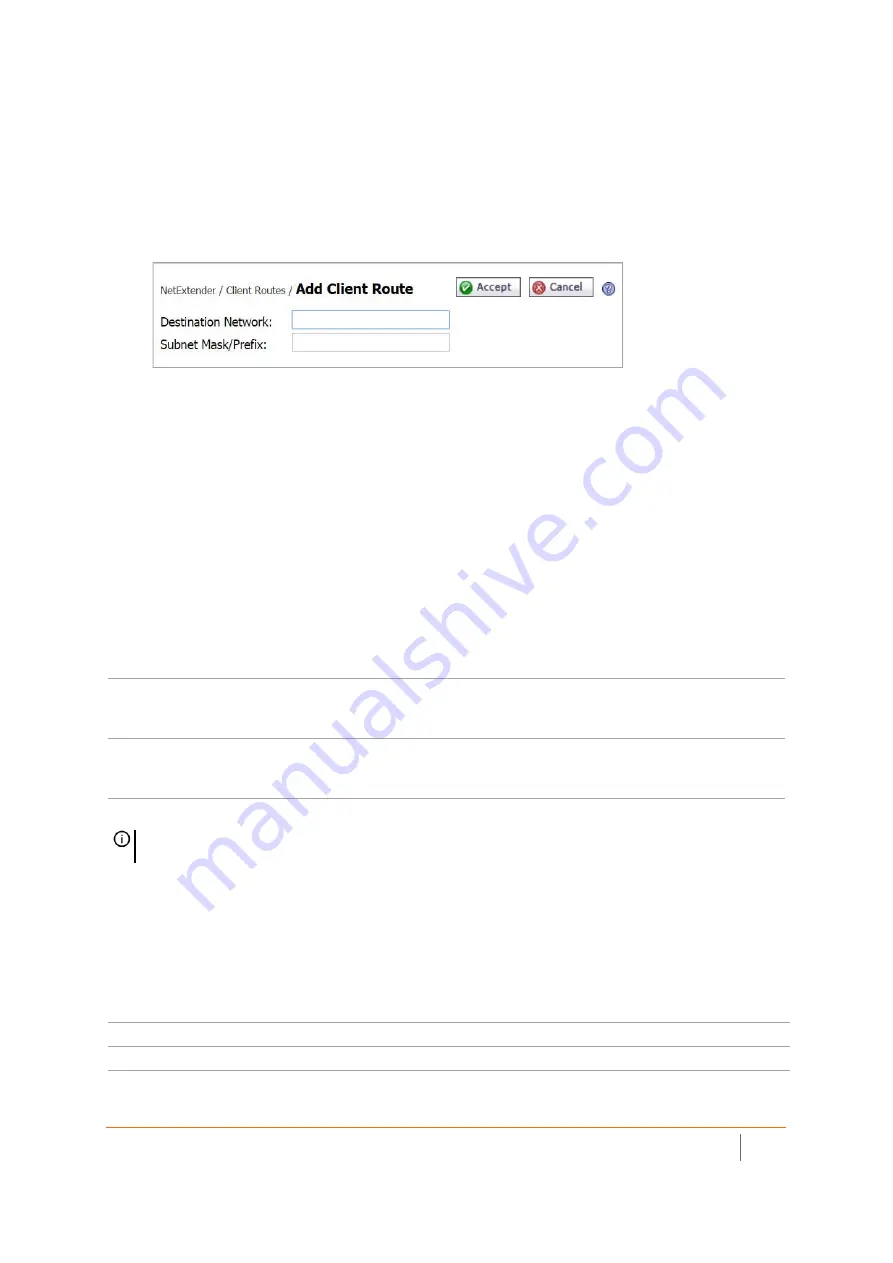
3 Click
Add Client Route
.
4 Enter the network address of the trusted network to which you would like to provide access with
NetExtender in the
Destination Network
field. For example, if you are connecting to an existing DMZ on
the 10.1.1.0/24 subnet and you want to provide access to your LAN network on the 192.168.168.0/24
subnet, you would enter 192.168.168.0.
5 Enter the subnet mask of the destination network in the
Subnet Mask/Prefix
field. Continuing the
example, enter 255.255.255.0.
6 Click
Accept
to finish adding this client route.
Setting Your NetExtender Address Range
The NetExtender address range defines the IP address pool from which addresses will be assigned to remote
users during NetExtender sessions. The range needs to be large enough to accommodate the maximum number
of concurrent NetExtender users you wish to support.
The range should fall within the same subnet as the interface to which the SMA appliance is connected, and it
must not overlap or collide with any assigned addresses if other hosts are on the same segment as the SMA
appliance.
Determine the correct subnet based on your network scenario selection:
To set your NetExtender address range:
1 Navigate to the
NetExtender > Client Settings
page.
2 Enter an address range in the
Client Address Range Begin
and
Client Address Range End
fields.
3 Click
Accept
to add the Client Address Range.
Scenario A
192.168.200.100 to 192.168.200.200 (default range)
Scenario B
Select a range that falls within your existing DMZ subnet. For example, if your DMZ uses the
10.1.1.0/24
subnet, and you want to support up to 30 concurrent NetExtender sessions, you
could use
10.1.1.220
to
10.1.1.249
.
Scenario C
Select a range that falls within your existing LAN subnet. For example, if your LAN uses the
192.168.168.0/24
subnet, and you want to support up to 10 concurrent NetExtender sessions,
you could use
192.168.168.240
to
192.168.168.249
.
NOTE:
DHCP/DHCPv6 is supported and can manage the IPv4 and IPv6 addresses in the LAN and the
NetExtender client address ranges.
Scenario A
192.168.200.100 to 192.168.200.200 (default range)
Scenario B
An unused range within your DMZ subnet.
Scenario C
An unused range within your LAN subnet.


