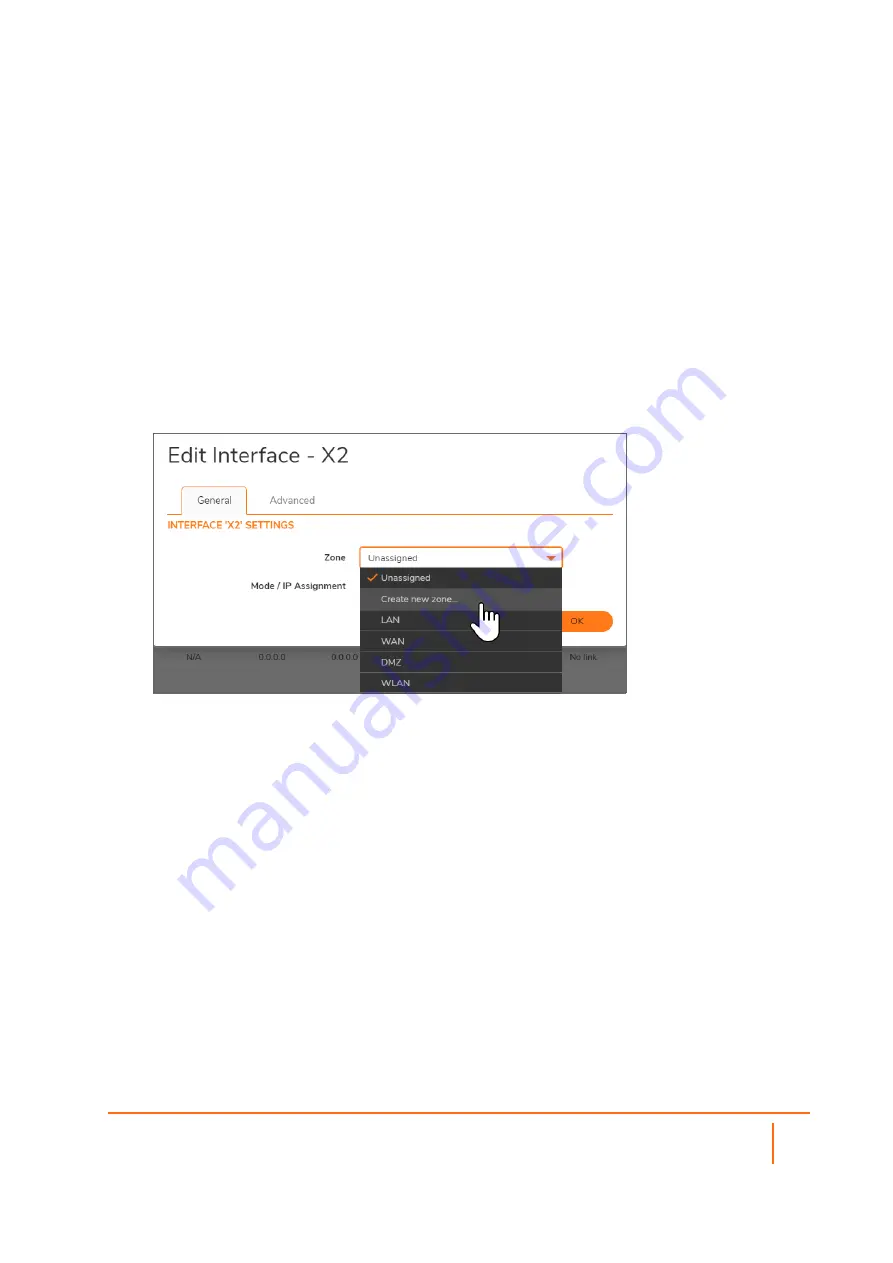
Adding a New SMA Custom Zone
Adding a new SMA custom zone on your gateway appliance is a necessary step in deploying your SMA
appliance using Scenarios A and C. For more information, see the following sections:
l
Connecting the SMA on a New DMZ
l
To add a new SMA custom zone on the gateway appliance:
1. Using SonicOS, log into your gateway appliance as an administrator and navigate to the
NETWORK
| System > Interfaces
page.
2. Click the
Configure
icon for the interface connected to your SMA, such as X2.
3. Select
Create new zone
in the
Zone
field.
The
Add Zone
window opens.
4. Enter SMA in the
Name
field.
5. Select Public from the
Security Type
drop-down menu.
6. Clear the
Allow Interface Trust
toggle.
7. Select the following check boxes:
•
Enable Gateway Anti-Virus Service
•
Enable IPS
•
Enable Anti-Spyware Service
SMA 10.2 Deployment Guide for the SMA 100 Series
Additional Configuration
20


