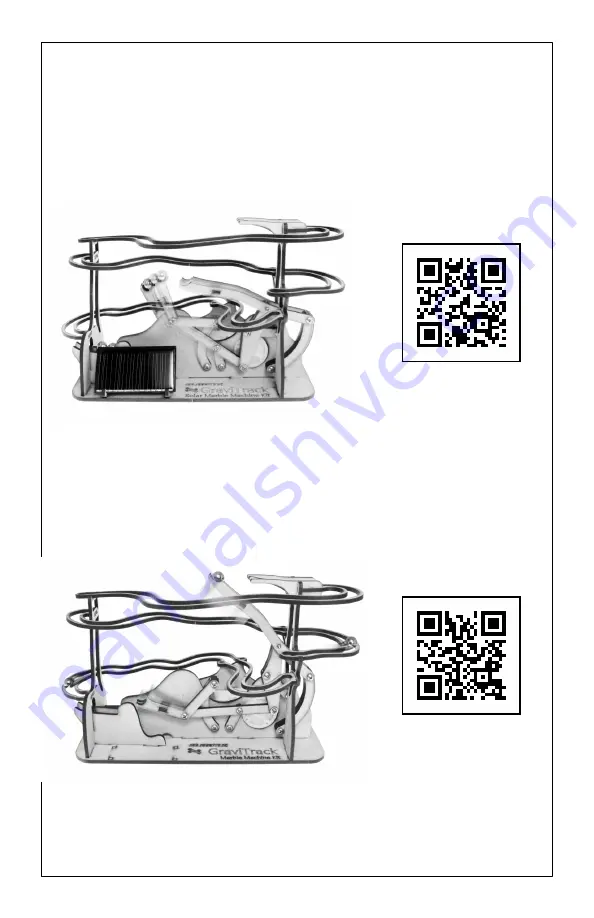
GraviTrack - Solar Edition
bit.ly/2y6Aqj0
bit.ly/2xKEp3O
Liked the Paris Flyer?
Check out our GraviTrack Marble Machine family:
GraviTrack - Battery Edition
Page 1: ...s 60420 Document revision March 27 2018 Basic soldering tools required 1 2 hours build time Intermediate ages 12 skill level Solar powered no batteries needed Elegant airship travel cleverly TM powere...
Page 2: ...solar energy rather than Ion channels Be prepared with appropriate soldering equipment for the electronics and suitable model construction tools for the wood and mechanical assembly When complete your...
Page 3: ...ron Solder 4 x Laser cut wood panels 1 x Rotation point screw 1 x 3 4 counter balance 1 x Spinning surface 1 x Propeller 1 x Motor 2 x SCC3733 solar panel 2 x 13 long 30AWG wire 1 x Solar Engine 1 x 0...
Page 4: ...The 22 F installs near the middle where the 0 22F 220 000 F is near the side 1 2 Intro to soldering slrbtcs co solderVid2 1 1 Back side ASSEMBLY STEPS 1 SolarEngine Circuitry Step Small 22 F capacitor...
Page 5: ...or under incandescent light and wait 2 8 minutes holding the motor so the propeller can spin freely When it activates you should feel it push air away from the motor If not reverse the motor wire conn...
Page 6: ...and push the large platform down onto the fingers of the tower bottoms 2 2 You may need to wiggle the tower bottoms a bit to get the fingers into the holes of the large platform Do your best to comple...
Page 7: ...onal tower top Add glue to the indicated areas and push the assembled top tower into the holes on the small platform 2 5 ASSEMBLY STEPS Install the assembled middle tower into the holes on the large p...
Page 8: ...platform 2 10 ASSEMBLY STEPS Find the spinner surface and place it face down dome up on a hard work surface Take the spinner ring 7 and push it onto the spinner surface so it force fits into the spin...
Page 9: ...res we used to attach the solar panels to the SolarEngine hidden in between the two cells 3 5 Remove the 2x balance holders 13 and remove cutouts Sandwich the 3 4 ball bearing between the two balance...
Page 10: ...lue to the indicated areas and slide the isolators onto the balance towers 3 8 Remove the balance arm 19 and mounting pin tab 20 and remove cutouts Slot the balance arm between the two balance holders...
Page 11: ...26 Glue the balance arm and mounting circle where they shoulder up to each other 4 3 Install the motor wire assembly next starting by snugging the wires into each of the tower tips as shown At the dir...
Page 12: ...lean side up laser charred side down 4 6 With the dirigible fully finished balance the assembly onto the top of the tower By design it should balance practically level but if you find it is leaning to...
Page 13: ...e there any cutouts you forgot to remove These cutouts can affect the balance significantly and should all be removed for the device to balance properly The airship travels backwards when the SolarEng...
Page 14: ...will give it a more ironwork appearance Intentionally pitch the nose up or down by playing with the installation at step 4 2 which can add a pleasing bob to the circular motion of the Paris Flyer Part...
Page 15: ...GraviTrack Solar Edition bit ly 2y6Aqj0 bit ly 2xKEp3O Liked the Paris Flyer Check out our GraviTrack Marble Machine family GraviTrack Battery Edition...
Page 16: ...of this product Solarbotics Ltd reserves the right to make substitutions and changes to this product without prior notice Keep out of reach of children Product contains small parts even when assembled...