


9
2. The product will be in pairing mode and a pairing symbol on the first line of the display will flash for up to 3
minutes.
3. On your smart device that you would like to connect to your radio via Bluetooth, turn on Bluetooth
connectivity and ensure that it is ‘discoverable’.
Note: If necessary, refer to the instructions for your device to add or set up Bluetooth.
4. Select to ‘Add new device’, if necessary.
Note: Some products will automatically search for a new device and so the ‘Add new device’ option is not
available.
5. When found, the bluetooth connection to your radio will be displayed as ‘SmithRetro H1’. Select the device
name to begin pairing.
Note: If you are prompted for a password, enter ‘0000’.
6. When pairing is complete, the radio will beep once and the flashing pairing symbol will turn off .
7. Now that you have paired your device with the radio, it will connect to it when it is within range, which is
about 10 metres or less (33 feet or less), line of sight. You can now enjoy your music via Bluetooth.
Note: Please disconnect any bluetooth connections to the radio, before setting up a new connection or
‘pairing’.
Listening to Music/Audio using Bluetooth, via your radio
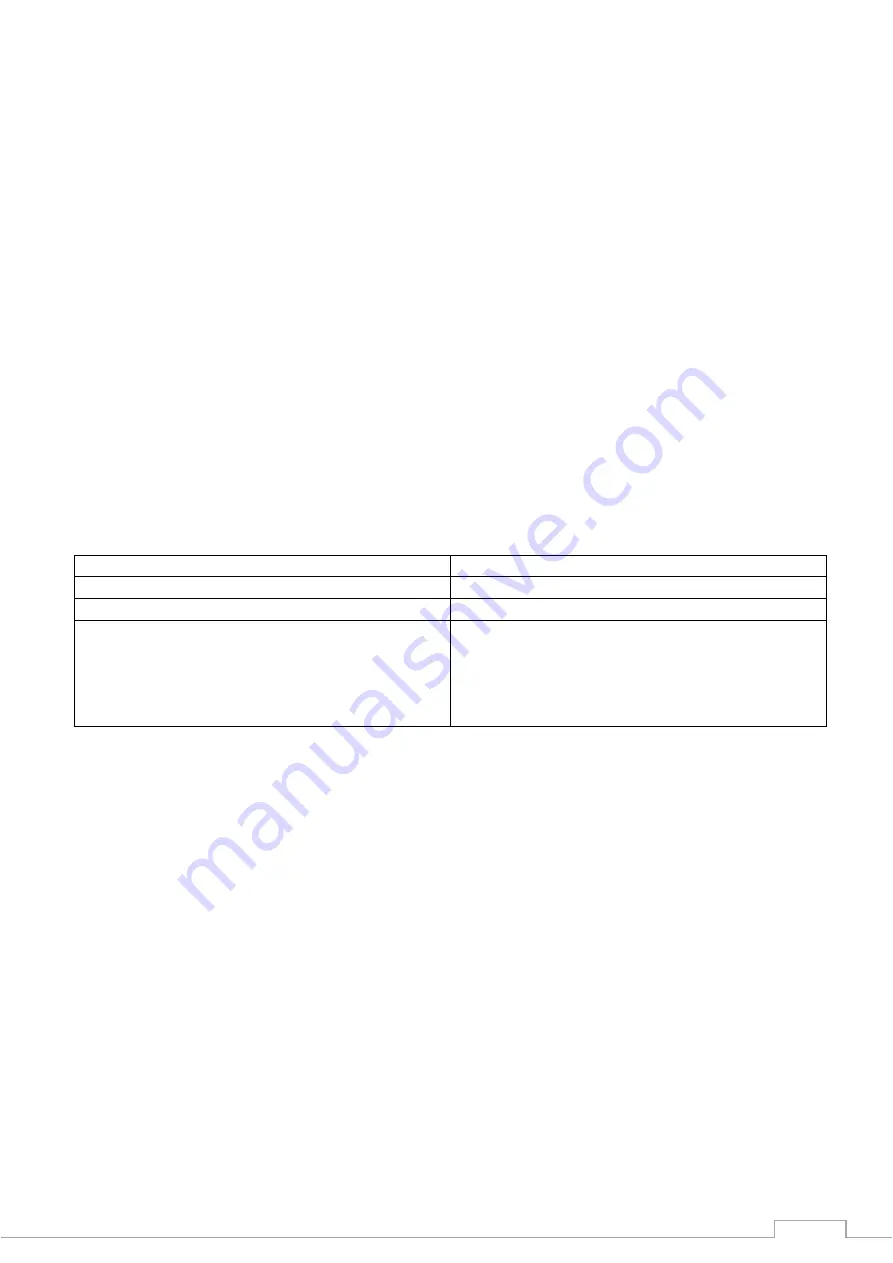
You can use the controls on your Bluetooth device as normal when it is paired with the radio but you can also
use the following controls on the front of your radio:
Play/Pause
Press the ‘Select’ button on the front of the radio.
Next track
Press the ‘Tune +’ button on the front of the radio
Previous track
Press the ‘Tune -’ button on the front of the radio.
Disconnect a Bluetooth connection
Press and hold the Bluetooth logo button on the
radio to disconnect the current Bluetooth
connection. The pairing symbol on the first line of
display will begin to flash and the radio will be in
pairing mode.
Using the Alarm
Setting the alarm
There are 2 alarm settings available. Please check that the radio has the correct time and date before you set
an alarm.
Note: To conserve power when using batteries only (no mains power), the product will switch off completely
and will not go to standby mode. The clock display, alarm and snooze functions will not be available when using
battery power.
1. Press the ‘Alarm’ button, ‘Alarm 1 Setup’ is displayed. Press the ‘Select’ button.
Note: Press the ‘Alarm’ button twice to set Alarm 2 .
2. ‘Alarm 1 Wizard’ is displayed and the hour digits for the alarm will flash.
3. Use the ‘Tune -’ and ‘Tune +’ buttons to scroll to the hour for the alarm. Press the ‘Select’ button.
4. Use the ‘Tune -’ and ‘Tune +’ buttons to scroll to the minutes for the alarm. Press the ‘Select’ button.
5. Use the ‘Tune -’ and ‘Tune +’ buttons to scroll to the duration for the alarm. You can choose from 15, 30, 45,
60 and 90 minutes. Press the ‘Select’ button.
6. Use the ‘Tune -’ and ‘Tune +’ buttons to scroll to the sound source for the alarm. You can choose from Buzzer,
DAB or FM. Press the ‘Select’ button.