ASSEMBLY INSTRUCTIONS
SS2015
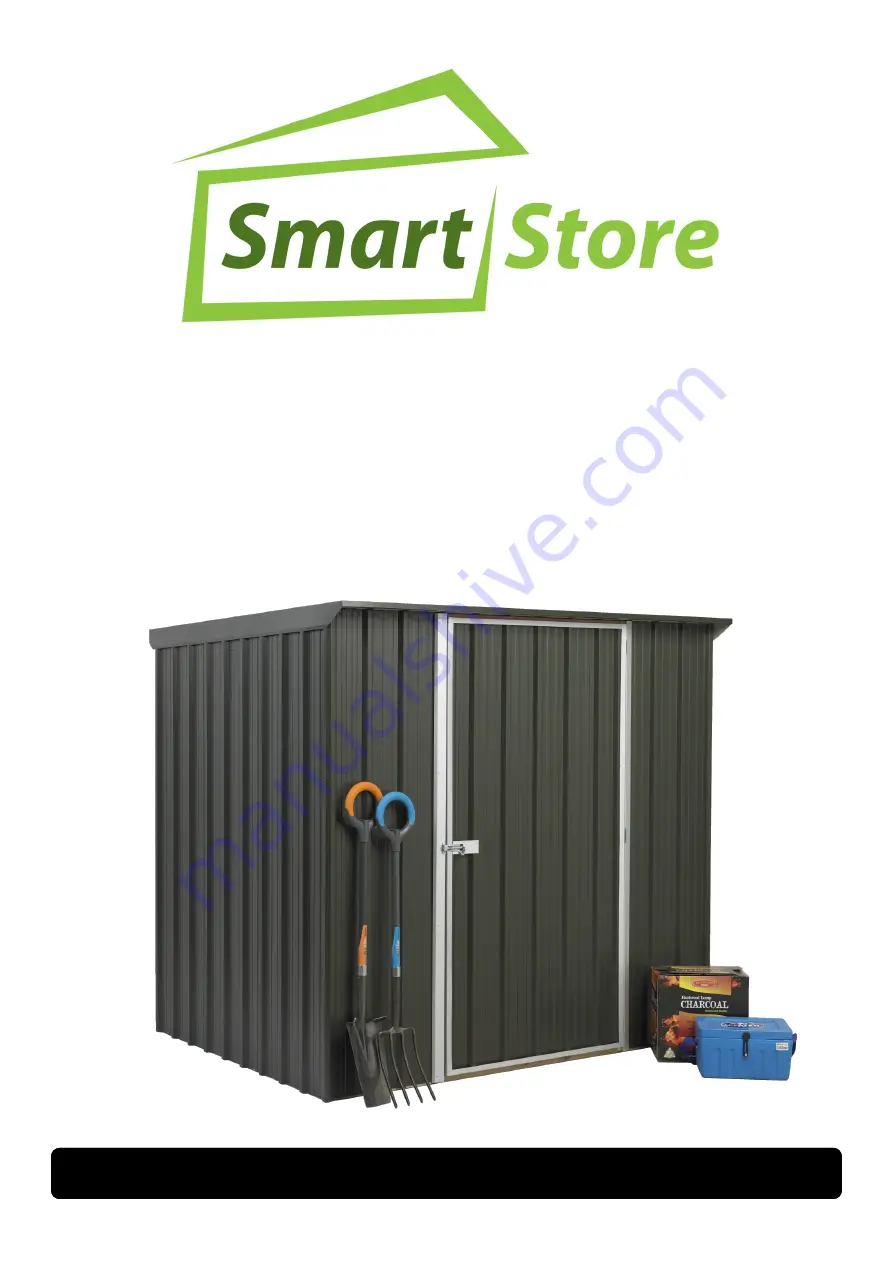
BASE SIZE: 2.020m x 1.520m
Page 1: ...ASSEMBLY INSTRUCTIONS SS2015 BASE SIZE 2 020m x 1 520m...
Page 2: ......
Page 3: ...for cladding used in Smart Store Sheds Wash all surfaces annually using a hose and soft nylon brush Within 2 km of coast wash every 3 months as above After a storm wash the cladding and the gutters as...
Page 4: ...1 720 m 4 Barge 1 720 m 2 Door 3 4 Sheet 1 850 m 2 Padbolt Support 0 140 m 1 TIMBER Spouting 2 050 m 1 Bottom Plates H4 Green Front Back 2 020 m 2 Bottom Plates H4 Green Sides 1 520 m 2 HARDWARE Top P...
Page 5: ...ide Back Wall Sheets Front Wall Sheet Door Jambs Front Wall Sheet Door Sheets Door Side Channel Padbolt Support Hinge Door Brace Door Top Bottom Channel 1 LAY FOUNDATION 2 ASSEMBLE DOOR 3 ASSEMBLE SID...
Page 6: ...coming through from underneath During construction you may raise the bottom timber plate to allow the wall cladding to protrude 20mm below the bottom plate This will stop water flowing between the bot...
Page 7: ...fig 1 Rivet sheets together STEP 2 Position door side flash ings and assemble door as shown Drill and rivet as per dia gram ensuring rivets penetrate into door sheet STEP 4 Rivet door brace flashings...
Page 8: ...ing each side of wall sheets overhangs the end of Bottom Plate by 15mm Check that the distance between the Top and Bottom Plates is correct As per diagram in step 1 Check that the Bottom Plate is stra...
Page 9: ...using two clouts per pan STEP 4 Nail the wall sheets to the Bottom Plate at each end ensuring that each side of the wall sheets overhangs the Bottom Plate by 15mm and that the distance between the To...
Page 10: ...or Jamb Flashing Ensure the door closes properly then fit remaining rivets STEP 3 Place 2 x Wall Sheets on timber plates Ensure that the top of the sheet is flush with the top of the Top Plate and tha...
Page 11: ...support the panels while they are screwed together Before fixing ensure that the Side Panel overlaps the Back Panel Using 4 x 40mm screws 2 per join screw the Top and Bottom Plates together in the cor...
Page 12: ...the front back Top Plates using 1 x nail per pan fig 2 11 STEP 4 Place Barge Flashings on roof at end of shed ensuring the di agonal trimmed end is at the front Rivet the Barge Flashings to the roof...
Page 13: ...o the Bottom Plate and the concrete slab A 10mm masonry drill bit is required OPTIONAL SENTRY FLOOR Position the Floor Joists centrally between the side Base Plates and skew nail each end with two 75m...
Page 14: ......
Page 15: ...s less than 200g m2 as published by Branz Warranty certificate being returned to manufacturer within 21 days of purchase together with proof of purchase This warranty does not cover the following Fast...