STR-0488
www.smartec-security.eu
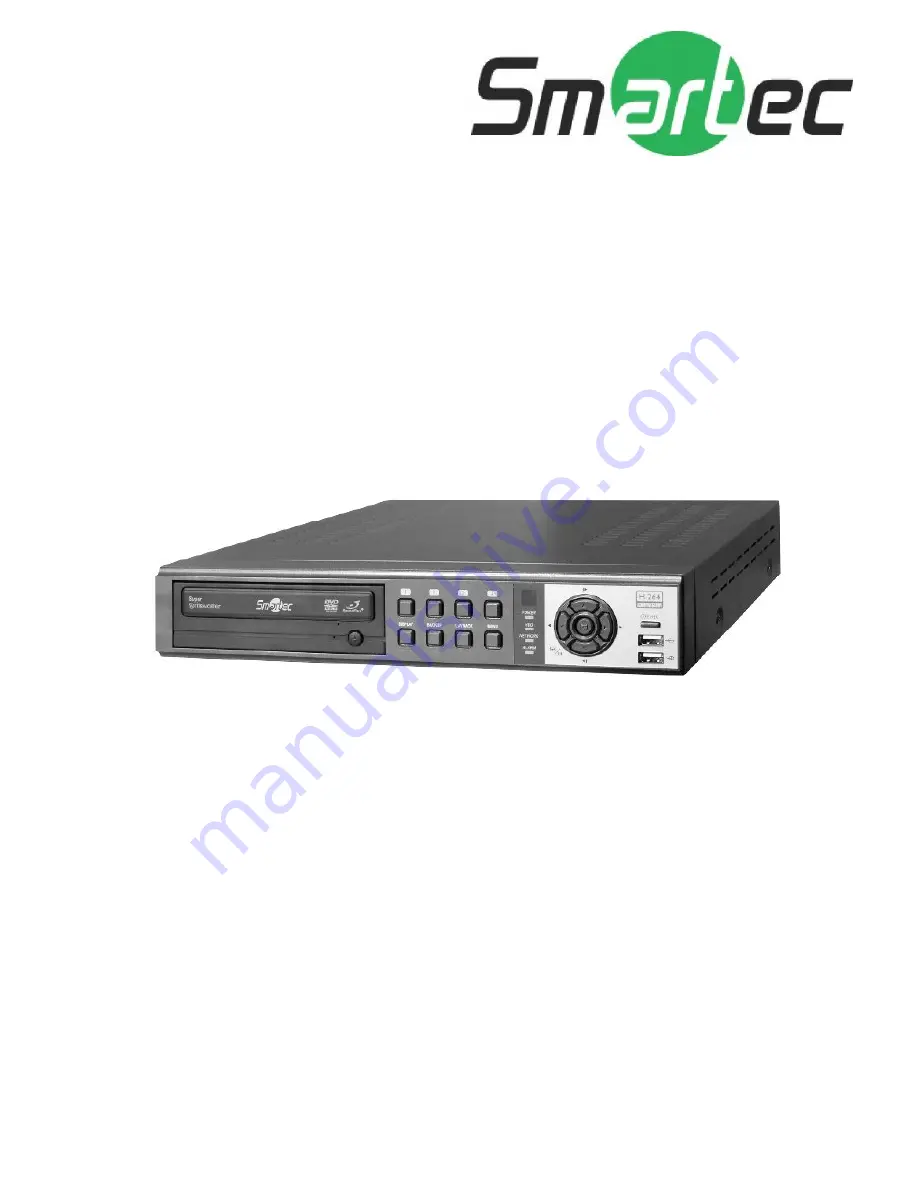
Smartec – four channel DVR
User Manual
Page 1: ...STR 0488 www smartec security eu Smartec four channel DVR User Manual...
Page 2: ...roduct The information in this manual is prepared based on the current specifications for the product The manufacturer is currently adding new functions and will continue to upgrade the product with n...
Page 3: ...er switch and remove the power cord from the power outlet Failure to do so may result in fire and electric shock Please use only the power cord supplied with the product Use of other power cords may r...
Page 4: ...commended to read the relevant details carefully so as to operate the product properly and without harm The product may not work properly if the power source is unstable or and if electric shock occur...
Page 5: ...1 7 Contextual Menu 17 2 DVR Configuration 18 2 1 SYSTEM 18 2 1 1 MENU SYSTEM Information 18 2 1 2 MENU SYSTEM Date Time 19 2 1 3 MENU SYSTEM User 19 2 1 4 MENU SYSTEM System Log 20 2 2 DEVICE 20 2 2...
Page 6: ...Maker 38 Chapter 4 Remote Software NEMON 39 1 NEMON Installation 39 2 Using NEMON 41 2 1 Starting the Software 41 2 2 Site Set Up 42 2 3 Favorite Set Up 43 2 4 Play Backup Data 44 2 5 Play Independen...
Page 7: ...n have the great value product from us to make your full H 264 DVR product line unique 2 General Features True H 264 Standard Video Compression Real Time Recording and Multi Ch Playback Dedicated DB S...
Page 8: ...7 3 Specification...
Page 9: ...nual Network S W Remote Controller Quick Guide 2 Connecting Devices The rear panel of the DVR comprises the following Front USB Two USB ports are provided to connect external devices like HDD ODD Flas...
Page 10: ...ors to the SPOT OUT connectors as needed ETC RS 232C An RS 232C connector is provided to connect an ATM or POS machine for Text In function Use a cable with a DB9 female connector to connect to the DV...
Page 11: ...rovided to connect external alarms such as sirens or lights 2 alarm output connectors have internal relays and the others are TTL signals 4 sensor input connectors are provided to connect external dev...
Page 12: ...where exposed to rain and wind and water drop May cause fire electric shock and transformation Keep away from fire May cause fire Do not disassemble or remodel on your own May cause malfunction or ele...
Page 13: ...ly Up Down Left Right Arrow ENTER Buttons These are used to change settings for the product in MENU mode or used in PTZ control mode pan tilt BACKUP Button Copies recorded data to an external storage...
Page 14: ...button again will stop E REC mode Status LED Power HDD Network Alarm 1 2 Turning on the System Connecting the power cord will turn on the power of DVR It will take approximately 10 to 30 seconds for t...
Page 15: ...ys date time IR Remote Controller 1 4 Display Icons No Recording Recording Red E REC Emergency Recording Event Recording Red Pre Event Recording Blue Motion Detection Sensor Detection Text In PTZ Came...
Page 16: ...Time can be set under password set up option MENU SYSTEM User 1 6 The Main Menu The Main Menu of DVR consists of SYSTEM DEVICE DISPLAY RECORD NETWORK and EVENT And each menu consists of various sub me...
Page 17: ...16 DDNS Notification Transmission Sensor Motion Video Loss Text In EVENT System LOGOUT SHUTDOWN...
Page 18: ...isplay Sequence Begin sequence display Zoom Zoom in image by X2 PIP Select PIP mode and camera Spot Select each spot monitors display Audio Select Audio outs PTZ Select PTZ options Backup Select backu...
Page 19: ...during the upgrade Removing USB Flash Memory or Turning off the system during the upgrade may cause system malfunctioning Remote Control ID Enter Remote Control ID to control multiple DVRs individual...
Page 20: ...chronize the DVR time with the registered time server Note NTP is not essential for DVR operation Any type of Standard Time Server can be used e g time windows com Time Synch might not be completed du...
Page 21: ...me as there is no default password for Administrator User 2 1 4 MENU SYSTEM System Log In the System Log full list of system logs can be searched Press Reload button to refresh log list USE button to...
Page 22: ...olor to adjust video color Click or drag a control box to adjust each color level PTZ Control Select channel connected with PTZ camera Select PTZ from the contextual menu appears by pressing right mou...
Page 23: ...operation Alarm can be set by day time mode and inputs camera Press to choose Alarms and set Buzzer with Alarm activation 2 2 4 MENU DEVICE Keyboard Press to find and select keyboard from the list 2...
Page 24: ...OSD margin Set OSD margin position using Various resolution options are available for different types of monitors Please select monitor resolution under VGA tap menu PIP Picture In Picture size and it...
Page 25: ...D Storage In Storage it displays the installed connected storage status such as Capacity Type Usage and Status Format Press Format to format selected HDD Record Displays the recording period and data...
Page 26: ...5 seconds to 30 minute or continuously by selecting No Limit option Event REC Duration Set recording duration for events up to 30 minutes In Schedule fully detailed and specified recording schedules c...
Page 27: ...26 In Recording Status current recording options and status are displayed...
Page 28: ...be used during the DVRNS Server setup In Port Select appropriate port number for external access to the system The port list shows necessary ports to be opened for each operations Note Default TCP por...
Page 29: ...keyboard In Email Events can be notified to personal email addresses by text message SMTP Server Enter SMTP server using the virtual keyboard SMTP server information can be obtained from a system admi...
Page 30: ...Closed NO Normally Opened In Record each sensor can be synchronized with single or multi cameras Press to select cameras to be synchronized with sensors In Alarm each sensor can be synchronized with s...
Page 31: ...n detection Select Block Use arrow keys to move around a box Select individual blocks to set motion zones Use number keys to select and unselect blocks When using a mouse use a left button Clear Block...
Page 32: ...for event recording when there is a video loss Press to select single or multi cameras to be synchronized with cameras for video loss In Alarm each camera with video loss can be synchronized with sing...
Page 33: ...d on screen as the end If you want additional lines to be displayed after the transaction end select more line options Ignore String Enter a word to ignore strings includes selected word Line Delimite...
Page 34: ...erable temperature level of storage If HDD temperature increases over pre set temperature it will notify a user in various ways according to following settings In Alarm each system event can be synchr...
Page 35: ...orded data Go to End Move to the latest recorded data 3 2 Calendar Search Calendar Search provides easy graphical search by displaying numbers dates Dates with recorded data will be highlighted Once y...
Page 36: ...y System displays every events related to Emergency Recording Once find specific list of event move up and down button to highlight the log and press it to playback the event data 3 4 Text In Search T...
Page 37: ...p Backward Go to the previous image Pause Freeze or Stop current image Step Forward Go to the next image Play Play the data at normal speed To control the backward and forward playback speed press on...
Page 38: ...NOT remove the back up media while the data backup is being processed It may cause critical damage to either the media or system if the backup media is removed during the backup process 4 2 Instant B...
Page 39: ...Maker option on the pop up menu during the live or pause mode on the playback Select the backup option for Clip Maker Press Start button to create Clip Maker Use Quick Time player to play the file cre...
Page 40: ...CD into PC Double click on NemonSetup exe file to start installation procedure When the following dialog box appears click Next After selecting program folder and desired option click Next Everyone A...
Page 41: ...40 When the following dialog box appears click Next Click Close to complete installation procedure...
Page 42: ...k button for site setup and connect Setup click button for remote software setup Playback Control Use buttons to control playback images Stop Move by Image Play Rewind Forward and Move to First End Ch...
Page 43: ...ic port to be set for the software Description Enter the description of the site Auto Login If do not want the Log In window to be popped up every time starting the remote S W check Auto Login to skip...
Page 44: ...64 different cameras and sites can be monitored and managed on one screen Click button and select Favorite tap Click Add button to group multiple sties as one favorite group Enter the group name and...
Page 45: ...een only 2 5 Play Independent HDD Data on PC Independent HDD removed from a DVR data can be played on PC using Nemon S W Have the HDD connected to PC using a SATA to USB connector cable Make sure the...
Page 46: ...d in bold letter Select the date and use time table to select specific time Click Play button to start playback Playback Control Button Rewind Reverse Play Beginning Step Backward Stop Step Forward En...
Page 47: ...earch for from the Date list Select All or specific camera numbers for related event search Type of events can be selected from the list for detail and effective search 3 3 Saving the recorded data Sa...
Page 48: ...t Location Select appropriate Codec Select the time period Select Camera number and Audio Press Start to create AVI file Save to Backup Pause the playback and press button to backup the recorded data...
Page 49: ...f remote software Default Set default settings of remote software Click on display tap to enter remote display setup menu Use Alpha Blending Enables alpha blending effect to S W UI Note There are some...
Page 50: ...xactly same menu and options as the local system Therefore please refer to Chapter 3 2 DVR Configuration and following chapters for the detail information 4 3 Remote Upgrade The system upgrade can be...
Page 51: ...once connected to DVR Enter ID and PW and select Live or Playback mode to display desired remote control option Please install Active X when Internet Explore displays Active X installation message Re...
Page 52: ...LASS OF DIGITAL APPARATUS MEETS ALL REQUIREMENTS OF THE CANADIAN INTERFERENCE CAUSING EQUIPMENT REGULATIONS WEEE Waste Electrical Electronic Equipment Correct Disposal of This Product Applicable in th...