C H A P T E R 3
Using your interactive projector
30
smarttech.com/kb/170295
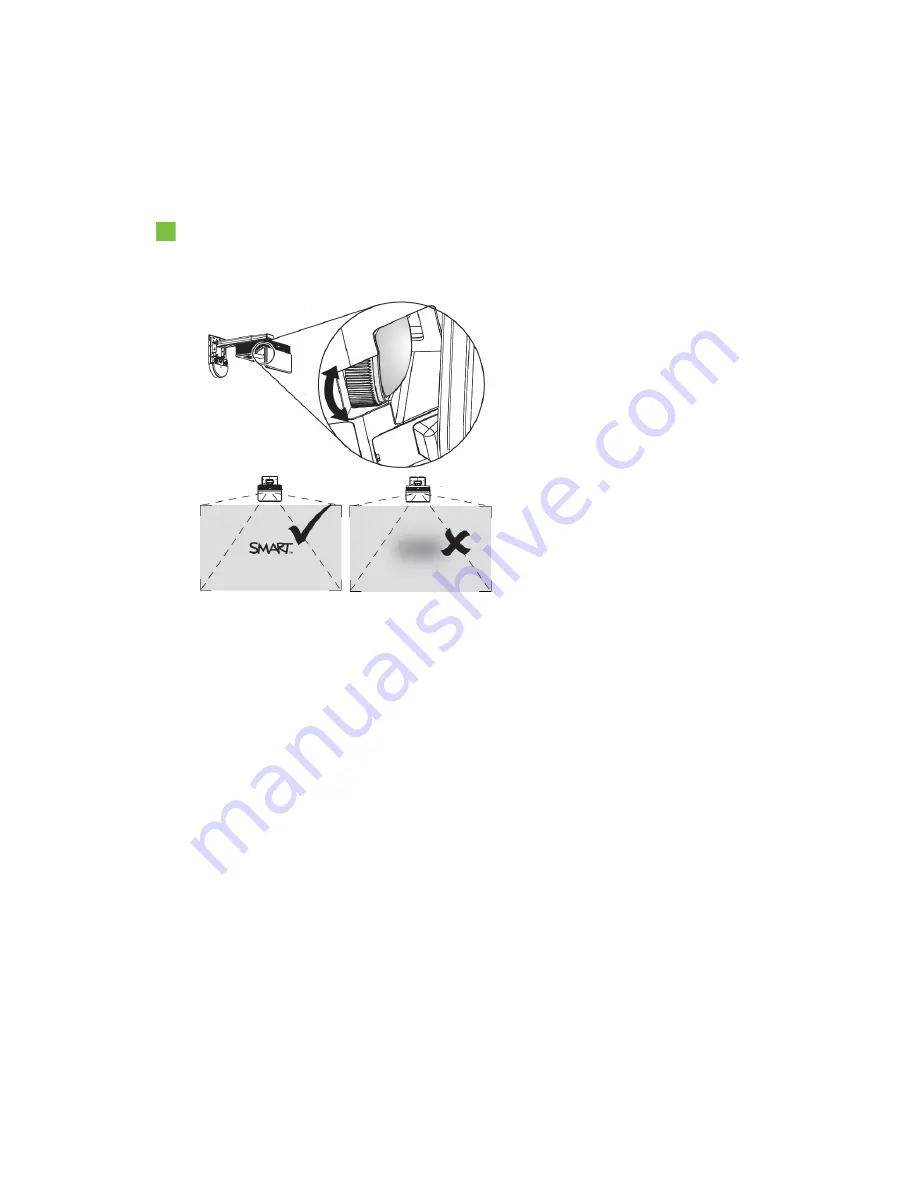
Focusing the image
To focus the projected image, use the focus ring located on the projector lens.
To focus and adjust the image
Rotate the focus ring right or left until the image is in focus.
Adjusting the image
Refer to these notes when adjusting the projected image as described in the included
SLR60wi
textless installation guide
).
l
While adjusting the projected image size, shape and location, disconnect your computer from
the projector, and then use the projector’s default background, or the test image from the test
menu, so that you can see the full projected image clearly. Don’t use other images, which might
be cropped or scaled by the projector and could result in a misleading projected image size,
shape and location.
l
Use the projector’s ball joint lever, keystone screws and boom length mechanical adjustments to
make all physical image adjustments. Don’t use the projector’s on-screen menu options during
the projector alignment process. See
for more information.
l
Be aware that as you tilt the projector up or lower its mounting boom to raise the image, the entire
projected image increases or decreases in size, especially at the bottom of the projected image.
Summary of Contents for LightRaise 60wi
Page 7: ...C O N T E N T S v smarttech com kb 170295 More information 95 Index 97 ...
Page 8: ......
Page 14: ......
Page 42: ......
Page 48: ......
Page 62: ......
Page 80: ......
Page 102: ......
Page 104: ......
Page 107: ......
Page 108: ...SMART Technologies smarttech com support smarttech com contactsupport smarttech com kb 170295 ...


