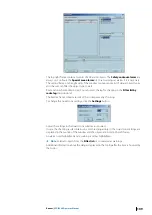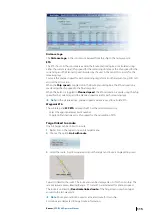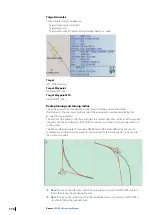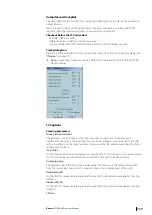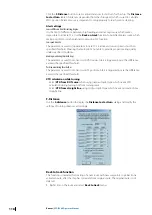
Short key
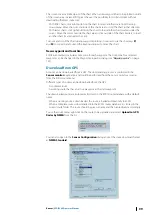
Press the
F6
key to access to the route plan of loaded routes. Press several times to change
the selected route.
For a detailed overview of the Route planning window, see
Route monitoring
A standard ECDIS installation includes a Monitoring workstation located on the ships bridge
and a Planning station on the chart table.
Ú
Note:
The ECDIS software can run in either Monitoring mode or in Planning mode. The
current mode is displayed in the title bar in the caption of the chart window. The route
activation is available in the
Monitoring mode
only.
The route activation is disabled on Planning station. To switch a workstation from Monitoring
mode to Planning or vice versa, right double click in the title bar of the chart window and
activate the menu Set as Planning station or Set as Monitoring station.
Activating a route
When activating a route the user designates it as the route to be navigated. The ECDIS
changes the route legs to pecked lines, highlights the next waypoint and switches the
monitoring mode on.
To activate a route and switch on the route monitoring function on the Monitoring
workstation:
•
Load the route to be activated.
•
Click right button on one of the legs of the route.
•
Select
Activate route_name
from the pop-up menu.
Alternatively, a route can be activated from the Route plan window with the button
Activate route
.
Ú
Note:
When an OE file is linked with the route the file is automatically loaded and all
alerts of the file activated.
Display
Only one route can be active at any time. An active route is displayed differently than other
routes on the chart inasmuch as the segment path is drawn dotted and the active waypoint
flashes making it more prominent on the screen.
Active route and planning station
When a route is activated on the Monitoring station all Planning stations connected to the
LAN receive and display the same active route. Then all ECDIS workstations display the same
active route but only the Monitoring workstation can actively handle it.
A new route activation
A new route can be activated even if another route is already active. When the new route is
activated the previous active route will be de-activated.
Active route and Planning station
When a route is activated on the Monitoring station, all Planning stations connected to the
LAN receive and display the same active route.
Route geometry checking
Ú
Note:
To be activated, the route has to be geometrically correct.
The geometrically correct route has leg lengh that is sufficient to make two neighbor turns
with no intersections. Turn radius value is defined in the Route tab of the Options dialog.
Turns are displayed for all Waypoints, except for the first and the last ones.
Routes
| ECDIS900 Operator Manual
113

