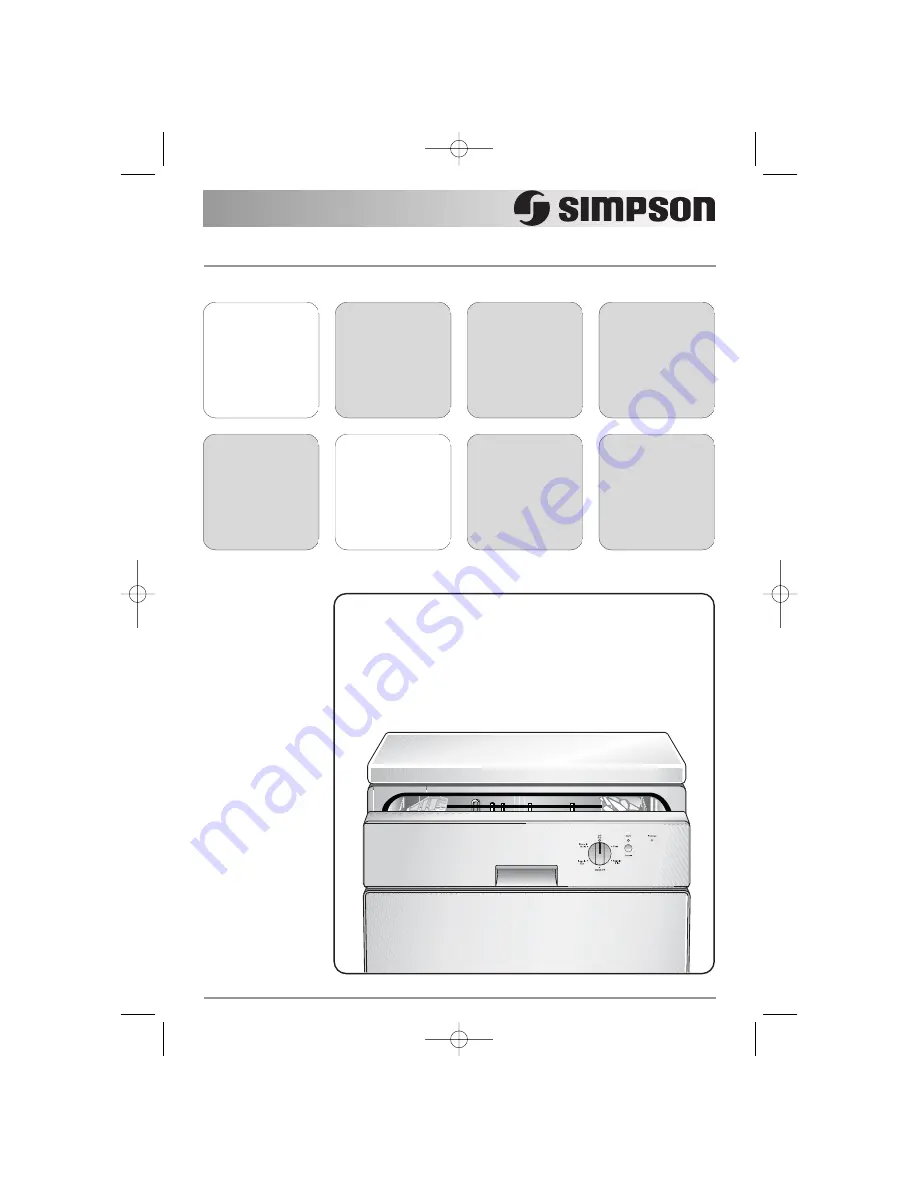
Usermanual
Dishwasher
52C850
156998841.qxp 12/13/2006 3:33 PM Page 1
Page 1: ...User manual Dishwasher 52C850 156998841 qxp 12 13 2006 3 33 PM Page 1...
Page 2: ...ek to evoke in everyone who chooses or uses one of our products We devote time knowledge and a great deal of thought to anticipating and creating the kind of appliances that our customers really need...
Page 3: ...its service agent or a similarly qualified person in order to avoid a hazard This product should be serviced only by an authorised service engineer and only genuine spare parts should be used General...
Page 4: ...ions or attempt to modify this product in any way Never use the dishwasher if the electrical supply cable and water hoses are damaged or if the control panel work top or plinth area are damaged such t...
Page 5: ...you want to change the selection made you must cancel the washing program in progress Cancel the washing program in progress 1 Press and hold the Start Cancel button until the corresponding light turn...
Page 6: ...se of detergent Quick 30 Light soil Main wash Crockery and cutlery Final rinse Or half load of Normal soil Regular Plus Normal soil Prewash Main wash Crockery and cutlery 2 intermediate rinses Use thi...
Page 7: ...PORTANT If the drying results are not satisfactory we recommend that you 1 Fill up the rinse aid dispenser with rinse aid 2 Set the rinse aid dosage to position 2 Filling with rinse aid Open the lid F...
Page 8: ...tems Lead crystal glass Steel items prone to rusting Wooden platters Items made from synthetic fibres When loading the dishwasher make sure that you Remove all left over food and debris Soften remnant...
Page 9: ...lower basket Arrange serving dishes and large lids around the edge of the basket Load upper basket Light items plastic bowls etc must be loaded in the upper basket and arranged so they do not move For...
Page 10: ...oad them in the lower basket after moving the upper basket to the higher position Refit the basket in the higher position and replace the stops A in their original position Move the front runner stops...
Page 11: ...mpartment A Close the lid Unloading the dishwasher Empty the lower basket first and then the upper one this will avoid water dripping from the upper basket onto the dishes in the lower one Water may a...
Page 12: ...anticlockwise and remove filters B and C The dishwasher must be switched off Remove filter A from the base of the washing compartment Put the flat filter A back in the base of the washing compartment...
Page 13: ...e the water inlet and discharge hoses 4 Pull the machine out together with the hoses 5 Only transport the dishwasher in an upright position otherwise water may run out Environmental concerns Packaging...
Page 14: ...nlet hose correctly laid or it is bent or connection squashed The dishwasher will not drain continuous flashing of the start cancel indicator light repeating double flash of the Finished indicator lig...
Page 15: ...ll Rinse aid was not used The rinse aid dispenser is empty Water drops have dried onto glasses and dishes Increase rinse aid dosing The detergent may be the cause Contact the detergent manufacturer s...
Page 16: ...nded as a guide and depend on the pressure and temperature of the water and also by the variations of the power supply and the amount of dishes Programme Programme duration Energy Water minutes kWh li...
Page 17: ...d dispenser must be filled and the door must be opened at the end of cycle for 30 minutes for drying assessment Hints for test institutes Full load 12 standard place settings Amount of detergent requi...
Page 18: ...not be reused The inlet hose should be inspected every 12 months for deterioration and replaced if necessary Water connection CAUTION If the machine is connected to new pipes or pipes which have not b...
Page 19: ...trical supply cord has to be replaced contact your local Customer Care centre The plug must be accessible after the appliance has been installed Never unplug the appliance by pulling on the cable Alwa...
Page 20: ...ir is required Unscrew the two screws at the rear Push the top backwards about 1 cm Lift top at the front and remove it Check if the dishwasher is levelled If not loosen or tighten the adjustable feet...
Page 21: ...ny parts which it considers to be defective You agree that any replaced Appliances or parts become the property of Electrolux This warranty does not apply to light globes batteries filters or similar...
Page 22: ...cost of having the services re supplied and in the case of Appliances or services supplied in New Zealand loss or damage whether direct or indirect or consequential that is reasonably foreseeable Pri...
Page 23: ...23 156998841 qxp 12 13 2006 3 34 PM Page 23...
Page 24: ...156 998 841 13 12 www electrolux com www simpson com au Subject to change without notice 156998841 qxp 12 13 2006 3 34 PM Page 24...