HOOD USER GUIDEENGLISH
H70250 079H70250 086H70250 201
Read this manual prior to performing any task!
Page 1: ...HOOD USER GUIDE ENGLISH H70250 079 H70250 086 H70250 201 Read this manual prior to performing any task...
Page 2: ...FACTURER Merzifon OSB AMASYA Silverline IMPORTER SCD Luisina La boisini re 35530 Servon sur Vilaine FRANCE Telephone 33 0 299002424 Fax 33 0 299002422 Internet www luisina com 28 03 2019 HOOD USER GUI...
Page 3: ...ing the scale filter 15 7 APPLIANCE POSITION 16 7 1 Installation and Unpacking of the Appliance 16 7 2 Recommendations for Energy Saving 16 8 CONTENT OF PACKAGE 18 9 OVERVIEW OF hood 19 10 ASSEMBLY OF...
Page 4: ...make sure you also give this guideline and safety data n Disregarding this guideline may result in severe injuries and defects in the device n Please keep in mind that we won t be responsible for the...
Page 5: ...2 Technical Drawing ST N YAN ALT 470 501 7 39 7 M N 650 MAX 2400 400 400 211 8 212 353 7 355 4 235 269 269 Fig 1 Technical Drawing 28 03 2019 HOOD USER GUIDE ENGLISH 5...
Page 6: ...ps when they work for a long time The lamps may burn your hand as they will be hot n Kitchen hoods are manufactured for household use in normal home cooking There is a risk of malfunction in other typ...
Page 7: ...ood and cooking appliances and cover the flame Never use water to extinguish the fire n When cooking appliances are in operation their accessible parts could be hot n This appliance is not intended to...
Page 8: ...ng heaters shower heaters water heaters etc Fig 2 Ventilated goods e g gas oil wood or coal burning heaters shower heaters water heaters take combustion air from the instal lation location and dischar...
Page 9: ...eason Operate gas cookers only when there is a cooking pot on them Operating multiple gas cookers simultaneously creates high heat A ventilation device placed over the cookers can be damaged or burned...
Page 10: ...e due to ingress of mois ture in the electronics Do not clean the control components with a wet cloth The surface could be damaged due to a wrong cleaning process Clean stainless steel sur faces only...
Page 11: ...CAUTION Damage hazard due to corrosion Always run the appliance to prevent condensate formation while cooking Condensates may cause corrosion damage Replace the malfunctioning lamp right away to preve...
Page 12: ...through the external wall a tele scopic wall safe must be used Ventilated air mode Absorbed air is cleaned by the grease filters and an active carbon filter and then it is transferred back to the kitc...
Page 13: ...arbon filter in the dishwasher loosely and steeply and without any other dishes 5 Start a program with a maximum temperature of 55 C 6 Let the active carbon filter to dry in open air for 24 hours or 4...
Page 14: ...ssive cleaning agents containing sand soda acid or chlorine n Clean the stainless steel surfaces in their brushing direction only n Do not use stainless steel cleaning agents and wet clothes for contr...
Page 15: ...ue to wrong detergent Soften the metal oil filter in hot water and clean it with a soft brush 6 Rinse the metal oil filter in hot water 7 Place the metal oil filter in the dishwasher loosely and steep...
Page 16: ...ormed n Report the transport issues immediately to transport operator n Any faults encountered shall be reported to the dealer too n Do not allow children to play the with packaging materials 7 2 Reco...
Page 17: ...your product according to its normal speeds n Use at higher speed would cause an increase in the energy consumption APPLIANCE POSITION Recommendations for Energy Saving 28 03 2019 HOOD USER GUIDE ENGL...
Page 18: ...ler 3 Installation Template 4 User manual 5 4x Steel Suspender Rope 6 4x Hanging Plate 7 8 x 10mm Plastic Dowels 8 8x 5 5x60 Wall Mount Screw 9 4X M5 x 15 Screws 10 8X 3 5x9 5 Flue Connection Screw CO...
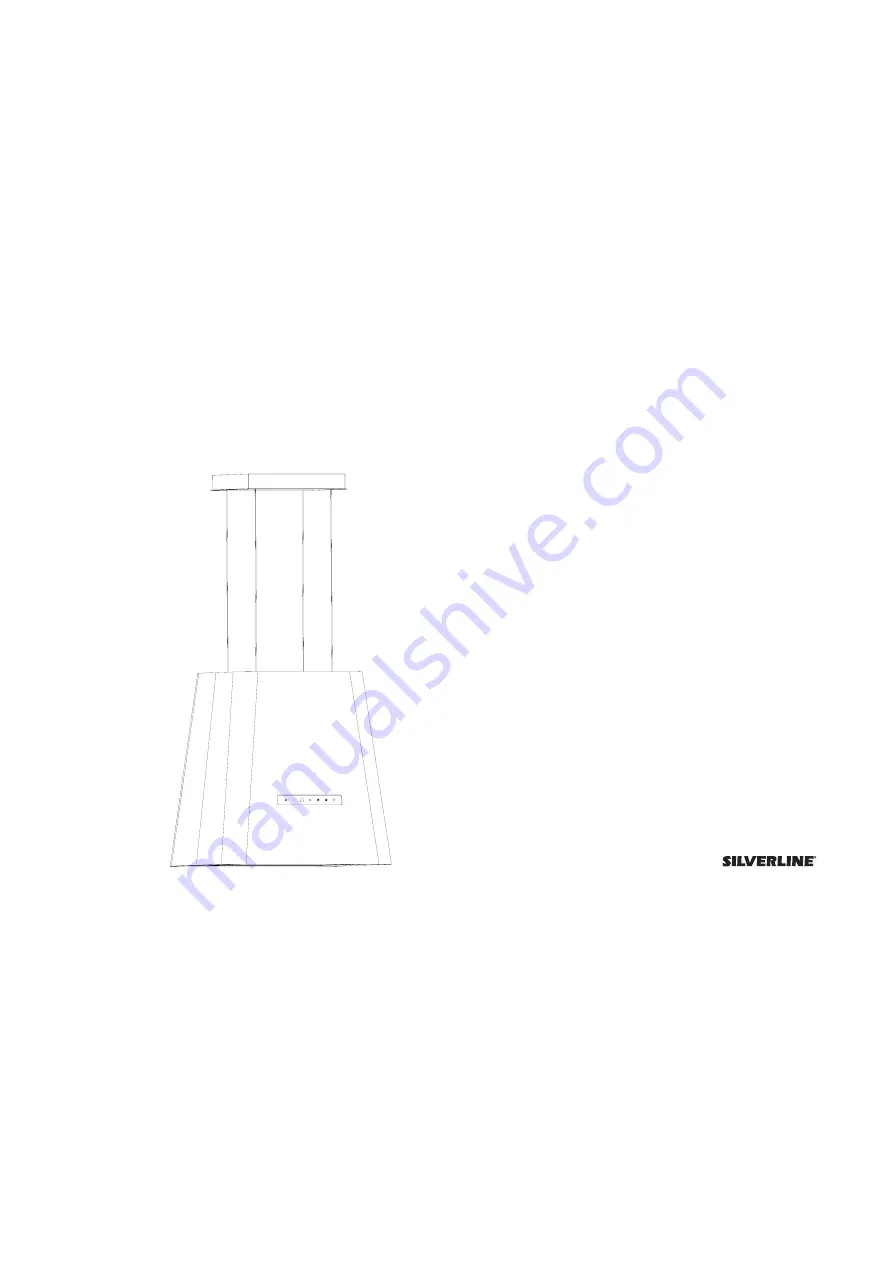
Page 19: ...9 OVERVIEW OF hood Fig 10 1 Ceiling carrier plate cover 2 Hanger wires 3 Feeding Cable 4 Body 5 Control Panel OVERVIEW OF hood 28 03 2019 HOOD USER GUIDE ENGLISH 19...
Page 20: ...11 2 Insert 10 mm plastic dowels into the drilled points A B C D E F G H Fig 11 3 Install the Ceiling Connection plate to the ceiling at points A B C D E F G H with 5 5x60 screws 4 Fig 11 Fig 12 1 Cei...
Page 21: ...rier wires will prevent the wires to move away from its position or backwards as long as the stop pims are not pressed forward Fig 13 1 Fixing plate 2 Securing bolt 3 Fixing bolts 4 Feeding Cable 1 Mo...
Page 22: ...y after 15 minutes Fig 14 6 Press this button to turn on and off the lamp Fig 14 Filters should be cleaned when C signal appears on the Display or due to usage every 2 or 3 weeks To delete C signal af...
Page 23: ...d Increase 3 Motor Speed Decrease 4 Lighting On Off Remote control is sold together with the product optionally The product you bought may not have remote control option Fig 15 REMOTE CONTROL REMOTE C...
Page 24: ...13 Changing the appliance lamp Contact the dealer or customer service when the lamp of the appli ance fails Changing the appliance lamp 28 03 2019 HOOD USER GUIDE ENGLISH 24...
Page 25: ...gulation on Electro magnetic Compliance and 2014 35 EC Regulation on Low Voltage Devices LVD Directives This device complies with the Directive on the Control of Waste Electrical and Electronic Equipm...