Chapter 5
Setup and Configuration
RUGGEDCOM ROX II
User Guide
248
Viewing the Status of IPv4 Routes
4. Click
Commit
to save the changes or click
Revert All
to abort. A confirmation dialog box appears. Click
OK
to proceed.
5. Click
Exit Transaction
or continue making changes.
Section 5.7
Viewing the Status of IPv4 Routes
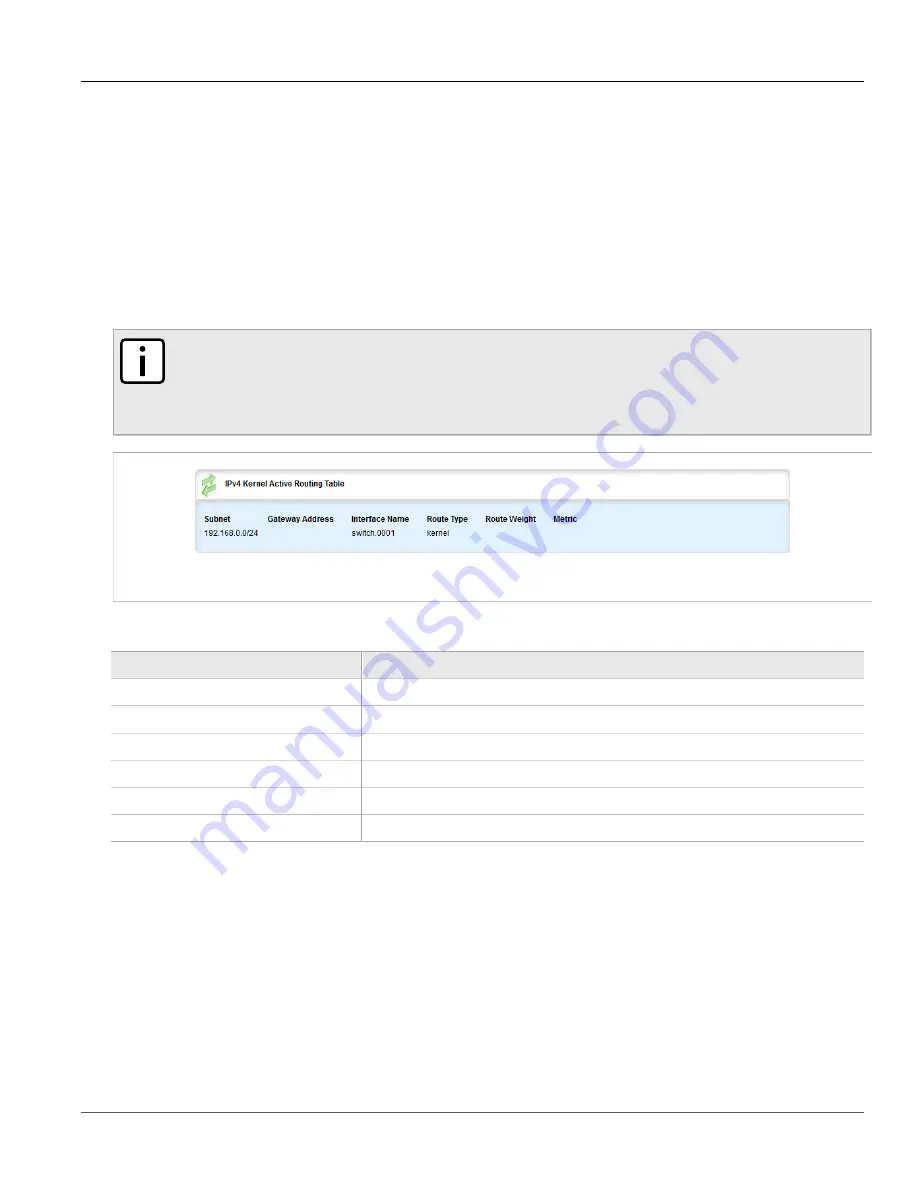
To view the status of the IPv4 routes configured on the device, navigate to
routing
»
status
»
ipv4routes
. If IPv4
routes have been configured, the
IPv4 Kernel Active Routing
table appears.
NOTE
It is possible to create a route on a locally connected broadcast network (i.e. without a gateway)
without also bringing up a corresponding IP address on that interface. For example, it would
be possible to add 192.168.1.0/24 to switch.0001, which has an IP address of 10.0.1.1 but no
corresponding alias address on the 192.168.1.0/24 subnet.
Figure 256: IPv4 Kernel Active Routing Table
This table provides the following information:
Parameter
Description
Subnet
The network/prefix.
Gateway Address
The gateway address.
Interface Name
The interface name.
Route Type
The route type.
Route Weight
The route weight.
Metric
The route metric value.
If no IPv4 routes have been configured, add routes as needed. For more information, refer to
Section 5.8
Viewing the Status of IPv6 Routes
To view the status of the IPv6 routes configured on the device, navigate to
routing
»
status
»
ipv6routes
. If IPv6
routes have been configured, the
IPv6 Kernel Active Routing
table appears.
Summary of Contents for RUGGEDCOM RX1510
Page 32: ...RUGGEDCOM ROX II User Guide Preface Customer Support xxxii ...
Page 44: ...RUGGEDCOM ROX II User Guide Chapter 1 Introduction User Permissions 12 ...
Page 62: ...RUGGEDCOM ROX II User Guide Chapter 2 Using ROX II Using the Command Line Interface 30 ...
Page 268: ...RUGGEDCOM ROX II User Guide Chapter 4 System Administration Deleting a Scheduled Job 236 ...


