6.3
Configuring the safety laser scanner
6.3.1
Starting nanoScan3 Tool configuration software
1.
Click on
Installation
in the robot controller.
2.
Under
URCaps
, click on
nanoScan3 Tool
.
✓
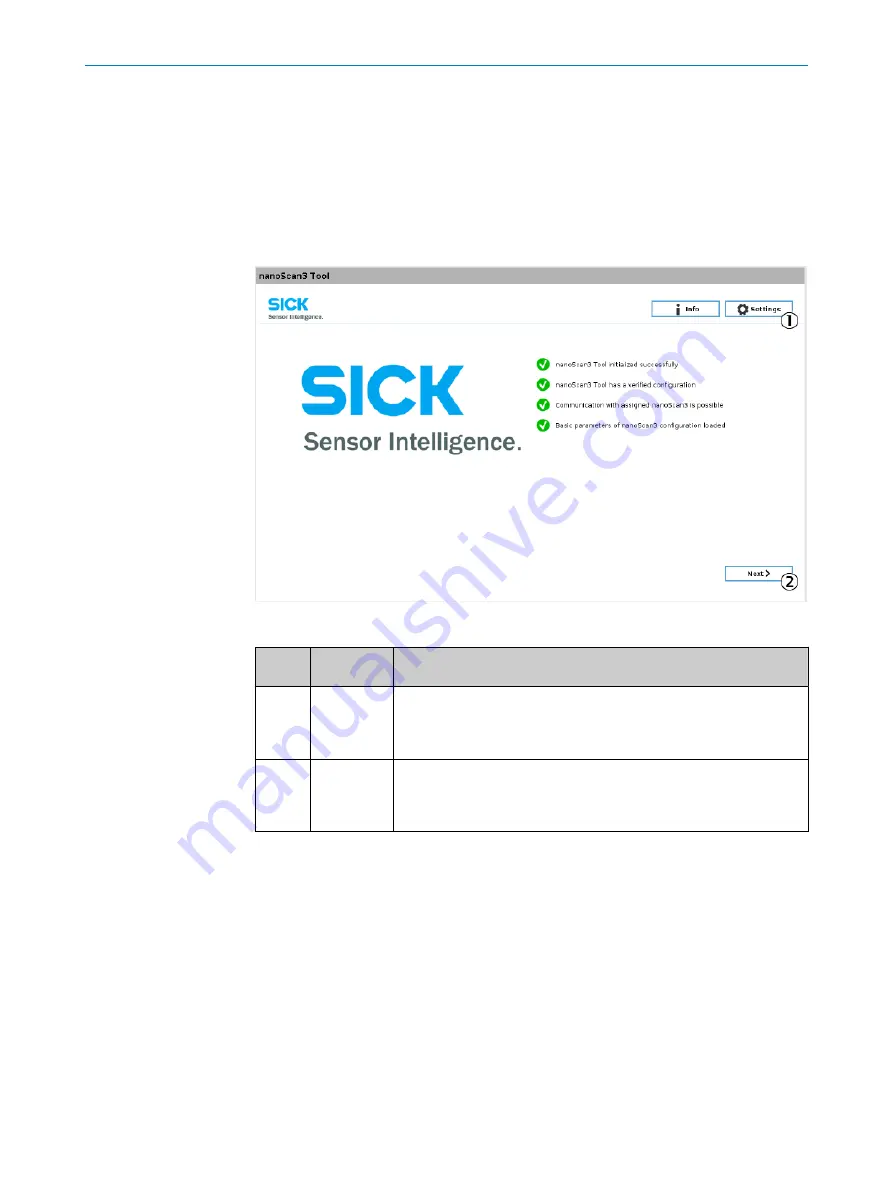
The start screen is displayed.
6.3.2
Configuration in 2 steps
Figure 8: Start screen
Num‐
ber
Menu
Function
1
Settings
General configuration Here, for example, the dimensions of the table or
safety-relevant distances are configured.
The general configuration usually only needs to be carried out during
initial commissioning.
2
Next
Configuration of fields The fields are configured in the layout screen.
You can then check and transfer the configuration.
The fields must be reconfigured as soon as the position or the environ‐
ment of the robot is changed.
6.3.3
General configuration
6.3.3.1
Logging in
6.3.3.1.1
Logging in as service technician
Approach
1.
In the start screen, click on
Settings
.
✓
The
Settings
dialog is displayed.
2.
During the first login, the password must be changed. Use the following standard
password:
SICKSAFE
Enter new desired password 2 × and click on
Approve
.
3.
Enter selected password for service technician.
CONFIGURATION
6
8025720/1A9R/2020-12-15 | SICK
O P E R A T I N G I N S T R U C T I O N S | nanoScan3 Tool - URCap
17
Subject to change without notice


