3
2. Installation Of The XPC 802.11b/g Wireless Kit
Installing the XPC 802.11b/g Wireless Kit is quick and easy. Sim-
ply follow the steps below to install the hardware, followed by a few
clic ks of t he mouse and you will be up and running on your own
wireless network.
2.1 Hardware Setup
STEP 1
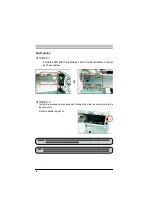
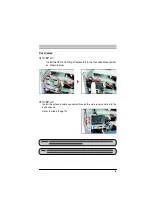
Unfasten the screws on the back panel and remove the case.
STEP 2
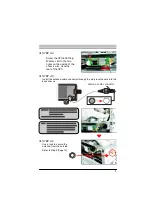
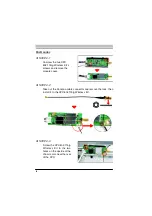
Use a 6mm screwdriver to puncture the perforated hole on the back
panel from the outs ide in. Once the screwdriver can pass through
the hole, carefully snap the metal tag off.
Note :
If the cover still does not detach, carefully
of the chassis.
Note :
The installation process of XPC 802.11b/g Wireless Kit will
be different for each XPC model and dependent on each XPC
design. Please refer to the following installation instructions for
your XPC model.
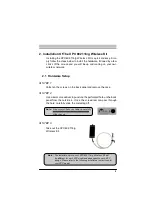
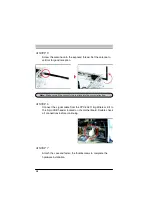
STEP 3
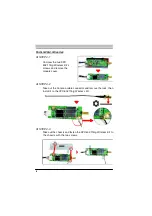
Take out the XPC 802.11b/g
Wireless Kit.


