Shining 3D Transcan-C_User Manual_V1.4.2
24
5.2.
Before Scanning
5.2.1.
Create a Project
Enter the interface of New Project and Open Project. The initial default work save location is on the
desktop unless the user opts to change this.
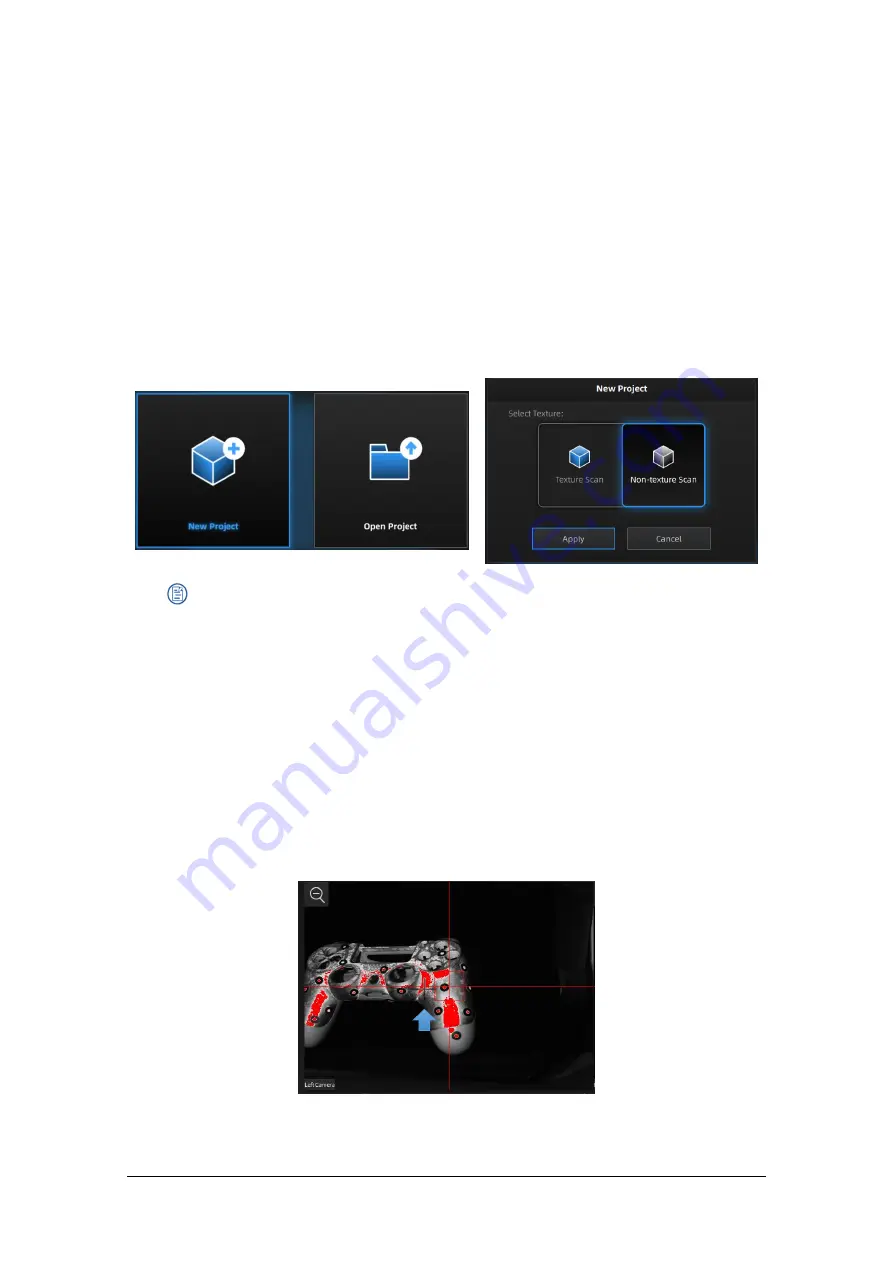
Click “New Project”, enter the work name to select texture.
Texture scan is only available after white balance calibration. Using texture scan, the data is scanned
with color, and the process is the same for texture and non-texture scan.
Create or open a project
Note
:
Under texture scan, if you do not use light box, ensure the illumination and brightness
casted on the scanned object are even.
Under texture scan, do not use colored light source such as colored light in indoor
environment.
5.2.2.
Working Distance
Before starting scanning, make sure that the scanned object is placed properly, check the black cross
projected on the object in the camera viewport, and adjust the position of the object until the cross is
within the red rectangle in the camera viewport. Make sure the scanner will not move during the
scanning.
If the cross is to the left of the red rectangle in the left camera window, it is too far away; if not, it is
too close.


