Shining 3D Transcan-C_User Manual_V1.4.2
14
3.
Equipment
Regulation
Before adjusting the scanner, place the calibration pad, calibration board and calibration bracket at
the appropriate position to be scanned.
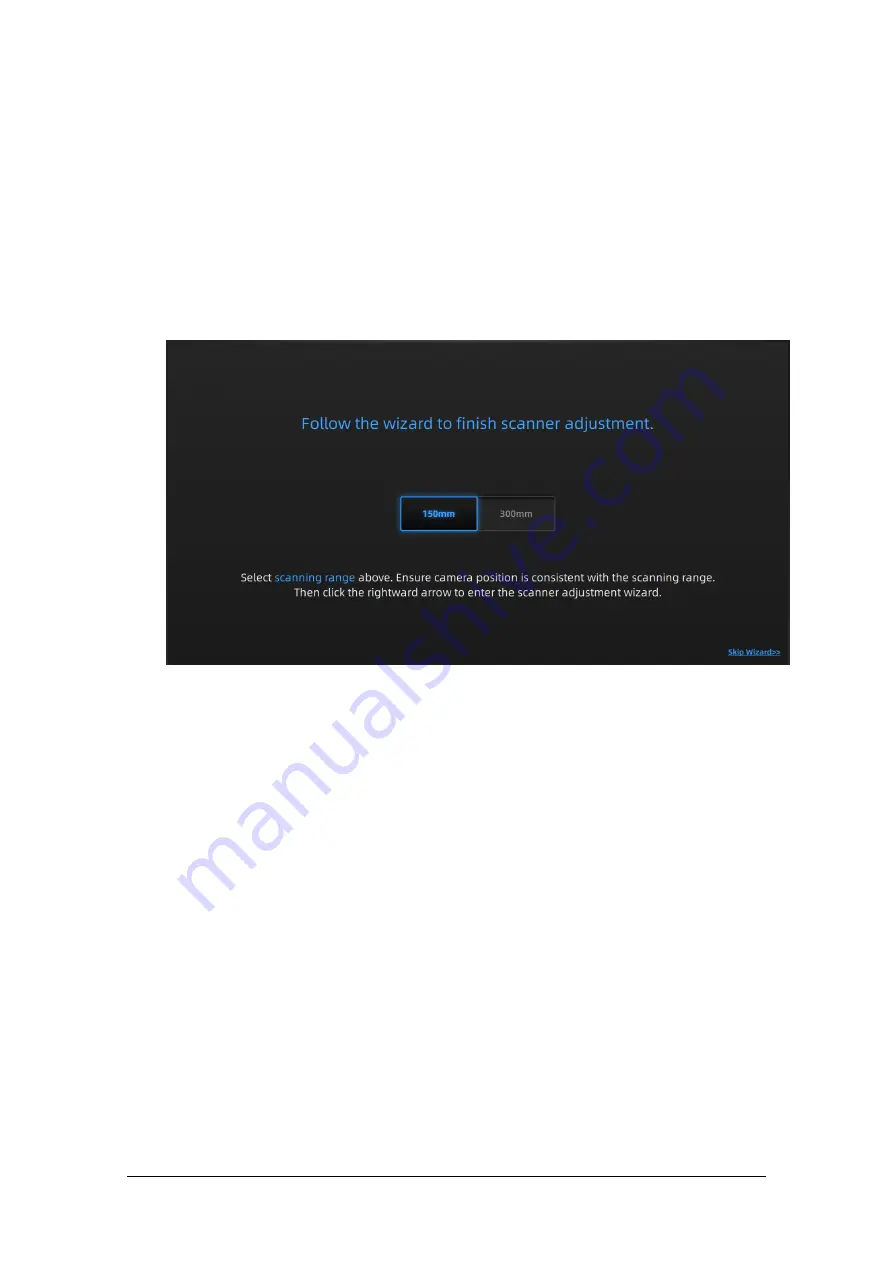
Open the software and click the device adjustment button in the navigation bar to enter the
device adjustment interface.
The scanner has two scanning ranges, 150mm and 300mm, which can be selected depending on
the size of the object.
Step
Place devices according to the following figure.
1)
Lay the calibration board flat on the table with the desired side facing the scanner.
2)
Adjust the bracket of the calibration board to the marking angle and place it to the first
calibration position.
3)
Place the calibration plate on the stand.
4)
Move the scanner to the front position of the calibration board (or move the calibration
plate, bracket, and calibration pad as a whole). Adjust the scan head left and right to the basic
level. Adjust the scanning head pitch angle so that the scanning head is basically perpendicular to
the calibration board; make the scanner projection parallel to the calibration borad.


