8-13
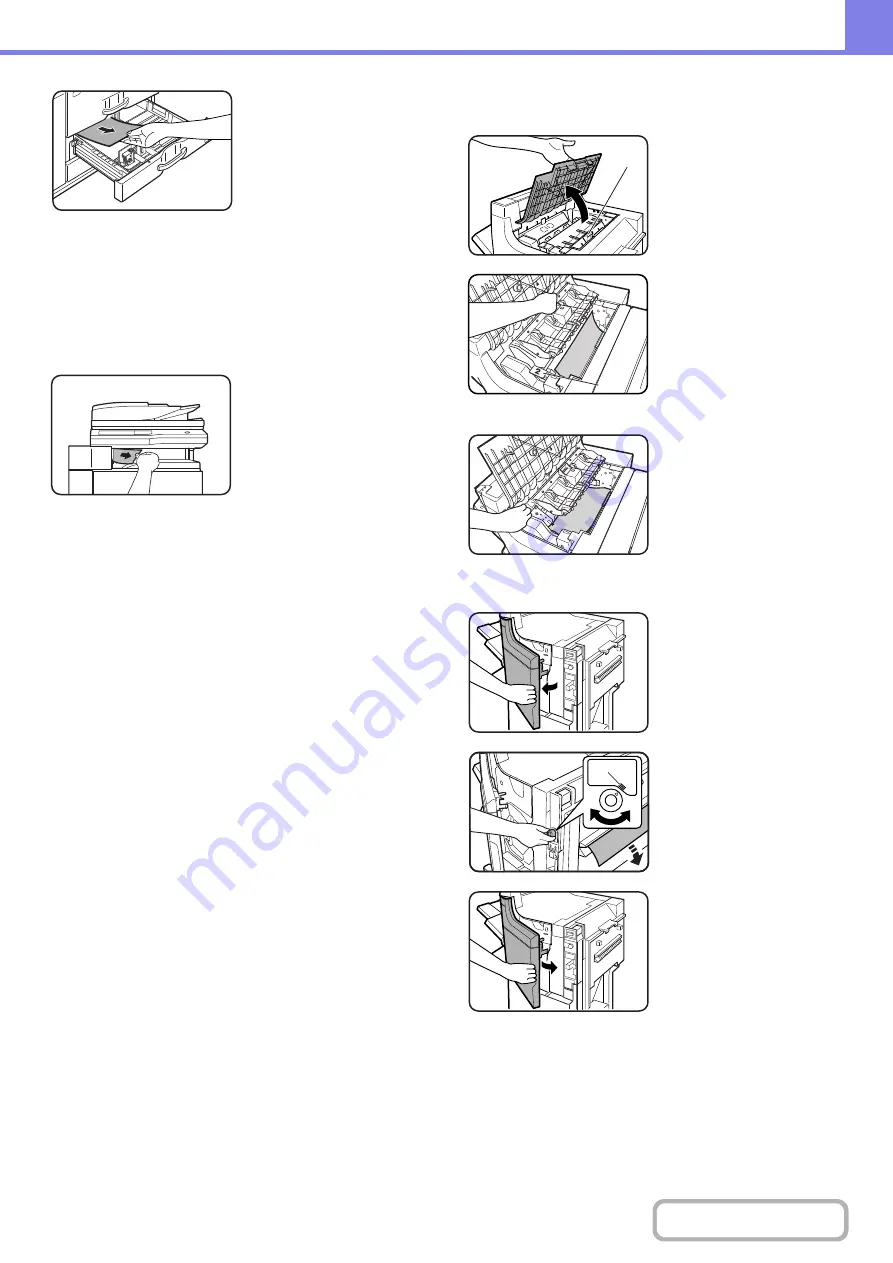
If misfed paper is not found
in the previous step’s
illustration, pull out paper
tray 3 and remove the
misfed paper.
Pull the tray all the way out
until it stops.
Check the paper transfer
unit inside the tray.
Be careful not to tear the
misfed paper during
removal.
(11) Paper misfeed in the output area
Be careful not to tear the
misfed paper during
removal.
(12) Paper misfeed in the saddle stitch
finisher (top)
Open the upper cover of the
finisher/saddle stitch
finisher.
When an inserter is
installed, lift the tray of the
inserter.
Lift knob (A) (see the
previous step’s illustration),
then remove any misfed
paper.
Be careful not to tear the
misfed paper during
removal.
Lift knob (B) (see the
previous step’s illustration)
and remove any misfed
paper.
Be careful not to tear the
misfed paper during
removal.
When a punch module is installed.
Open the front cover of the
finisher/saddle stitch
finisher.
Rotate the green knob until
the arrow is within the range
(A) on the label, and remove
the misfed paper.
Be careful not to tear the
misfed paper during
removal.
Close the front cover of the
finisher/saddle stitch
finisher.
(A)
(B)
(A)
Summary of Contents for MX-M623
Page 6: ...Make a copy on this type of paper Tab Paper Transparency film ...
Page 11: ...Conserve Print on both sides of the paper Print multiple pages on one side of the paper ...
Page 35: ...Organize my files Delete a file Delete all files Periodically delete files Change the folder ...
Page 324: ...3 18 PRINTER Contents 4 Click the Print button Printing begins ...


