


2-39
MAKING COPIES USING THE BYPASS TRAY
In addition to plain paper, the bypass tray allows you to make copies on transparency film, tab paper, and other special
media.
For detailed information on paper that can be loaded in the bypass tray, see "
"
(page 1-27) in "1. BEFORE USING THE MACHINE". For precautions when loading paper in the bypass tray, see
"
LOADING PAPER IN THE BYPASS TRAY
" (page 1-42) in "1. BEFORE USING THE MACHINE".
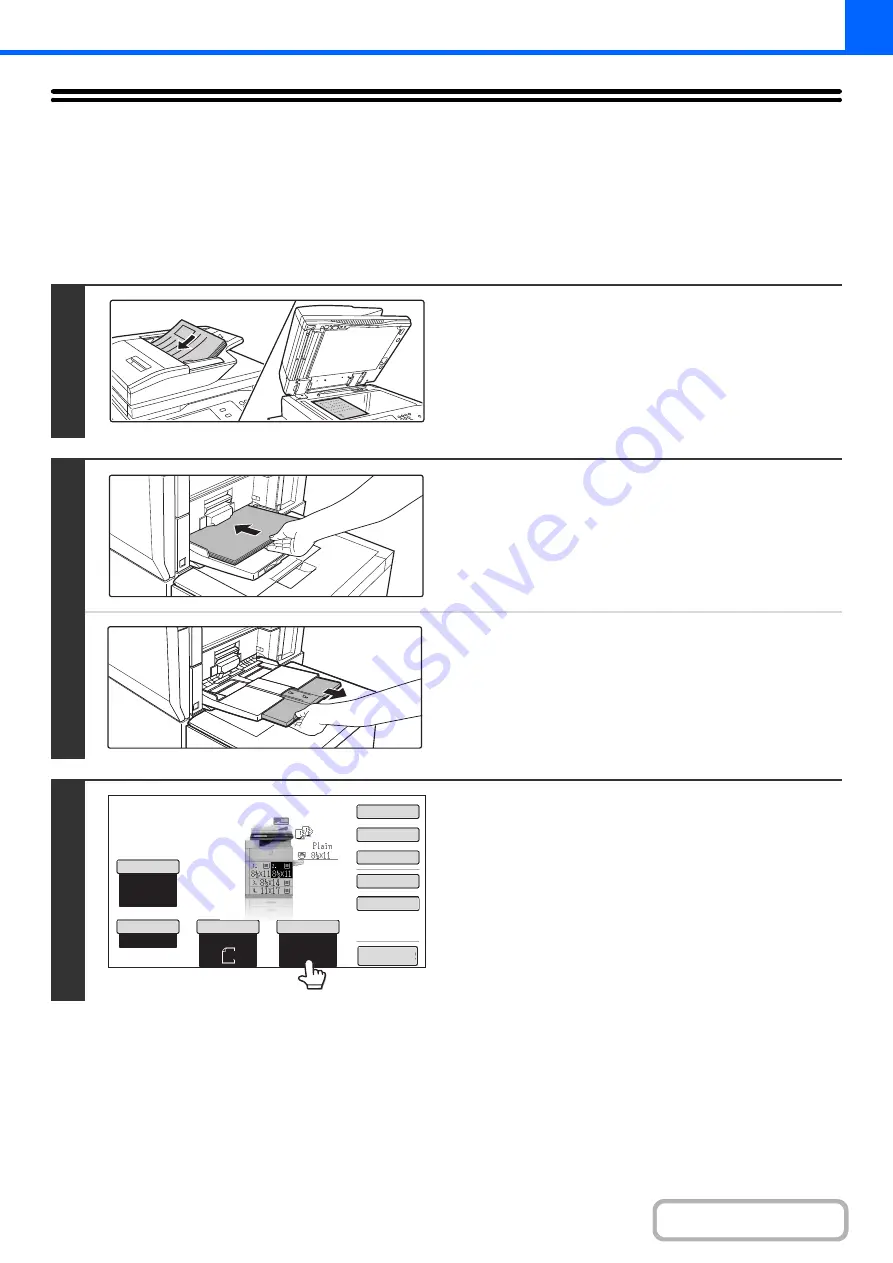
1
Place the original.
Place the original face up in the document feeder tray, or face
down on the document glass.
When placing the originals on the document glass...
After placing the original, be sure to close the automatic
document feeder. If left open, parts outside of the original will
be copied black, causing excessive use of toner.
2
Place paper in the bypass tray.
Insert the paper with print side face up.
However, if the paper type is "Letter Head" or "Pre-Printed",
load the paper with the print side face up*.
* If "Disabling of Duplex" is enabled in the system settings
(administrator), load the paper in the normal way (face up in
trays 1 to 5; face down in the bypass tray).
When loading 11" x 17", 8-1/2" x 14", 8-1/2" x 13", 8-1/2" x
11"R, A3, B4, or A4R paper, be sure to pull out the bypass tray
extension. Pull the bypass tray extension all the way out. If the
bypass tray extension is not pulled all the way out, the size of
the loaded paper will not be correctly displayed.
3
Touch the [Paper Select] key.
1
1
1
Special Modes
2-Sided Copy
Output
File
Quick File
Copy Ratio
100%
Original
Paper Select
Auto
8½x11
Plain
Auto
Exposure
Auto
8½x11
Preview
Summary of Contents for MX-M623
Page 6: ...Make a copy on this type of paper Tab Paper Transparency film ...
Page 11: ...Conserve Print on both sides of the paper Print multiple pages on one side of the paper ...
Page 35: ...Organize my files Delete a file Delete all files Periodically delete files Change the folder ...
Page 324: ...3 18 PRINTER Contents 4 Click the Print button Printing begins ...