1-52
This section explains how to clean the machine and replace the toner cartridges and stamp cartridge.
REGULAR MAINTENANCE
To ensure that the machine continues to provide top quality performance, periodically clean the machine.
CLEANING THE DOCUMENT GLASS AND AUTOMATIC
DOCUMENT FEEDER
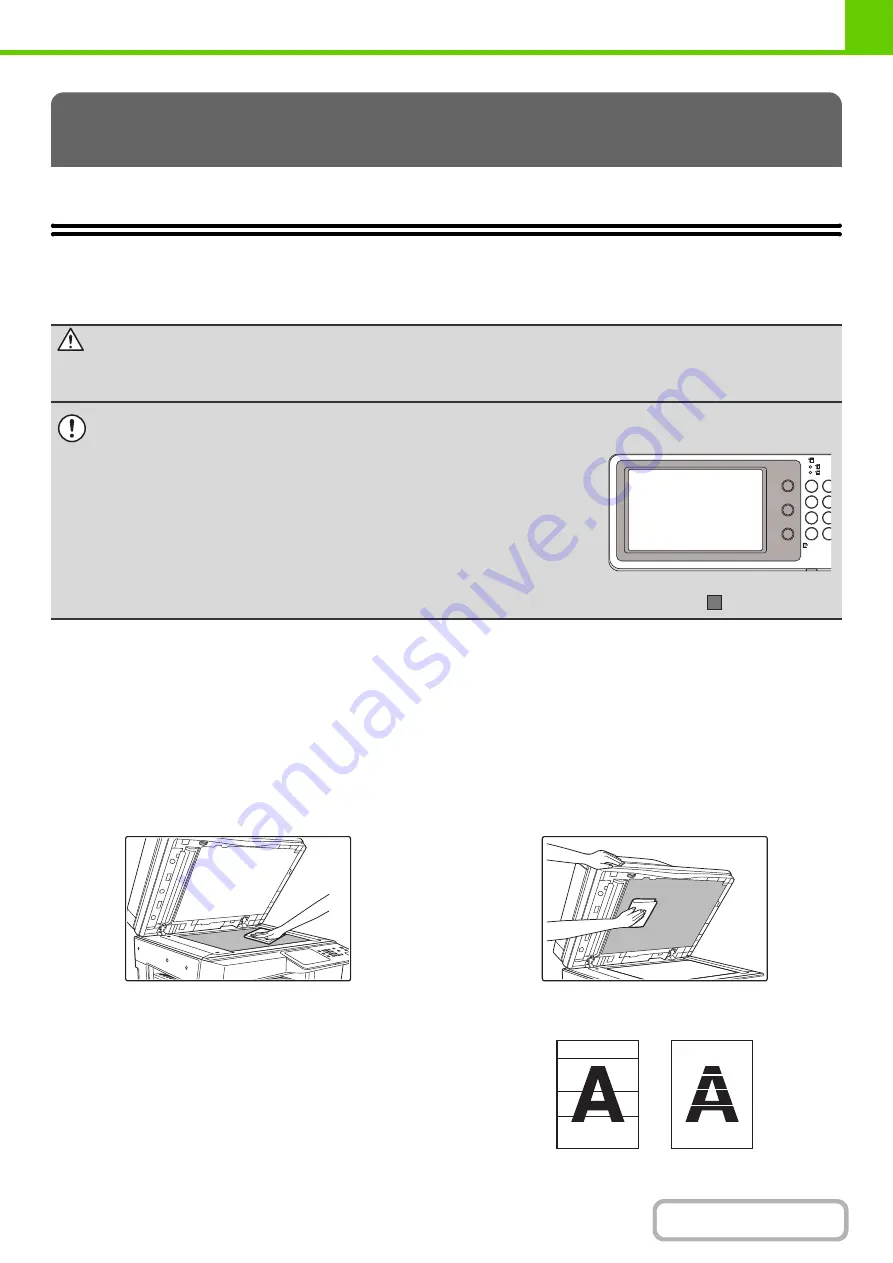
If the document glass or document backplate sheet becomes dirty, the dirt will appear as dirty spots, colored lines, or
white lines in the scanned image. Always keep these parts clean.
Wipe the parts with a clean, soft cloth.
If necessary, moisten the cloth with water or a small amount of neutral detergent. After wiping with the moistened cloth,
wipe the parts dry with a clean dry cloth.
Document
g
lass
Document backplate sheet
Scannin
g
area
If colored lines or white lines appear in images scanned
using the automatic document feeder, clean the scanning
area (the thin long glass next to the document glass).
To clean this area, use the glass cleaner that is stored in
the automatic document feeder. After using the glass
cleaner, be sure to return it to its storage position.
Examples of lines in the ima
g
e
MAINTENANCE
Warnin
g
Do not use a flammable spray to clean the machine. If
g
as from the spray comes in contact with hot electrical
components or the fusin
g
unit inside the machine, fire or electrical shock may result.
• Do not use thinner, benzene, or similar volatile cleaning agents to clean the machine. These may degrade or discolor the
housing.
• Use a soft cloth to gently wipe off dirt from the area on the operation panel with a
mirror-like finish (shown at right). If you use a stiff cloth or rub hard, the surface
may be damaged.
The area with a mirror-like finish is
the area that is
.
Black lines
White lines
Summary of Contents for MX-M266N
Page 8: ...Assemble output into a pamphlet Create a stapled pamphlet Staple output Create a blank margin ...
Page 11: ...Conserve Print on both sides of the paper Print multiple pages on one side of the paper ...
Page 35: ...Organize my files Delete a file Delete all files Periodically delete files Change the folder ...
Page 259: ...3 19 PRINTER Contents 4 Click the Print button Printing begins ...


