7-59
User Count
This displays the total number of pages printed by each user.
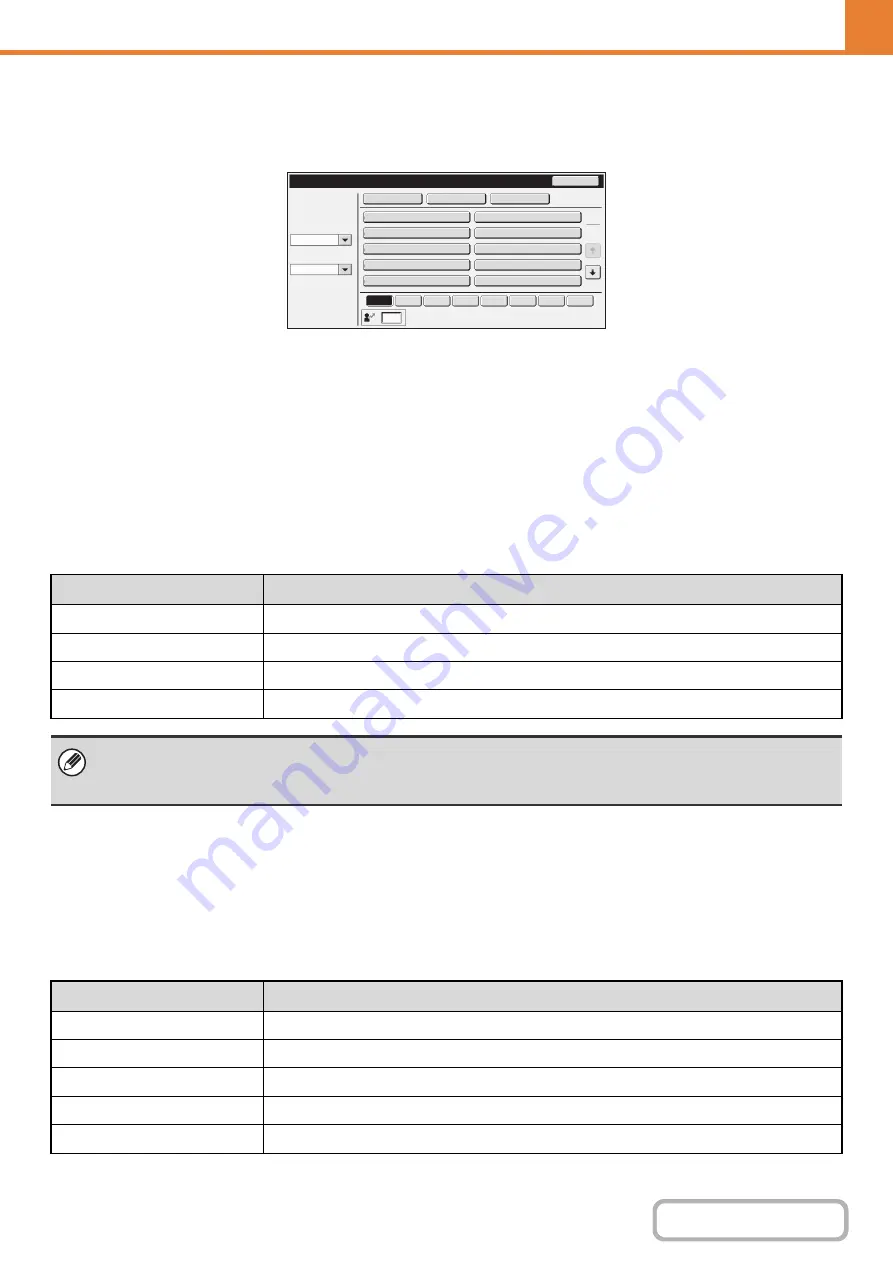
When the [User Count] key is touched, the following screen appears.
•
[Select All Users] key
This selects all users.
•
[Show] key
This shows the counts of the selected user.
•
[Delete] key
Use this to reset the counts of the selected user.
•
User List
This shows the factory-stored users and the currently
stored users. To select a user, select the user name.
Showin
g
user count
Select a user in the above screen and touch the [Show] key. The counts of that user will appear.
Resettin
g
user counts
Select a user in the setting screen and touch the [Reset] key. A count reset screen for that user will appear.
The reset screen will vary depending on whether a single user or multiple users were selected. The items displayed in
each case are described in the table below.
When a sin
g
le user is selected
User
Count
Back
Administrator
Other
User
User
Name
1
*
Name
2
Name
3
*
Name
4
Name
5
Name
6
Name
7
Select
All
Users
Show
Delete
ABCD
EFG
H
IJKL
MNOP
QRSTU
V
WXYZ
etc.
ABC
Search
Number
Index
Switch
Sorting
Order
All
1
2
Item
Settin
g
s
Next
This shows the next user (in the order of the registration numbers).
Previous
This shows the previous user (in the order of the registration numbers).
Show Counts
The counts and the number of pages remaining of the selected user are shown by function.
Page Limit
The page limit set for the user appears in parentheses below the count.
• Counts of devices that are not installed do not appear.
• A user count can be saved in the screen that appears when [User Control] - [User Count] - [Save User Count] is selected
in the Web page menu.
Item
Description
Next
This shows the next user (in the order of the registration numbers).
Previous
This shows the previous user (in the order of the registration numbers).
Show Counts
The counts and the number of pages remaining of the selected user are shown by function.
Clear Count
Reset the count of the selected item to "0".
Clear All Counts
Reset all items of the selected user to "0".
Summary of Contents for MX-M266N
Page 8: ...Assemble output into a pamphlet Create a stapled pamphlet Staple output Create a blank margin ...
Page 11: ...Conserve Print on both sides of the paper Print multiple pages on one side of the paper ...
Page 35: ...Organize my files Delete a file Delete all files Periodically delete files Change the folder ...
Page 259: ...3 19 PRINTER Contents 4 Click the Print button Printing begins ...


