7-13
Paper Tray Settin
g
s
Paper tray and paper type settings are explained in this section. Touch the [Paper Tray Settings] key to configure the
settings.
Tray Settin
g
s
These settings specify the paper type, paper size, and functions allowed for each paper tray.
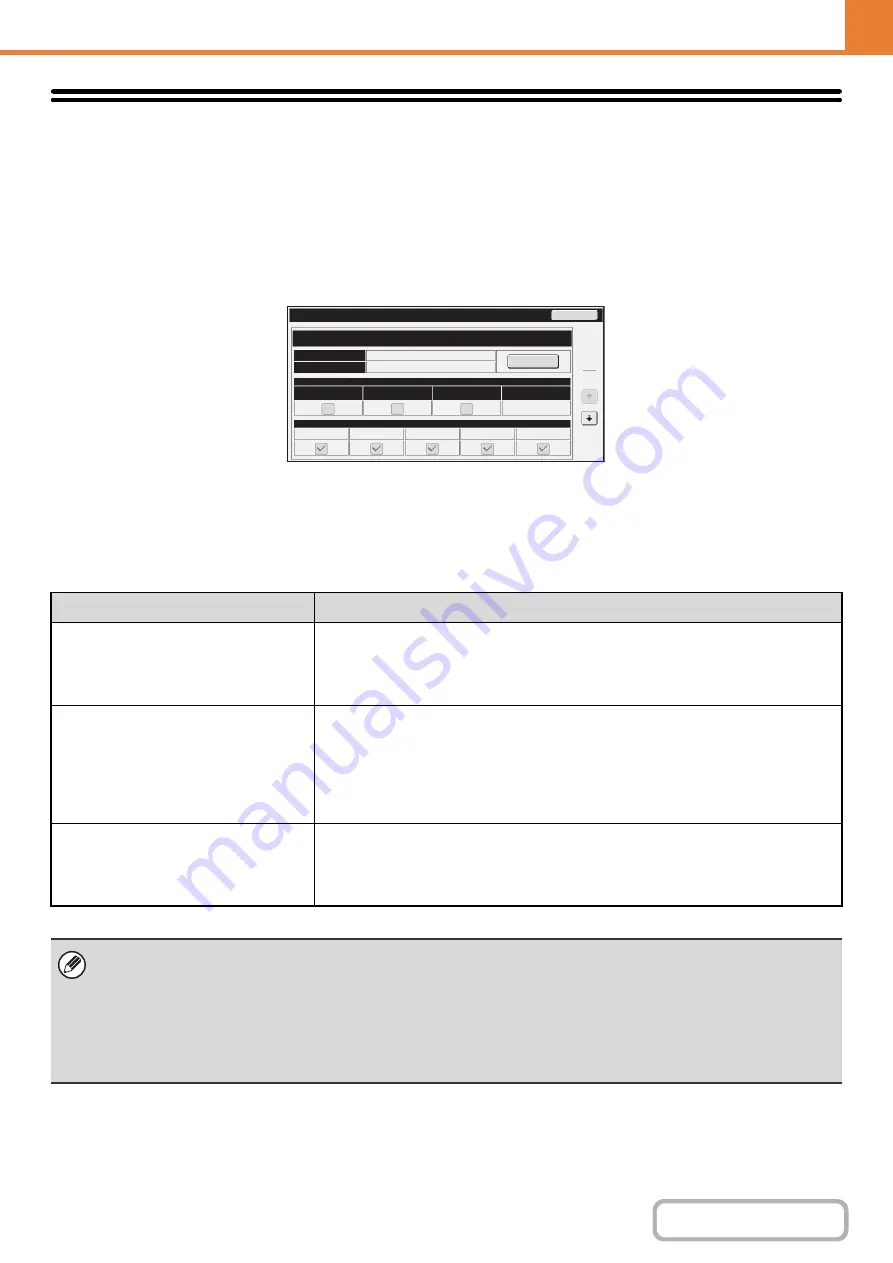
When the [Tray Settings] key is touched, a list appears showing the trays and the current settings.
Settin
g
s of each tray
Touch the [Change] key in the above screen to change the settings.
The following settings can be configured.
Item
Description
Type
Select the type of paper that is loaded in the tray.
The paper types that can be selected vary by paper tray. For more information, see
"
To store a new paper type, see "
" (page 7-15).
Size
Select the paper size from the list. The paper sizes that can be selected vary by tray.
The sizes that can be selected may also be restricted by the paper type selected
above. For more information, see "
" (page 7-14).
If the desired size does not appear in the list, select [Custom Size] and directly enter
the size (only for the bypass tray). For more information, see "
Feeding Approved Job
Select the modes that can be used. If there is a function that you do not wish to be
used with the selected tray, disable the function.
When the "Type" is other than plain paper, recycled paper, colored paper, or a user
type, [Fax] and [Internet Fax] cannot be selected.
• If the paper size specified here is different from the size of paper that is loaded in a tray, a problem or misfeed may result
when printing.
To change the paper size in a tray, see "1. BEFORE USING THE MACHINE".
• Paper properties such as "Fixed Paper Side" are automatically set when the paper type is selected. The paper tray
properties cannot be changed in this screen.
• If "
" (page 7-71) has been enabled in the system settings (administrator), the tray settings
(except for the bypass tray) cannot be configured.
Type
Si
z
e
Fixed
Paper
Side
Disable
Duplex
Paper
Property
Tray
1
Feeding
Approved
Job
Disable
Staple
Plain
8
-
1/2x11
Tray
Settings
Copy
Fax
I
-
Fax
Doc.
Filing
1
6
Change
Back
Summary of Contents for MX-M266N
Page 8: ...Assemble output into a pamphlet Create a stapled pamphlet Staple output Create a blank margin ...
Page 11: ...Conserve Print on both sides of the paper Print multiple pages on one side of the paper ...
Page 35: ...Organize my files Delete a file Delete all files Periodically delete files Change the folder ...
Page 259: ...3 19 PRINTER Contents 4 Click the Print button Printing begins ...


