4-38
TRANSMISSION USING THE SPEAKER
When the speaker is used to dial, the fax is sent after the number is dialed and the connection is established. If a person
answers, you will be able to hear his or her voice, but you will not be able to speak.
1
Place the ori
g
inal.
Place the original face up in the document feeder tray, or face
down on the document glass.
When the document glass is used, only one page can be
transmitted.
2
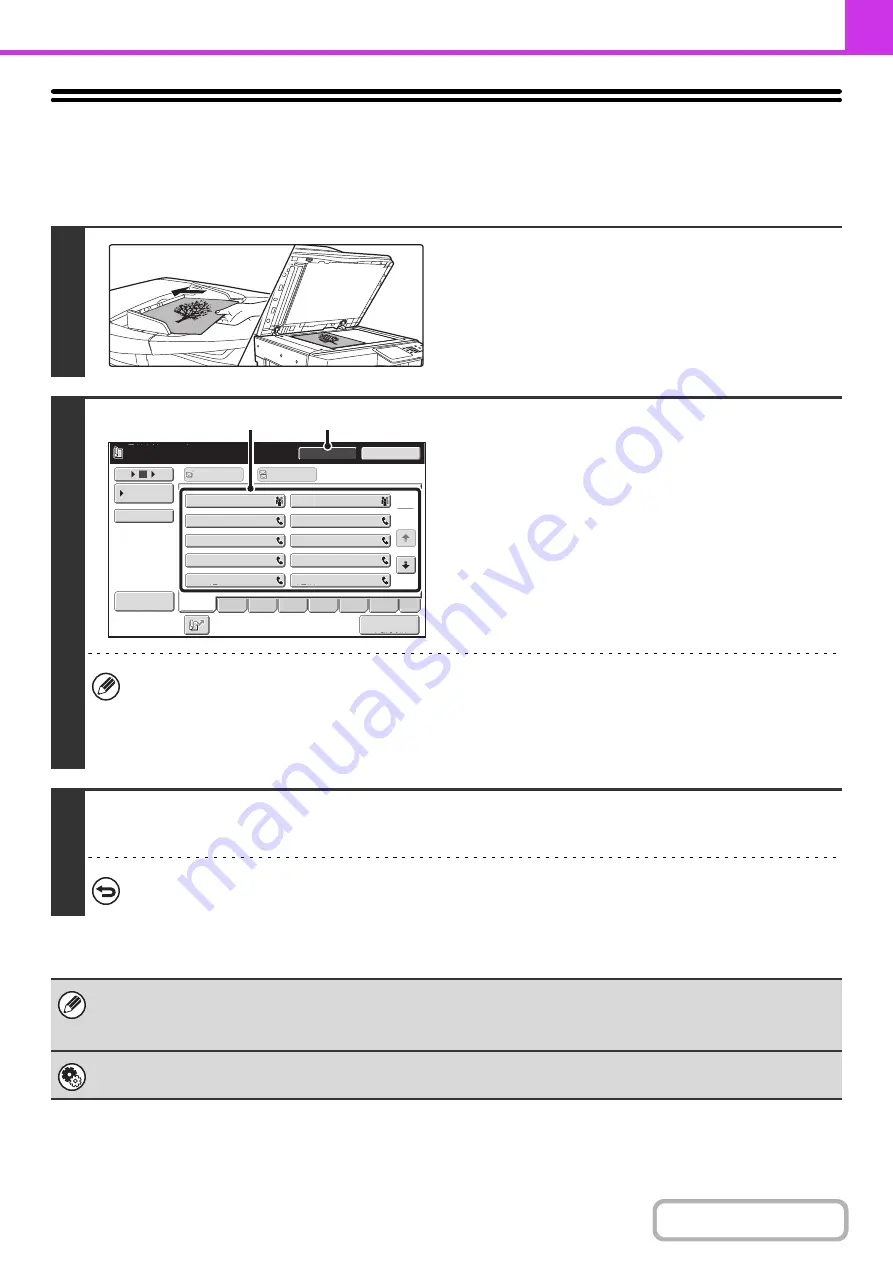
Enter the destination fax number.
(1) Touch the [Speaker] key.
You will hear the dial tone through the machine's speaker.
(2) Touch the [Address Book] key in the base
screen.
(3) Touch the one-touch key of the desired
destination.
A group key cannot be used.
• In addition to specification by one-touch key, a destination can also be specified using a search number. You can
also directly enter a fax number with the numeric keys or look up a destination in a global address book. For more
information, see "
• After touching the [Speaker] key, you can touch the [Speaker Volume] key to adjust the volume of the speaker. The
speaker volume changes each time the [Speaker Volume] key is touched. Adjust the volume to the desired level.
3
Wait until the connection is made and then press the [START] key.
Transmission begins.
To cancel transmission...
Touch the [Speaker] key before the [START] key is pressed. The line will be disconnected and transmission will stop.
• When the speaker is used, transmission takes place without scanning the original into memory.
• A destination that includes an F-code (sub-address and passcode) cannot be used.
• A one-touch key that has multiple destinations or has a non-fax destination cannot be used.
System Settin
g
s (Administrator): Speaker Settin
g
s
The default volume level of the speaker can be changed in the "Speaker Settings".
1
1
2
III III
GGG GGG
EEE EEE
CCC CCC
AAA AAA
JJJ JJJ
HHH HHH
FFF FFF
DDD DDD
BBB BBB
10
5
15
Speaker Volume
To
Cc
Telephone mode.
Fax Manual
Reception
Resend
Speaker
Condition
Settings
ABCD
Freq.
EFGH
IJKL
MNOP
QRSTU
VWXYZ
etc.
Sort Address
(3)
(1)
Summary of Contents for MX-M266N
Page 8: ...Assemble output into a pamphlet Create a stapled pamphlet Staple output Create a blank margin ...
Page 11: ...Conserve Print on both sides of the paper Print multiple pages on one side of the paper ...
Page 35: ...Organize my files Delete a file Delete all files Periodically delete files Change the folder ...
Page 259: ...3 19 PRINTER Contents 4 Click the Print button Printing begins ...


