2-23
REDUCTION/ENLARGEMENT/ZOOM
AUTOMATIC RATIO SELECTION (Auto Ima
g
e)
This section explains the automatic ratio selection function (Auto Image), which automatically selects the ratio to match
the paper size.
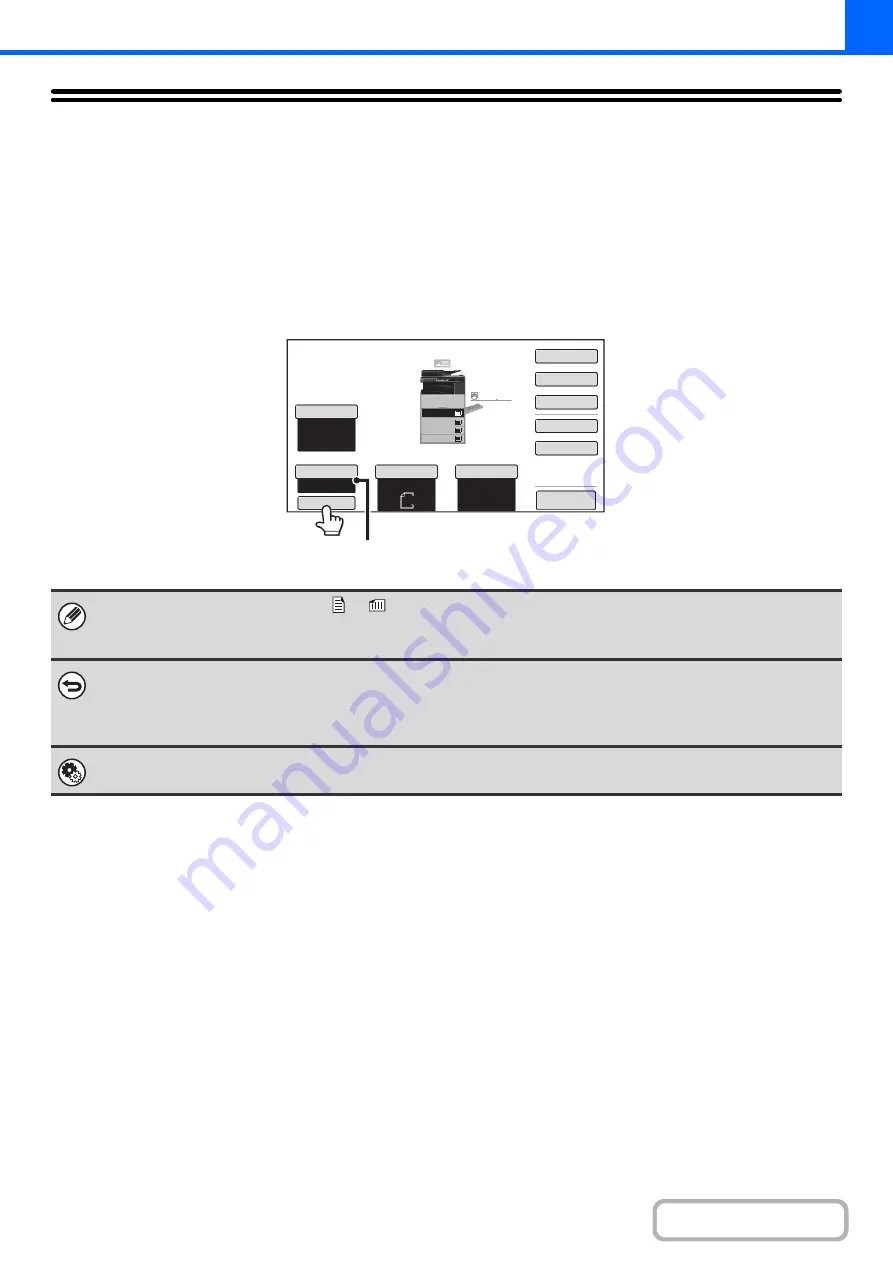
When the paper tray is manually changed, the [Auto Image] key appears in the base screen of copy mode. Touch the
[Auto Image] key to have the reduction or enlargement ratio automatically selected based on the original size and the
selected paper size.
First place the original and select the paper tray, and then touch the [Auto Image] key.
• If the message "Rotate original from
to
" is displayed, change the orientation of the original as indicated in the
message.
• For a non-standard size original, the size must be entered in order to use Auto Image.
•
To cancel automatic ratio selection...
Touch the [Auto Image] key so that it is no longer highlighted.
•
To return the ratio to 100%...
To return the ratio setting to 100%, touch the [Copy Ratio] key to display the ratio menu and then touch the [100%] key.
System Settin
g
s (Administrator): Initial Status Settin
g
s (Copy Ratio)
This is used to change the default copy ratio.
Auto
8
½
x11
Plain
8
½
x11
Color
Mode
Special
Modes
2
-
Sided
Copy
Output
File
Quick
File
Copy
Ratio
100
%
Original
Paper
Select
Auto
Full
Color
Exposure
Auto
Auto
Image
Preview
Plain
3.
1.
2.
4.
8
½
x11
11x17
8
½
x11R
8
½
x14
8
½
x11
3.
2.
4.
11x17
8
½
x11R
8
½
x14
1.
8
½
x11
Plain
8
½
x11
The selected ratio will appear in the ratio display.
Summary of Contents for MX-M266N
Page 8: ...Assemble output into a pamphlet Create a stapled pamphlet Staple output Create a blank margin ...
Page 11: ...Conserve Print on both sides of the paper Print multiple pages on one side of the paper ...
Page 35: ...Organize my files Delete a file Delete all files Periodically delete files Change the folder ...
Page 259: ...3 19 PRINTER Contents 4 Click the Print button Printing begins ...


