43
3
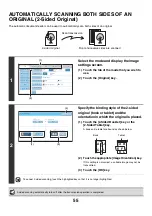
Specify the orientation in which the
original is placed.
When specifying the orientation of the image to be transmitted,
specify the orientation of the original placed in step 1.
(1) Touch the appropriate orientation key.
If the top edge of the original is up, touch the
key. If
the top edge of the original is to the left, touch the
key.
(2) Touch the [OK] key.
You will return to the screen of step 2.
The original orientation is initially set to
. If the original was placed with the top edge up, this step is not
necessary.
4
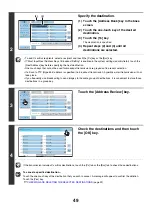
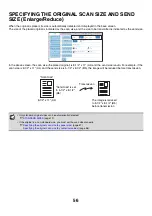
Specify the destination.
(1) Touch the [Address Book] key in the base
screen.
(2) Touch the key of the desired destination.
The
icon appears in one-touch keys in which Internet
fax addresses are stored.
(3) Touch the [To] key.
The destination is specified.
• After a one-touch key is touched, if the screen is changed without touching the [To] key, the destination is
automatically specified.
• In addition to specification by a one-touch key, a destination can also be specified by a search number. You can
also manually enter a destination or look up a destination in a global address book. For more information, see "
5
Press the [BLACK & WHITE START] key
(
).
Scanning begins.
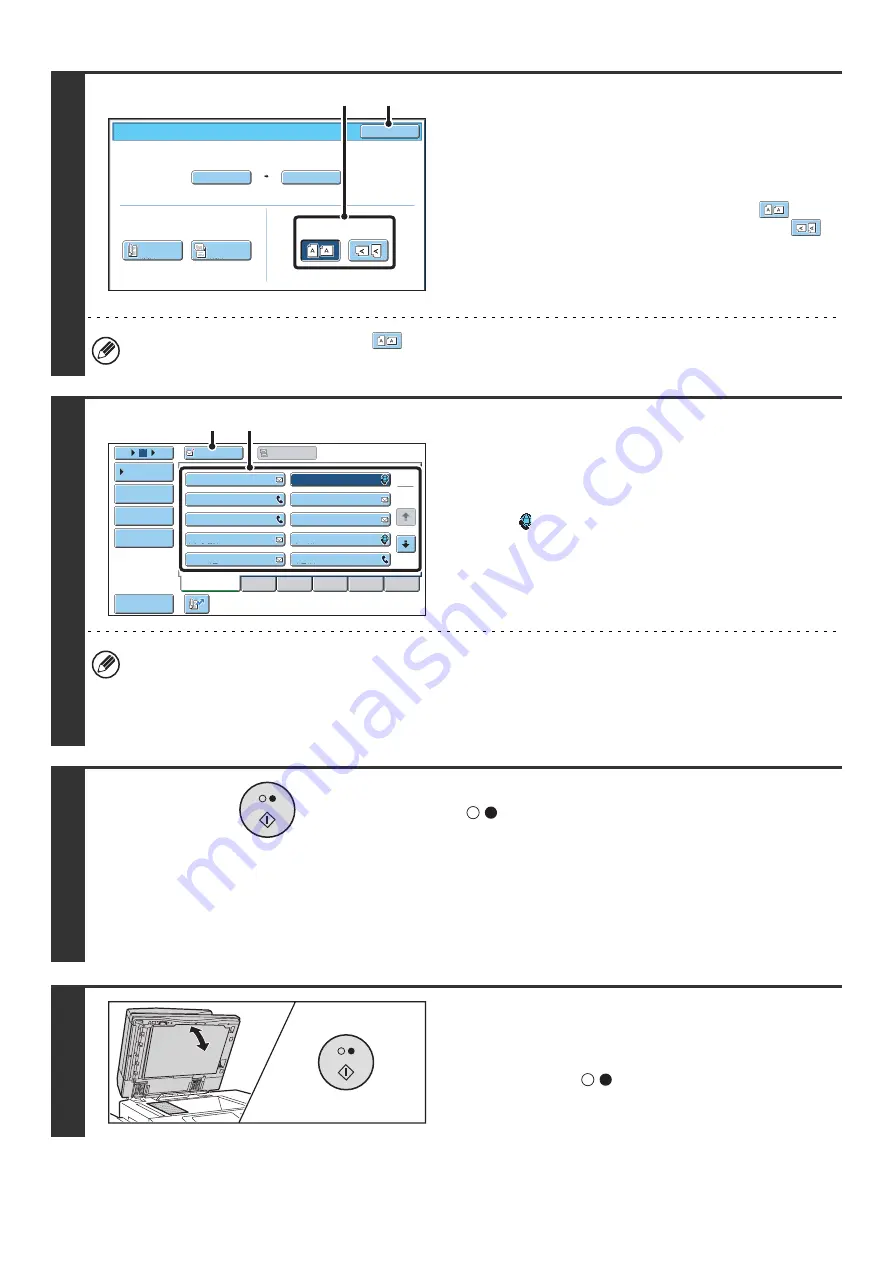
• If the original is placed on the document glass, the [Read-End]
key appears in the touch panel. If the original is only one page,
go to step 7. To scan more pages, go to the next step.
• If the original was inserted in the document feeder tray, a
beep will sound when scanning is completed and
transmission will take place.
6
If the original was placed on the
document glass, replace it with the next
original and press the [BLACK & WHITE
START] key (
).
Repeat until all originals have been scanned.
Internet Fax/Original
OK
Auto
Auto
8½
x11
Scan Si
z
e
2-Sided
Tablet
2-Sided
Booklet
Send Si
z
e
100%
Image Orientation
(2)
(1)
III III
GGG GGG
EEE EEE
CCC CCC
AAA AAA
JJJ JJJ
HHH HHH
FFF FFF
DDD DDD
BBB BBB
To
Cc
ABCD
Frequent Use
EFGHI
JKLMN
OPQRST
UVWXYZ
1
2
5
15
10
Global
Address Search
Address Entry
Sort Address
Address Review
Condition
Settings
(3)
(2)
Summary of Contents for MX-6201N Series
Page 1: ...User s Guide MX 6201N MX 7001N MODEL ...
Page 82: ...Copier Guide MX 6201N MX 7001N MODEL ...
Page 230: ...Facsimile Guide MX FXX1 MODEL ...
Page 361: ...Scanner Guide MX 6201N MX 7001N MODEL ...
Page 483: ...Printer Guide MX 6201N MX 7001N MODEL ...
Page 555: ...Document Filing Guide MX 6201N MX 7001N MODEL ...
Page 604: ...System Settings Guide MX 6201N MX 7001N MODEL ...


