


47
PRINTING A PASSWORD-PROTECTED FAX (Hold
Setting For Received Data Print)
You can turn off automatic printing of received faxes (Hold Setting for Received Data Print). When this function is
enabled, received faxes will not be printed automatically; a password entry screen will appear instead.
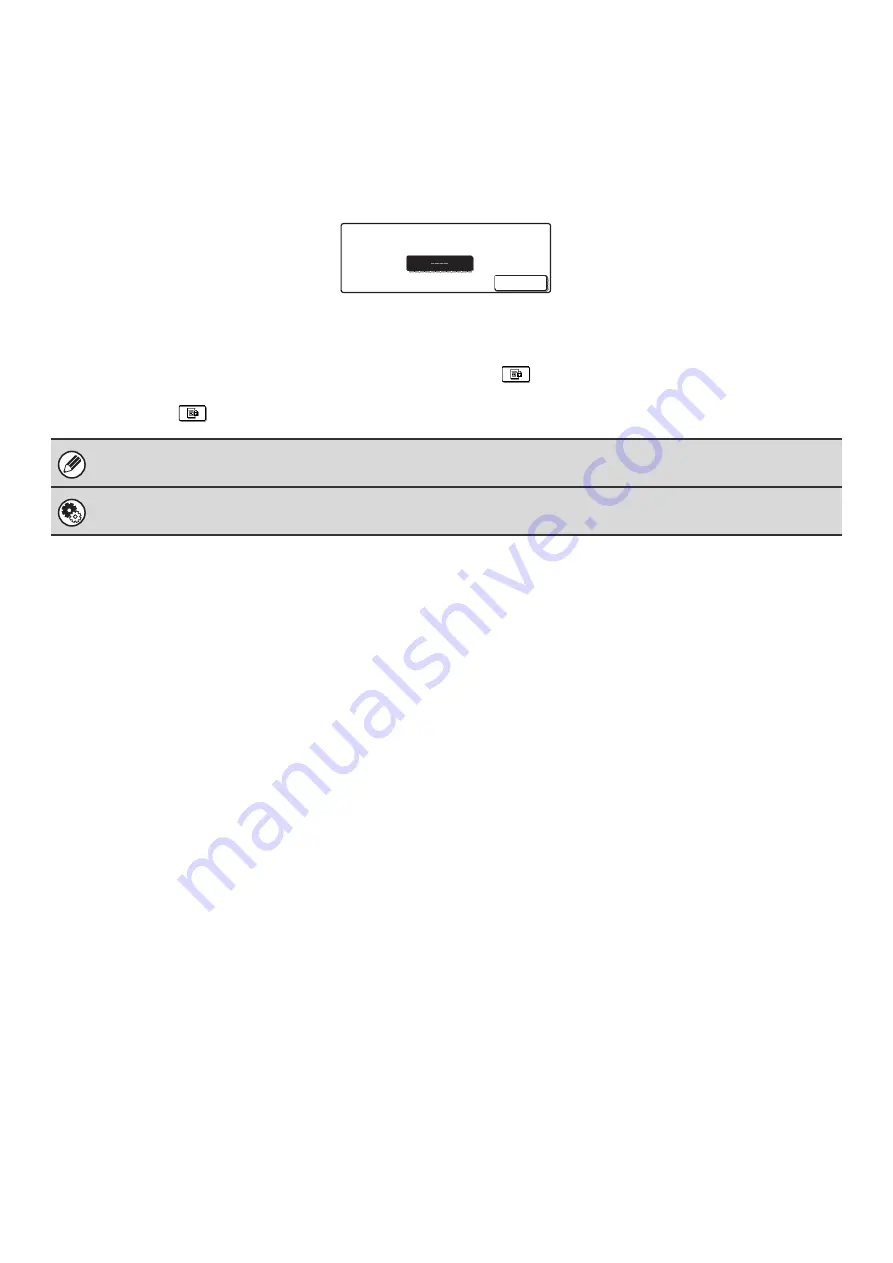
To print a received fax, enter the password that is programmed for this function (4 digits) with the numeric keys.
To close the password entry screen without entering a password, touch the [Cancel] key. The password entry screen will
appear again if the mode is changed.
In addition, after the [Cancel] key is touched to close the screen, the
key will blink in the base screen as a reminder
that a received fax is being held.
Touch the blinking
key to enter the password and print the fax.
"Hold Setting for Received Data Print" can be enabled for received faxes and also for transaction reports that are printed with
the received faxes.
System Settings for Fax (administrator):
Hold Setting for Received Data Print
This is used to program a password for printing of received faxes.
Received data is stored.
Enter password via the 10-key.
Cancel
Password entry screen
Summary of Contents for MX-2300N Guide
Page 1: ...User s Guide MX 2300N MX 2700N MODEL ...
Page 67: ...System Settings Guide MX 2300N MX 2700N MODEL ...
Page 192: ...Copier Guide MX 2300N MX 2700N MODEL ...
Page 361: ...Printer Guide MX 2300N MX 2700N MODEL ...
Page 421: ...Scanner Guide MX 2300N MX 2700N MODEL ...
Page 552: ...Facsimile Guide MX FXX1 MODEL ...
Page 741: ...Document Filing Guide MX 2300N MX 2700N MODEL ...