background image

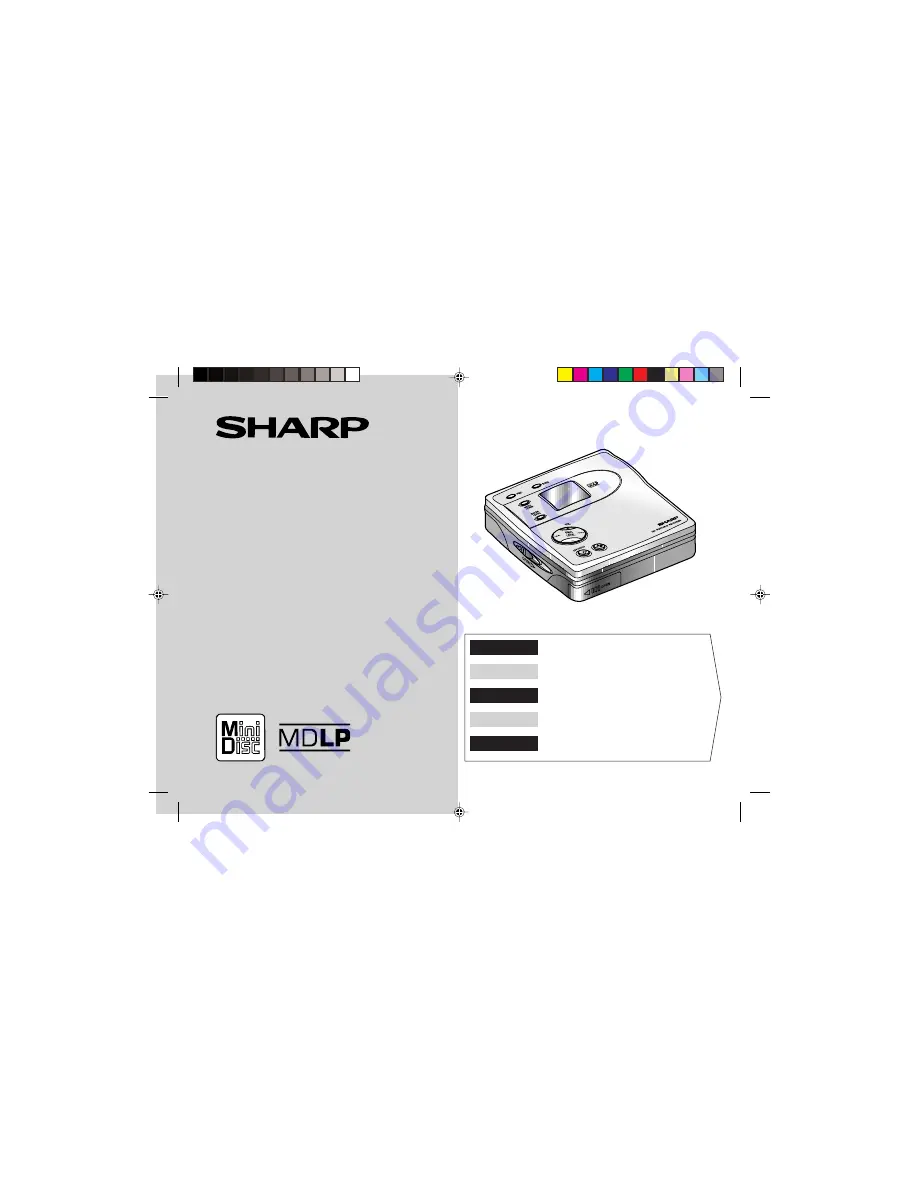
PORTABLER MINI-DISC RECORDER
LECTEUR-ENREGISTREUR MINIDISC PORTABLE
REGISTRATORE DI MINIDISCHI PORTATILE
DRAAGBARE MINIDISC RECORDER
PORTABLE MINIDISC RECORDER

MODELL MODEL
MODÈLE MODEL
MODELLO

MD-MT190H

BEDIENUNGSANLEITUNG
MODE D’EMPLOI
MANUALE DI ISTRUZIONI
GEBRUIKSAANWIJZING
OPERATION MANUAL

DEUTSCH

 ······ Siehe Seiten i bis vi und

D-1 bis D-44.

FRANÇAIS

 ······ Se reporter aux pages i à vi et

F-1 à F-44.

ITALIANO

 ······ Leggere le pagine i a vi e

I-1 a I-44.

NEDERLANDS  ······ Raadpleeg de bladzijden i t/m vi en

N-1 t/m N-44.

ENGLISH

 ······ Please refer to pages i to vi and

E-1 to E-44.

for SEEG

TINSZ0706AWZZ

Summary of Contents for MD-MT190H

Page 1: ...DELLO MD MT190H BEDIENUNGSANLEITUNG MODE D EMPLOI MANUALE DI ISTRUZIONI GEBRUIKSAANWIJZING OPERATION MANUAL DEUTSCH Siehe Seiten i bis vi und D 1 bis D 44 FRANÇAIS Se reporter aux pages i à vi et F 1 à F 44 ITALIANO Leggere le pagine i a vi e I 1 a I 44 NEDERLANDS Raadpleeg de bladzijden i t m vi en N 1 t m N 44 ENGLISH Please refer to pages i to vi and E 1 to E 44 for SEEG TINSZ0706AWZZ ...

Page 2: ...ing till yttre likspänningskälla skall det alltid finnas en säkring i kretsen Käytettäessä akkua tai mutta ulkopuolista tasajännitelähdettä on laitteen ja jännitelähteen välillä boltava sulakkeella varustettu adaptori When connecting the appliance to an external DC source ensure that there is a fuse protection in the circuit Audio visuelles Material kann Urheberrechte umfassen die ohne Genehmigung...

Page 3: ...efüllten Gegenstände wie Vasen auf dem Gerät abgestellt werden Attention Pour éviter un incendie ou une secousse électrique mettre l appareil à l abri d eau éclaboussure goutte Ne pas poser sur l appareil un récipient contenant du liquide Attenzione Per prevenire incendi o scosse elettriche non fare gocciolare nessun liquido sull apperecchio e non bagnarlo Non collocarvi sopra nessun oggetto riemp...

Page 4: ...NTION A pleine puissance l écoute prolongée du baladeur peut endommager l oreille de l utilisateur Le produit est en conformité avec la loi quand il est utilisé avec les écouteurs SHARP modèle n RPHOH0004AWZZ Si ceux ci venaient à être endommagés remplacez les par des écouteurs appropriés AVVERTENZA L ascolto prolungato ad alto volume di uno stereo personal può danneggiare l udito ll modello è in ...

Page 5: ...oni LET OP Gebruik deze draagbare MiniDisc recorder alleen zoals in de aanwijzingen in deze gebruiksaanwijzing staat vermeld Maak geen veranderingen in de interlockschakelaar of andere onderdelen daar dit mogelijk blootstelling aan gevaarlijke stralingen veroorzaakt CAUTION Use the portable minidisc recorder only in accordance with the instructions given in this manual and do not attempt to interf...

Page 6: ...crittura max 10 mW 0 5 S ciclo minimo 1 5 S Ripetizione Karakteristieken van laserdiode Materiaal GaAlAs Golflengte 785 nm Pulstijden Leesfunctie 0 8 mW Doorlopend Schrijffunctie max 10 mW 0 5 S min cycle 1 5 S Herhaling v Laser Diode Properties Material GaAlAs Wavelength 785 nm Pulse time Read mode 0 8 mW Continuous Write mode max 10 mW 0 5S min cycle 1 5S Repetition Laserdiodens egenskaber Mater...

Page 7: ...ung stets den Netzstecker aus der Netzsteckdose ziehen Attention L adaptateur CA livré avec l appareil contient des organes non réparables par l utilisateur À moins d être qualifié on ne démontera pas l appareil qui renferme des organes portés à haute tension Débrancher l appareil avant toute réparation ou en période de non emploi prolongée Avvertenza L adattatore CA fornito in dotazione non conti...

Page 8: ...sic Operation Recording 11 13 Playback 14 15 Hold Function 15 Page Useful Features Advanced Playback 16 17 Advanced Recording 18 23 Recording from a Microphone 24 26 Checking Displays 27 28 Changing Default Settings 29 Advanced Features Titling a MiniDisc 30 32 Editing a Recorded MiniDisc 33 35 Listening through Another System 36 References Other Features and Caution 37 MiniDisc System Limitations...

Page 9: ...tion of this unit The letters in brackets contained in the model number indicate the colour of the product only Operation and specifications are unaffected Accessories Notes Optional Accessories Car adaptor AD CA20X Cassette adaptor AD CT14 Remote Control x 1 Earphones x 1 AC Adaptor RADPA7057AWZZ x 1 Rechargeable Nickel Metal Hy dride battery AD N55BT x 1 Battery Carrying Case x 1 ConnectionCable...

Page 10: ... 29 4 Enter Fast Play Synchro Button 12 17 20 5 Volume Cursor Fast Forward Fast Reverse Recording Level Name Select Button 11 14 16 31 6 Open Lever 9 7 Stop Power Off Hold Button 12 14 15 8 Rechargeable Battery Cover 6 9 Play Pause Button 12 14 10 Battery Case Connection Terminals 8 11 5 V DC Input Socket 7 12 Optical Line Input Socket 10 13 Microphone Input Socket 24 14 Remote Control Earphones L...

Page 11: ... Disc Mode Indicator 8 Synchro Recording Indicator 20 9 Total Track Number Indicator 27 10 Disc Name Indicator 27 11 TOC Indicator 12 12 Battery Indicator 28 13 Random Indicator 17 14 Track Number Indicator 27 15 Character Time Information Indicator Remote control unit Reference page 1 Earphones Socket 14 2 Bass Button 15 31 3 Volume Cursor Buttons 14 31 4 Hold Switch 15 5 Play Pause Button 12 14 ...

Page 12: ... humidity is extremely high Places with strong magnetic fields such as TVs or loud speakers Places exposed to vibration Places where sand can easily enter the inside of the unit beaches etc If the unit is used near radio tuners or TVs noise and or picture interference may result If you experience these problems move the unit away from such devices Do not wear your earphones when you are crossing s...

Page 13: ...normal When the portable MD is turned on or operating the battery will not be charged For information about the battery life see the battery item in the Specifications on page 44 Do not force the battery cover open too far AC 230V 50 60Hz To the DC IN 5V socket Insert the side first 1 Insert the rechargeable battery A rechargeable battery other than the AD N55BT cannot be charged 2 Plug the AC ada...

Page 14: ...ocket Note If power failure occurs whilst playing a disc using the AC adaptor disconnect it from the wall socket Otherwise play back may start automatically when electricity resumes Charge the battery within the range of 5 C 35 C 41 F 95 F The unit can be left in the charg ing state after it is completed Carry the battery in the supplied case Apply the case on the end Use the specified battery AD ...

Page 15: ...it is in the play mode playback will stop When in the recording mode the recorded contents will be erased and the power may be disconnected Do not replace the battery or the rechargeable battery during operation Do not use a rechargeable battery nickel cad mium battery etc in the battery case If the unit is not used for a long period of time remove the battery Even if the power is turned off the b...

Page 16: ...t may cause damage to the unit If resis tance is felt remove the MiniDisc and reload it The lid cannot be opened if TOC is displayed refer to the instruction on page 13 Recording prevented Recordable When you record on a MiniDisc check that the erase prevention tab is set to the Recordable position 1 Slide the OPEN lever to release the compart ment door 2 Lift it up 3 Insert a MiniDisc as shown 4 ...

Page 17: ...UT or AUDIO OUT sockets Analogue connection To the wall socket Red To Right White To Left Supplied connection cable To connect to a stereo system with a DIGITAL OUT or OPTICAL OUT socket Digital connection Compared to analogue connection recording it allows high quality recording Some audio systems do not have a DIGITAL OUT socket Check before connecting If the audio system has only one pair of so...

Page 18: ...cording level Analogue recording Adjust the recording level so that the maximum sound volume from the source makes the reading swing somewhere between 4 dB and 0 dB Level meter indicator Digital recording You can adjust the level in 1dB increments between 12dB and 12dB 12dB to 12dB Once you adjust the digital recording level the setting is retained even after the recording stops For cancel lation ...

Page 19: ...new recording from being lost it is not possible to remove the MiniDisc whilst TOC is dis played To update the recorded contents of the Mini Disc Press the OFF HOLD button whilst in the stop mode The power turns off after recorded contents have been updated on the MiniDisc 5 Press the MENU CHRG button repeatedly to select REC MODE 6 Press the ENTER SYNC button 7 Press the MENU CHRG button repeated...

Page 20: ...d follow the instructions below Otherwise tracks may not be recorded properly To prevent recorded MiniDiscs from being erased accidentally Slide the accidental erase prevention tab located on the side of the MiniDisc in the direction indicated by the arrow The MiniDisc will then be protected against accidental erasure To add a recording to such a MiniDisc slide the acciden tal erase prevention tab...

Page 21: ...ress the OFF HOLD button whilst in the stop mode Volume control Press the VOL button to increase the volume and the VOL button to decrease the volume L R To the REMOTE socket Right channel Left channel 1 Insert the earphones plug firmly into the ear phones socket on the remote control unit 2 Plug the remote control into the REMOTE sock et on the unit 3 Insert a MiniDisc page 9 4 Press the button P...

Page 22: ...ondition can be kept even if other buttons are accidentally pressed in a place such as a crowded train If the battery is inserted or the AC adaptor is connected you can set this function even when the power is turned off To cancel the hold mode Press and hold down the HOLD button for 2 seconds or more whilst the unit is in the hold mode To cancel the hold mode Move the HOLD switch away from the sa...

Page 23: ... of a track To skip a number of tracks at one time press the or button repeatedly until the desired track number is shown When you press the button playback starts from the beginning of the track For audible fast forward Press and hold down the button during playback For audible fast reverse Press and hold down the button during playback To move to the beginning of the next track Press the button ...

Page 24: ...y the unit will select and play tracks auto matically You cannot select the order of the tracks After all of the tracks have been played once in random order the unit will stop automatically During random random repeat or single track repeat play you can forward or reverse the MiniDisc only within the track being played During random play the unit cannot find the beginning of any track which has b...

Page 25: ... 17 Notes The recording mode remains unchanged until a new mode is selected Complete the operation within 7 seconds whilst selecting the menus 1 When a recording is paused press the MENU CHRG button repeatedly to select REC MODE 2 Press the ENTER SYNC button 3 Press the MENU CHRG button repeatedly to se lect the desired recording mode 4 Press the ENTER SYNC button The mode will be set automaticall...

Page 26: ...ng out the inaudible sound Since the sound is selected based on psychoacoustics masking the sound quality is not impaired This unit is equipped with the ATRAC3 com pressing system that can reduce the sound data to 1 10 or 1 20 of its original size By employing this system 2 times and 4 times long recordings are enabled in stereo mode About the recording mode You can select the recording mode from ...

Page 27: ...ts A new track number is created when the recording resumes 1 Press the REC button 2 Begin playback on the stereo system connected to this portable MD 3 Press the REC LEVEL or button to adjust the recording level see page 11 4 Press the PAUSE button on the stereo system to enter the playback pause mode Select the starting point for your recording and press the PAUSE button 5 Press the MENU CHRG bu...

Page 28: ...and then make recording after that point See Editing a Recorded MiniDisc page 35 1 During playback press the button at the point where you want to begin recording 2 Press the REC button To cancel the operation press the OFF HOLD but ton 3 Press the ENTER SYNC button All of the tracks and track names will be erased fol lowing the point where the playback is paused 4 Press the MENU CHRG button repea...

Page 29: ...next operation can be resumed Recording tracks as a single track You can record several pieces of music as a single track by disabling the auto marker function When a recording is paused or whilst recording Notes When making digital recordings using a CD player or an MiniDisc player track numbers will be created auto matically regardless of the setting of the auto marker function Complete the oper...

Page 30: ...ders Note for digital recording You cannot copy a MiniDisc that you recorded from digital inputs to another MiniDisc or DAT It is prevented by the SCMS Serial Copy Management System Recording from analogue inputs is not affected 1 Track numbers are created automatically during re cording via the analogue connection when a silence of 1 second or more is detected Auto marker func tion A series of tr...

Page 31: ...ded contents on the MiniDisc Press the OFF HOLD button whilst in the stop mode 1 Connect a stereo microphone to the MIC IN socket 2 Insert a recordable MiniDisc page 9 To the MIC IN socket Stereo microphone commercially available 3 Press the REC button 4 Press the REC LEVEL or button to adjust the recording level Adjust the recording level so that the maximum sound volume from the source makes the...

Page 32: ...crophone with a 3 5 mm 1 8 diameter ste reo mini plug If the unit starts recording too often from low unwanted noises set the microphone input to MIC SYNC L Recording sensitivity can be changed whilst recording 1 Press the REC button 2 Press the REC LEVEL or button to adjust the recording level 3 Select the recording mode steps 5 8 page 12 4 Press the ENTER SYNC button to select the record ing sen...

Page 33: ...g 1 Press the MENU CHRG button repeatedly to se lect MARK 2 Press the ENTER SYNC button 3 Press the MENU CHRG button The interval between marks may vary slightly com pared with the actual recording time A new track number is created every 3 minutes A new track number is created every 5 minutes A new track number is created every 10 minutes No automatic track numbers are created 4 Press the ENTER S...

Page 34: ...d the total playing time 1 During playback press the MENU CHRG button repeatedly to select DISPLAY 2 Press the ENTER SYNC button 3 Press the MENU CHRG button Each time the button is pressed the display will change as follows Track number Elapsed playback time Track name Remaining playback time A B C D 1 Whilst in the stop mode press the MENU CHRG button repeatedly to select DISPLAY 2 Press the ENT...

Page 35: ...cator will not correctly display the remaining capacity for approximately 10 seconds after the power has been turned on When the AC adaptor or a separately available car adaptor is used the battery indicator will not be shown The number of bars shown in the battery indicator may increase or decrease depending on the operation being performed This is normal 1 Whilst in the stop mode press the or bu...

Page 36: ...tion is cancelled the storage time cannot be adjusted If this unit is used with the AC adaptor the storage time will be 40 seconds regardless of the settings The storage time varies depending on the recording mode Digital recording level D L MODE 1 The digital recording level you set will be kept even after cancelling recording D L MODE 2 Every time you cancel recording the level will return to D ...

Page 37: ...ancel the operation press the OFF HOLD button 5 Press the button repeatedly to select the type of characters Cursor The first 3 characters in the group of the selected characters will be displayed for about 1 second 6 Press the or button repeatedly to select the letter 7 Press the ENTER SYNC button to enter it Position where the next letter will be entered 8 To enter more letters repeat steps 5 7 ...

Page 38: ...racters to be entered is decreased since the informa tion of the recording mode is stored by the track Characters symbols 1 Put the unit in the character input mode Perform steps 1 4 on page 30 2 Press the VOL or VOL button to move the cur sor to the character before which you want to add a new character 3 Select the character to add Perform steps 5 7 on page 30 4 Press the MENU CHRG button TOC wi...

Page 39: ...back only MiniDisc 2 What is a MiniDisc for stamping A MiniDisc that contains the same tracks in the same or der as the master MiniDisc Make sure that the total number of tracks of the master MiniDisc and the one for stamping are the same Master MiniDisc operation 1 Insert a master MiniDisc Do not mistake the master MiniDisc for the target one 2 Whilst in the stop mode press the MENU CHRG but ton ...

Page 40: ...ton 4 Press the MENU CHRG button repeatedly to se lect ERASE 5 Press the ENTER SYNC button To cancel the operation press the OFF HOLD but ton 6 Press the ENTER SYNC button again The track will be erased 7 To erase other tracks repeat steps 1 6 Note Complete the operation within 7 seconds whilst select ing the menus 1 Whilst in the stop mode press the MENU CHRG button repeatedly to select EDIT 2 Pr...

Page 41: ... operation press the OFF HOLD but ton 6 Press the ENTER SYNC button again The track will be divided into two tracks and the unit will be paused at the beginning of the second of the two new tracks 1 Start playing the last of the two tracks to be com bined and press the button 2 Press the MENU CHRG button repeatedly to se lect EDIT 3 Press the ENTER SYNC button 4 Press the MENU CHRG button repeated...

Page 42: ...combined have a name The first track name will be used However when the first track does not have a name the second track name will be used In the following cases tracks may not be combined 1 Play the track to be moved and press the but ton 2 Press the MENU CHRG button repeatedly to se lect EDIT 3 Press the ENTER SYNC button 4 Press the MENU CHRG button repeatedly to se lect MOVE 5 Press the ENTER...

Page 43: ...he recording will be made in the analogue mode Character information will not be recorded Listening through a car stereo Notes Adjust the volume of both this portable MD and a car stereo Do not operate this portable MD whilst you drive a car It may distract your attention and cause a traffic acci dent Do not use any car adaptor except for the separately available AD CA20X Remove the battery when y...

Page 44: ... charged for the first time or is charged after not being used for a long period the operating time may be shorter than normal The bat tery life will recover with normal use i e charging and discharging To avoid shortening the service life of the battery only recharge the battery after it has been completely dis charged If the rechargeable battery is used in a cold environ ment the operating time ...

Page 45: ...display the remaining recording time The time may not increase even if you erase short tracks The total of the recorded time and the remaining time does not match the max imum recordable time One cluster approximately 2 seconds is the minimum unit for re cording For example a 3 second track uses 2 clusters approxi mately 4 seconds Therefore the actual recordable time may be shorter than the displa...

Page 46: ...be read because the disc is damaged Reload the Minidisc or replace it with an other one Can t REC Recording cannot be performed cor rectly due to vibration or shock ERROR MES SAGES MEANING Can tSTAMP Stamp function does not work Check the number of tracks Can tWRITE Cannot save the TOC information cor rectly to a MiniDisc DEFECT The disc is scratched If the recorded sound is not right retry record...

Page 47: ...ORRY Since a track number is currently be ing located or updated the unit cannot accept your command Wait for a while and try the operation again ERROR MES SAGES MEANING TEMP OVER The temperature is too high Turn off the power and wait for a while TOC FORM There is an error in the recording sig nal Erase all of the tracks and then record again TOC FULL There is no space left for recording characte...

Page 48: ...g to play a MiniDisc with data on it instead of a MiniDisc containing music When the operation buttons are pressed the unit does not respond Is the unit in the hold mode Is the battery exhausted Is the earphones plug inserted firmly Some sounds are skipped Is the battery exhausted Is the unit being subjected to excessive vibration The MiniDisc cannot be ejected Has the track number or character in...

Page 49: ... unit is moved from a cool place to a warm place To remove condensation Remove the MiniDisc and leave the unit for approxi mately 1 hour The condensation should evaporate and the unit will work properly Maintenance Cleaning Clean the plugs and the connecting sockets If the plugs or sockets are dirty noise may be heard Cleaning will prevent noise Caution Do not use chemicals for cleaning petrol pai...

Page 50: ...20 mW 10 mW 10 mW 0 2 T H D Charging time Approx 3 5 hours 90 Approx 5 5 hours fully charged When using the AC adaptor included with the unit Dimensions Width 76 mm 3 Height 22 9 mm 29 32 Depth 83 mm 3 9 32 Weight 148 g 0 33 lbs with rechargeable battery Input socket Line optical digital microphone powered by the main unit Output socket Earphones impedance 32 ohms remote control unit Type Portable...

Page 51: ... using one commercially available high capacity AA size LR6 alkaline battery with the rechargeable battery fully charged Continuous recording Approx 15 5 hours Continuous play Approx 27 hours Continuous recording Approx 23 hours Continuous play Approx 32 hours Continuous recording Approx 30 hours Continuous play Approx 38 hours Reference in put level Input imped ance MIC H 0 25 mV 10 kohms MIC L 2...

Page 52: ...8 TINSZ0757AWZZ SHARP CORPORATION B0111 TO ...

Page 53: ...MD MT190H PORTABLE MINIDISC RECORDER ...

Reviews: