5-65
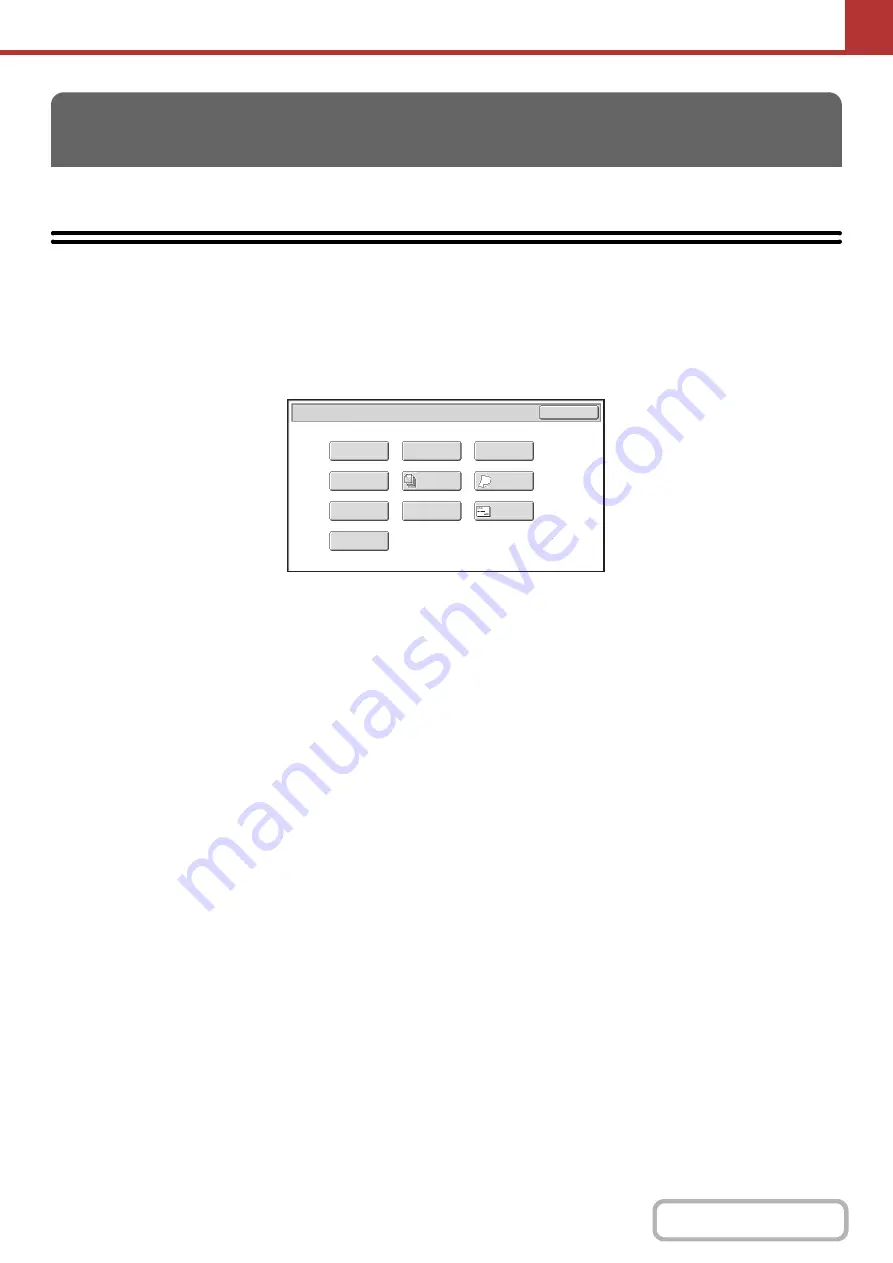
This section explains special modes that can be used in scan send mode.
SPECIAL MODES
When the [Special Modes] key is touched in the base screen, the special modes menu screen appears. When the [OK]
key is touched in the special modes screen, the selected settings are entered and the base screen reappears.
☞
(page 5-66)
Scan mode, USB memory mode, Data entry mode
(1)
[Program] key*
1,
2
☞
STORING SCAN OPERATIONS (Programs)
(page
5-67)
(2)
[Erase] key
☞
ERASING PERIPHERAL SHADOWS ON THE
IMAGE (Erase)
(3)
[Timer] key*
1
☞
SENDING AN IMAGE AT A SPECIFIED TIME
(Timer Transmission)
(4)
[Card Shot] key
☞
SCANNING BOTH SIDES OF A CARD ONTO A
SINGLE PAGE (Card Shot)
(5)
[Job Build] key
☞
SCANNING MANY ORIGINALS AT ONCE (Job
Build)
(6)
[Slow Scan Mode] key
☞
SCANNING THIN ORIGINALS (Slow Scan Mode)
(page 5-78)
(7)
[File] key*
1
Touch this to use the File function of document filing
mode.
(8)
[Quick File] key*
1
Touch this to use the Quick File function of document
filing mode.
(9)
[Business Card Scan] key*
3
☞
SCANNING BUSINESS CARDS (Business Card
Scan)
(page 5-80)
(10) [Suppress Background] key
☞
WHITENING FAINT COLORS IN THE IMAGE
(Suppress Background)
*1
Does not appear in USB memory mode.
*2
Does not appear in data entry mode.
*3 The optional business card feeder must be attached and "Business Card Scan Option" must be enabled in the
system settings (administrator).
SPECIAL MODES
Scan/Special
Modes
Card
Shot
OK
Slow
Scan
Mode
Quick
File
Erase
Job
Build
File
Suppress
Background
Business
Card
Scan
Program
Timer
(1)
(2)
(3)
(4)
(5)
(6)
(7)
(8)
(9)
(10)
Summary of Contents for DX-C311 - Color - All-in-One
Page 4: ...Reduce copy mistakes Print one set of copies for proofing ...
Page 6: ...Make a copy on this type of paper Envelopes and other special media Transparency film ...
Page 11: ...Conserve Print on both sides of the paper Print multiple pages on one side of the paper ...
Page 35: ...Organize my files Delete a file Delete all files Periodically delete files Change the folder ...
Page 214: ...3 18 PRINTER Contents 4 Click the Print button Printing begins ...


