


82
SCANNER FUNCTIONS
SENDING OVER A NETWORK, TO A USB MEMORY
DEVICE, OR TO A MOBILE DEVICE
If the network expansion kit is installed on the machine or the machine is equipped standard with the network
function, you can send scanned data over the network (Scan to E-mail, Scan to FTP, Scan to Desktop), save
scanned data in a USB memory device (Scan to USB memory) or save scanned data in a mobile device using
Sharpdesk Mobile (Scan to Sharpdesk Mobile).
To assign scan settings to a SCAN MENU key, use the machine's Web page. For details, see
Using Scan to E-mail, Scan to FTP, or Scan to USB memory
When you use Scan to E-mail, Scan to FTP, or Scan to USB memory, use [SCAN MENU] keys 1 to 5.
To use Scan to Sharpdesk Mobile or Scan to Desktop, refer to
"Using Scan to Sharpdesk Mobile or Scan to
.
1
When using Scan to USB memory,
connect the USB memory device to
the USB connector on the machine.
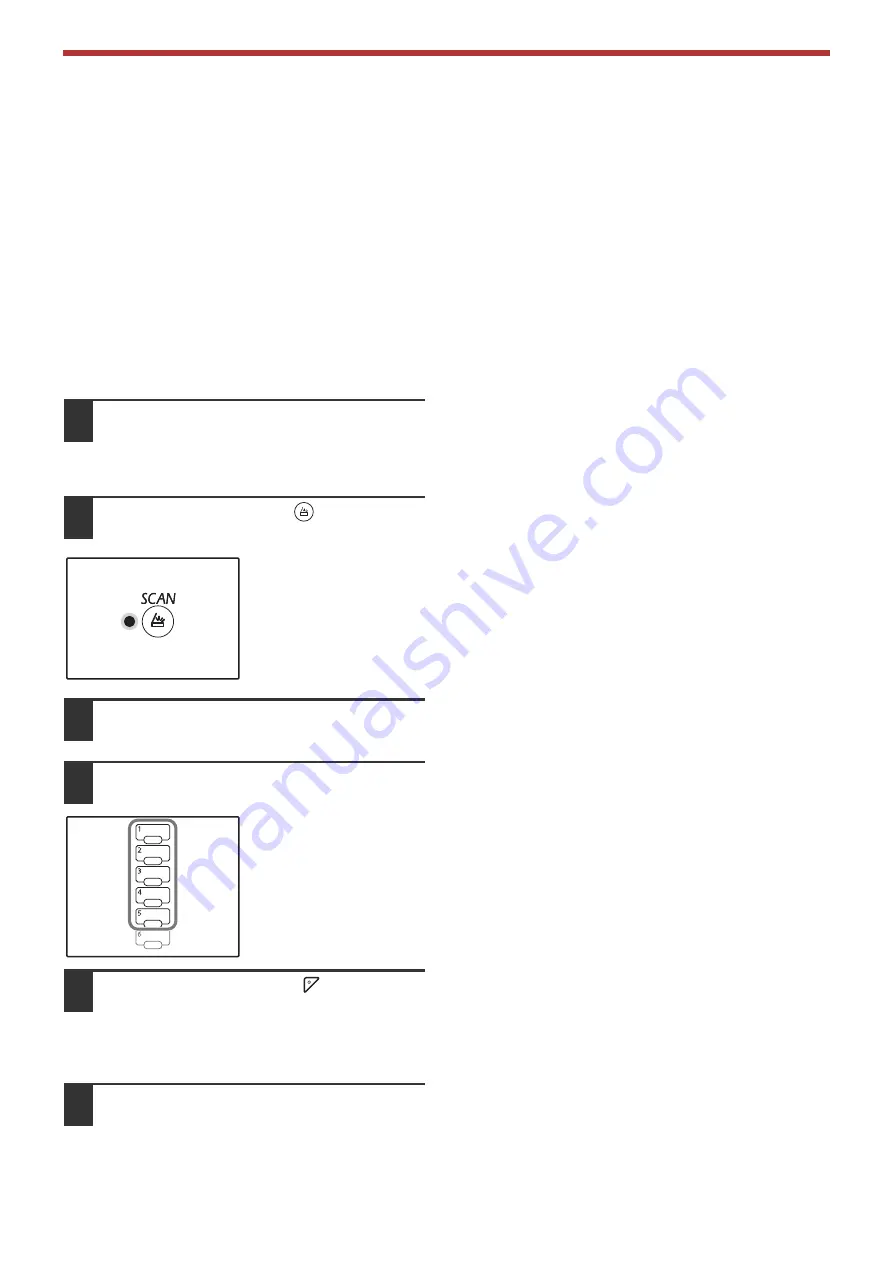
2
Press the [SCAN] key (
).
The scanner mode
selection indicator lights
up and the machine
enters scanner mode.
3
Place the original on the document
glass or in the RSPF.
4
Press the [SCAN MENU] key (1 to 5)
that has the settings you want to use.
"SCx" appears in the
number of copies display.
The key number from 1 to
5 that was pressed
appears in "x".
5
Press the [START] key (
).
The original is scanned and the image data is
saved in the USB memory device or sent to the
destination.
6
When using Scan to USB memory,
remove the USB memory device from
the machine.