


81
SCANNER FUNCTIONS
5
BUTTON MANAGER SETTINGS
Once installed, BUTTON MANAGER normally runs in the background in the Windows operating system. If you need
to change BUTTON MANAGER settings, follow the steps below.
For details on BUTTON MANAGER settings, see BUTTON MANAGER Help.
"OUTLINE OF BUTTON MANAGER" (p.80)
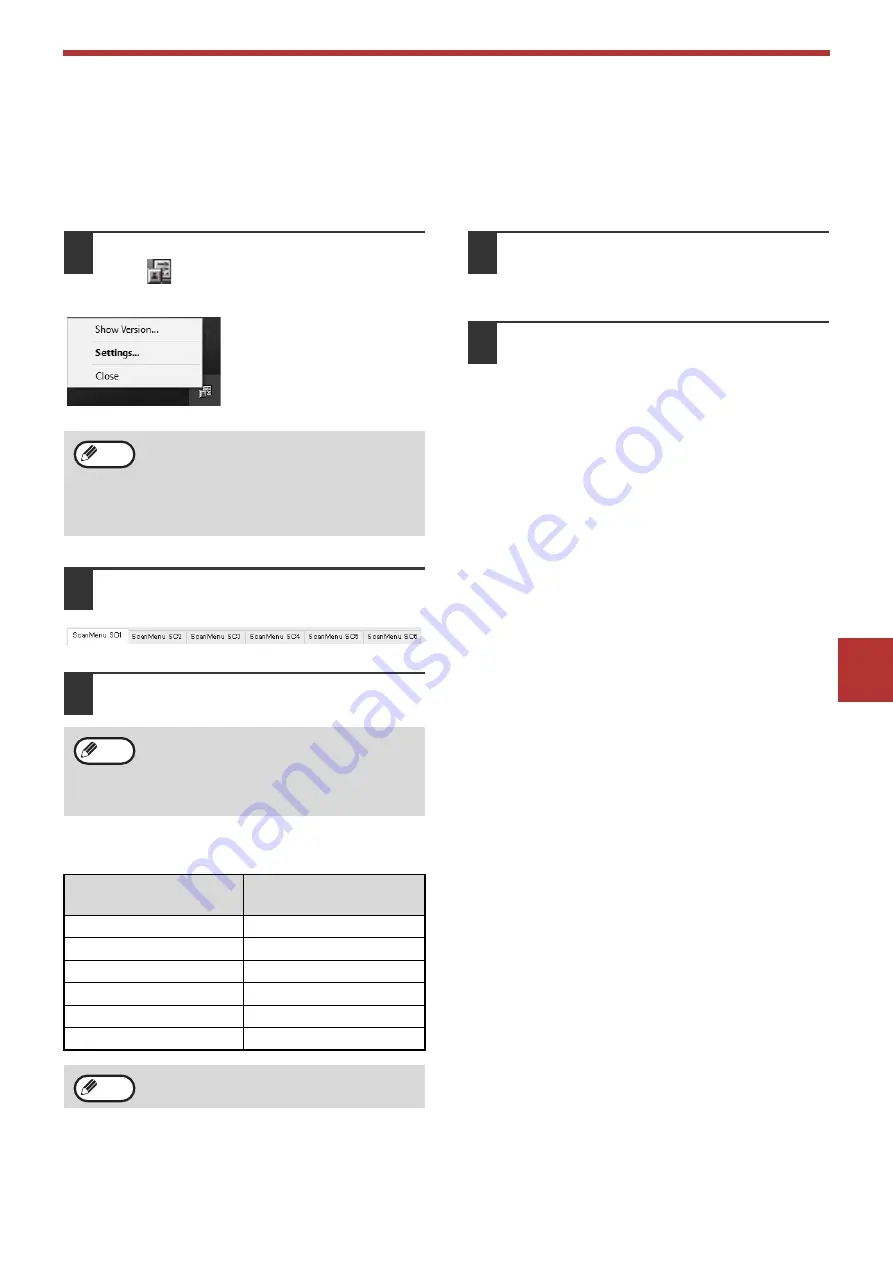
1
Right-click the BUTTON MANAGER
icon (
) on the task bar, and select
"Settings" from the pop-up menu.
The setting screen of
BUTTON MANAGER will
open.
2
Click the tab of the scan menu that
you want to set up.
3
Select the start-up application in the
"Application Selection" area.
BUTTON MANAGER scan menu (factory
default)
4
Set up the "Colour Mode", "Edge" and
other scan settings in the "Scan
Setup" area.
5
Click the "OK" button.
This completes the settings.
If the BUTTON MANAGER icon does not
appear on the task bar, click the "Start"
button, select "All Programs", select "Sharp
Button Manager AC", and then click
"BUTTON MANAGER" to start BUTTON
MANAGER.
When the "Show TWAIN setting screen when
scanning" checkbox is selected, the scan
setting screen appears when scanning is
executed to let you adjust the scanning
conditions.
Display/BUTTON
MANAGER menu
Application that starts
ScanMenu SC1:
Sharpdesk
ScanMenu SC2:
ScanMenu SC3:
FAX
ScanMenu SC4:
OCR
ScanMenu SC5:
Microsoft Word
ScanMenu SC6:
Filing
The start-up application must be installed
before using.
Note
Note
Note