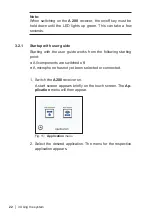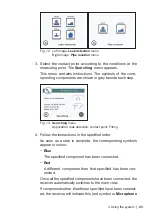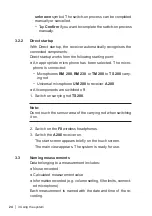
3 Using the system
│
21
3
Using the system
3.1
Attaching the microphone to the carrying rod
The carrying rod and microphone are neatly connected to each
other.
NOTICE! Risk of malfunctions caused by dirt or water
seepage
Moisture and dirty contacts can impair the system's functionality.
The microphone connection must be clean and dry for attach-
ment.
The seal of the fastening screw must not be dirty or damaged,
otherwise water could get in through the thread.
●
If dirty, clean the contacts on the carrying rod adapter with a
damp cloth. Never use compressed air or a water jet for clean-
ing. (Microphones can be rinsed under running water.)
●
Dry the entire microphone connector if necessary.
●
Never unscrew the fastening screw all the way out of the thread
to minimise the risk of getting dirty.
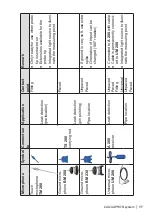
1. Push the microphone into the carrying rod adapter.
2. Turn the carrying rod until it clicks into the stop.
The carrying rod and microphone are neatly connected to
each other.
3. Tighten the microphone using the star knob.
The carrying rod is ready for use.
3.2
Switching on the system
If you want the system to start in a specific switch-on mode, you
have to switch on the components in a certain order.
If the components are switched on in any order, the receiver se-
lects the appropriate switch-on mode.
Information about the switch-on mode can be found in sec-

