Line Scan
61
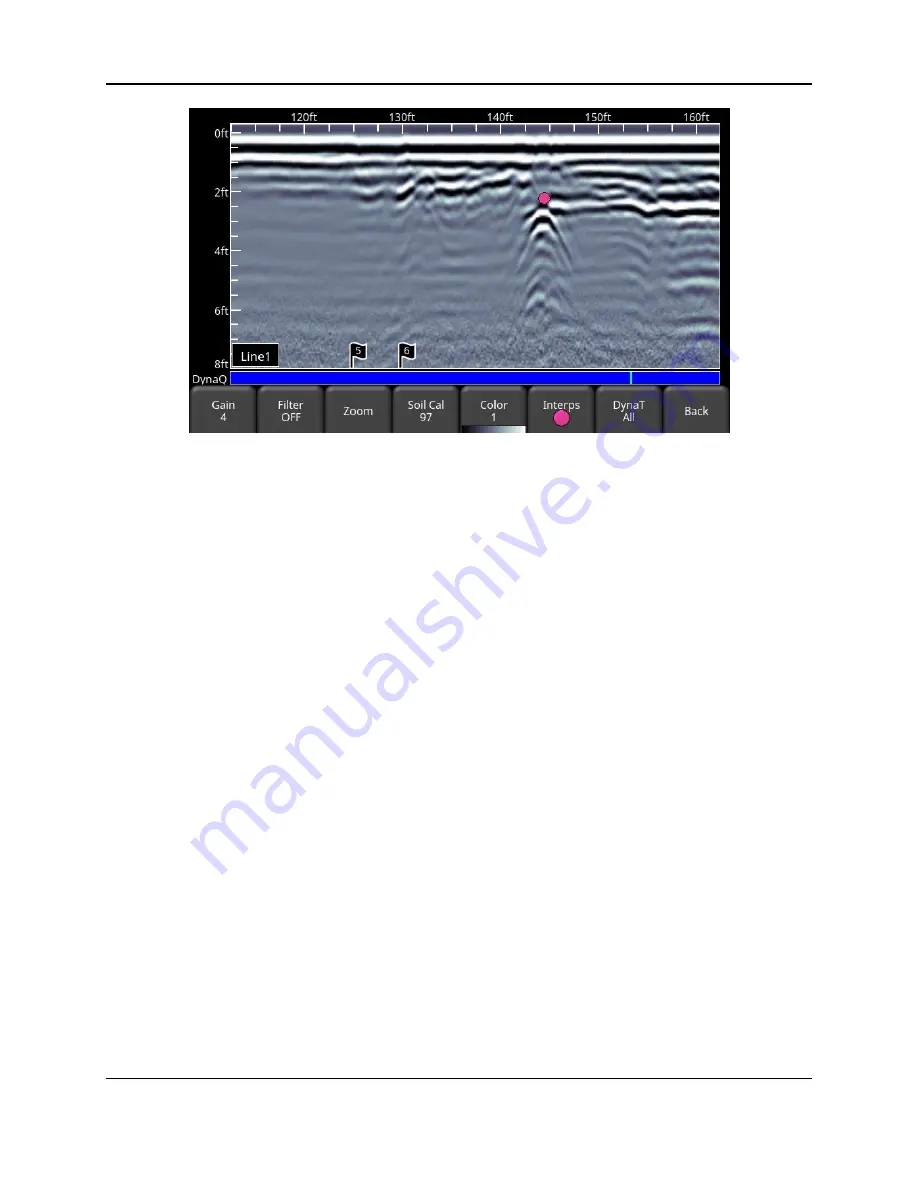
Figure 6-11: Menu at bottom of screen, after pressing View Settings
6.7.1 Zoom
This button controls the horizontal and vertical scaling of the displayed GPR data. Pressing the
Zoom
button changes the buttons on the bottom menu, which are explained below:
•
Depth
– Pressing
+
and
-
under the
Depth
button allows you to change the display
depth of the data. This is commonly referred to as the depth window. The pre-set
values ra
nge from 1m to 8m (3’ to 25’), see Figure 6-12.
If the data was collected with a shallower depth, the depth setting can still be increased
after the fact, when reviewing the data
. In general, it’s a good idea to set your displayed
depth to 1.5 - 2 times the depth you expect the deepest target to be.
•
Position
– Pressing
+
and
-
under the
Position
button allows you to change the length
of data displayed on a single screen. This is also known as horizontal scaling. The pre-
set values range
from 10m to 30m (25’ to 100’), see Figure 6-13.
One reason for setting this to 30m would be to fit more data on the screen and look for
consistency among hyperbolas that were crossed.
Summary of Contents for LMX200 Series
Page 1: ...2015 00158 09 ...
Page 2: ...ii ...
Page 4: ...Product Registration iv ...
Page 10: ...x ...
Page 14: ...xiv ...
Page 48: ...Tools Setup 48 ...
Page 52: ...GPR Concepts 52 ...
Page 86: ...SliceView 86 ...
Page 96: ...Capturing Screens E mailing Mini Reports 96 Figure 10 3 Example of a Mini Report ...
Page 104: ...Transferring Data to a PC 104 ...
Page 108: ...Troubleshooting 108 ...
Page 111: ...Care Maintenance 111 ...
Page 112: ...Care Maintenance 112 ...
Page 114: ...Parts List Accessories 114 ...
Page 116: ...Parts List Accessories 116 ...
Page 118: ...Technical Specifications 118 ...
Page 120: ...Appendix A Health Safety Certification 120 ...
Page 128: ...Appendix B GPR Emissions Interference and Regulations 128 ...
Page 130: ...Appendix C Instrument Interference 130 ...
Page 132: ...Appendix D Safety around Explosive Devices 132 ...


