Sensit HXG-2d Instruction Manual Download Page 1

851 Transport Drive • Valparaiso, IN 46383 (USA)

Phone: 219.465.2700 • www.gasleaksensors.com

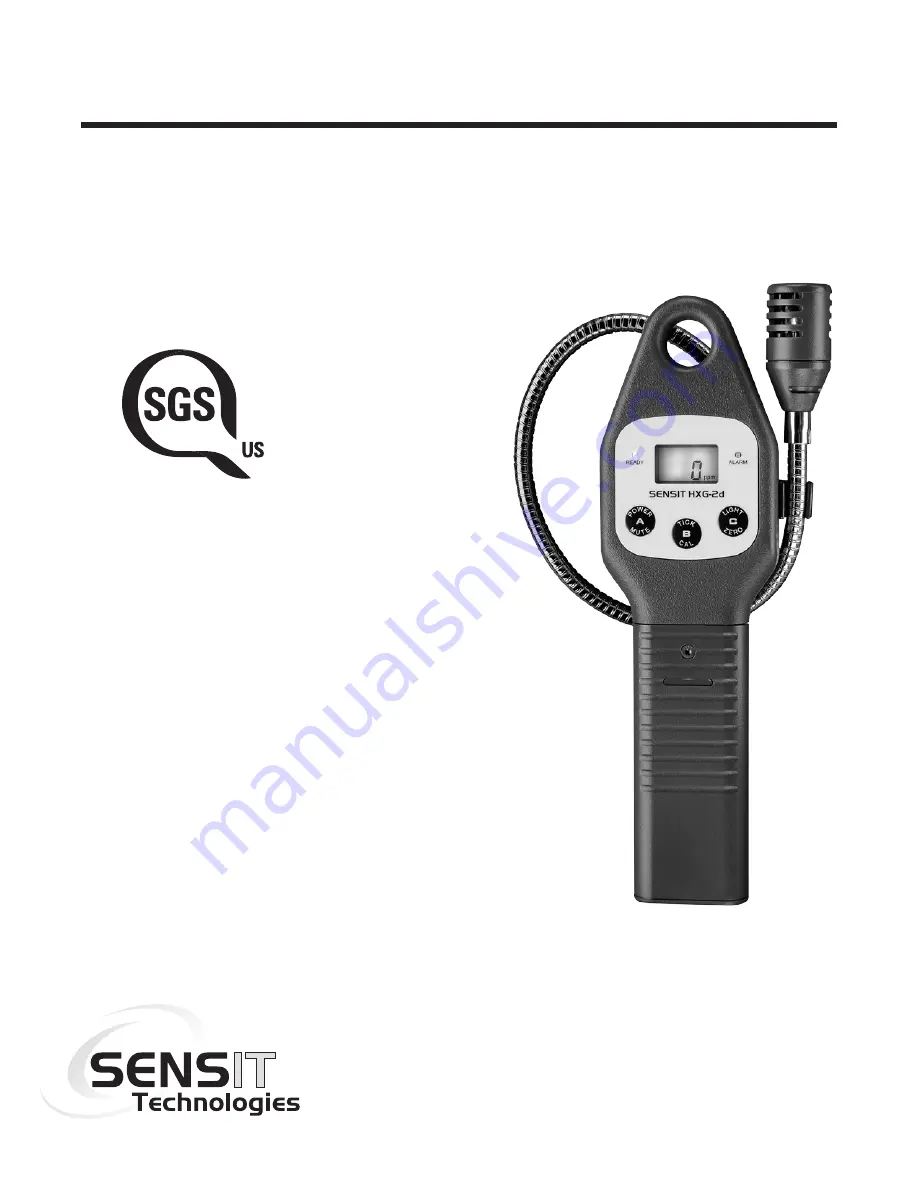
Combustible Gas Detector

INSTRUCTION MANUAL

SENSIT

®

 HXG-2d

Read and understand instructions before use.

Intrinsically Safe for Use in

Class I, Groups C and D, T3 

Hazardous Locations

For use in clean dry areas only.

Suitable for combustible gases such as Methane, 

Butane, Propane and Natural Gas

710183

UL 913

Summary of Contents for HXG-2d

Page 1: ...ible Gas Detector INSTRUCTION MANUAL SENSIT HXG 2d Read and understand instructions before use Intrinsically Safe for Use in Class I Groups C and D T3 Hazardous Locations For use in clean dry areas only Suitable for combustible gases such as Methane Butane Propane and Natural Gas 710183 UL 913 ...

Page 2: ...vice must be performed by factory authorized technicians with approved replacement parts only WARNING All Accessories are to be used in an area known to be non flammable WARNING Use only sensor from SENSIT Technologies PN 375 2611 01 NOTE Performance Accuracy aspects of this product have not been assessed and are not covered as a part of the SGS approval FOR YOUR SAFETY NOTICE CAUTION This safety ...

Page 3: ...l Description 5 Sensor Specifications 6 Product Features 7 9 Sensor Type 10 Basic Operation Battery Installation Replacement 11 Operation and Use 12 14 Calibration Check 15 Calibration 15 16 Sensor Replacment 17 Adjustable Features 18 Options Menu 19 21 Warranty Back Cover ...

Page 4: ... Replacement Parts LEL Sensor 375 2611 01 Sensor Cap with Filter Disc 882 00036 Filter Disc Replacement 360 00203 Extension Adapter 870 00012 Calibration Kits Methane Calibration Kit 2 5 Methane Air 21L Regulator Hose 881 00017 Propane Calibration Kit 1 1 Propane 21L Regulator Hose 881 00073 Replacement Gas Cylinders 2 5 Methane Air 21L 315 080012 1 1 Propane Air 21L 315 080022 Contact Factory for...

Page 5: ...light allows use in dark environments A user activated TICK control assists in locating small gas leaks Audible and visual alarms warn the operator of hazards The alarms can be set in either the PPM or LEL modes The default alarm is 10 LEL methane propane The instrument is adjusted at the factory for either methane or propane as the primary gas and is calibrated accordingly The primary gas can be ...

Page 6: ...0 x 3 x 1 6 254 x 76 x 41 mm Weight 1 2 lbs 544 g Operational Temp 20 to 40 C 4 to 104 F Battery Life Alkaline 50 hours continuous 6 The SENSIT HXG 2d meets US UL913 requirements when used with Duracell PC1400 batteries Intrinsically Safe for Use in Class I Groups C and D T3 Hazardous Locations For use in clean dry areas only 710183 UL 913 ...

Page 7: ...7 PRODUCT FEATURES SENSOR ALARM LED GRAPHIC DISPLAY OPERATION BUTTONS ELECTRONIC TICK CONTROL FLEXIBLE GOOSENECK BATTERY COMPARTMENT ...

Page 8: ...help in locating the source of a gas leak This tick is generated by using specialized circuitry in combination with the LEL sensor located at the end of the gooseneck assembly The tick can be easily heard with the speaker located in the back of the instrument A flexible gooseneck is used to assist in locating the source of gas leaks and remote sampling The display continuously updates the operator...

Page 9: ...n the front of all SENSIT HXG 2d instruments BUTTON A POWER MUTE Operates the POWER and MUTE features and exit menu items BUTTON B TICK CAL Use to operate TICK or begin calibration BUTTON C LIGHT ZERO Use to turn on the backlight or manually zero the sensor ...

Page 10: ... calibration uses methane or propane depending on preset gas type This sensor will detect many combustible gases SENSOR FILTER REPLACEMENT CLEANING Remove sensor cap by pressing retaining tab located on side of sensor and pulling the cap away from base Filter will be loose inside Clean filter with mild soap and water and thoroughly dry filter cap Replace Cap Filter on base until retaining tab enga...

Page 11: ...ve screw with a T 10 screwdriver Depress the locking tab on the front of the handle with a coin or flat object and pull the battery sleeve handle away from the top or display area of the instrument Place 3 approved batteries into the battery holder Observe the polarity markings on the inside of the battery holder for proper battery installation Improper installation will cause the instrument not t...

Page 12: ... 0 indicating the LEL Calibration point for the instrument for CH4 gas type only g Display dIS indicating display resolution of PPM LEL or both h Display AL followed by the alarm set point i Activate the alarm sound and red LED for 3 beeps j Continue to flash all segments until proper warm up is attained no more than five minutes k Flash Zro indicating fresh air zeroing l Working display is shown ...

Page 13: ...overhead lines the use of the optional extension adapter will allow a broom handle or painters stick to extend the instrument to the area where sensing must be accomplished This slides onto the battery sleeve and is held in place by the locking nut assembly 7 When a gas is sensed the display will update If an alarm condition exists based on a preset alarm point the red LED will flash and the alarm...

Page 14: ...r to find a higher concentration using the same procedure If there is no tick press the TICK CAL button B again to reset to the steady ticking sound For best results always use the leak detector prior to using any liquid leak detection fluids as these sensors will detect their presence 10 Following Country Province State Municipal and or Company procedures move to the areas where gas readings are ...

Page 15: ...N Calibration is the process of setting the readings of the instrument to equal the value of the certified calibration gas The instrument should operate for 5 minutes before calibrating NOTE Use of calibration kits other than those offered or approved by SENSIT TECHNOLOGIES may cause inaccurate readings Repairs may be required if the instrument fails to calibrate Use only sensors supplied by SENSI...

Page 16: ... assembly STEP 4 Press the TICK CAL button B and the cal icon will flash and numbers will change on the display Upon completion the working display will appear with the gas reading A reading of bAd indicates unsuccessful calibration Repeat process if bAd appears Press the POWER MUTE button A to clear the bAd display reading and go to the working display Continued unsuccessful calibrations may indi...

Page 17: ... 4 Replace sensor Be sure to align the sensor tab directly over the white dot Step 5 Place sensor retainer filter inside sensor cap and install sensor cap Step 6 Turn instrument on and wait for zero process to complete bAd indicates improperly installed sensor or additional warm up time is required Allow the instrument to operate for 10 minutes then press and hold the C button to reestablish zero ...

Page 18: ...ng display press and release the A and C buttons together until the display shows Opt 2 Press and release the C button until CAL CH4 or CAL PRO is displayed 3 Press and release the B button until desired calibration gas is displayed CH4 or PRO 4 Press and release the A button The unit will exit back to its working 5 Turn the unit off and back on Verify during the warm up sequence that the gas type...

Page 19: ...and release the A and C buttons together and release Opt will be shown 2 Press and release the B button diS and will be shown on display Chose from one of the options listed a LEL only display Press and release the B button AL and will be shown on display Press and release the A button Unit will return to working display b PPM and LEL display Press and release the C button diS and ppm will be show...

Page 20: ...n diS and ppm will be shown 4 Press and release the B button AL and ppm will be shown 5 Press and release the C button AL and will be shown 6 Press and release the B button Current LEL alarm point will be shown Use the B button to decrease this number or use the C button to increase this number 7 Press and release the A button CAL and CH4 will be shown 8 Press and release the A button Unit will re...

Page 21: ...d release the A button Unit will return to working display OPTIONS MENU How to change PPM Alarm point with PPM readings on display 1 Press and release the A and C buttons and release Opt will be shown 2 Press and release the B button diS and will be shown 3 Press and release the C button diS and ppm will be shown 4 Press and release the B button AL and ppm will be shown 5 Press and release the B b...

Page 22: ..._____________________________________________ ________________________________________________________ ________________________________________________________ ________________________________________________________ ________________________________________________________ ________________________________________________________ ________________________________________________________ ____________...

Page 23: ..._____________________________________________ ________________________________________________________ ________________________________________________________ ________________________________________________________ ________________________________________________________ ________________________________________________________ ________________________________________________________ ____________...

Page 24: ...t cover damage which occurs in shipment or failure which results from alteration tampering accident misuse abuse neglect or improper maintenance A purchase receipt or other proof of date of original purchase will be required before warranty performance will be rendered Instruments out of warranty will be repaired for a service charge Return the unit postpaid and insured to SENSIT Technologies 851 ...

Reviews: