ASSY 180118
Replacing the rechargeable battery pack
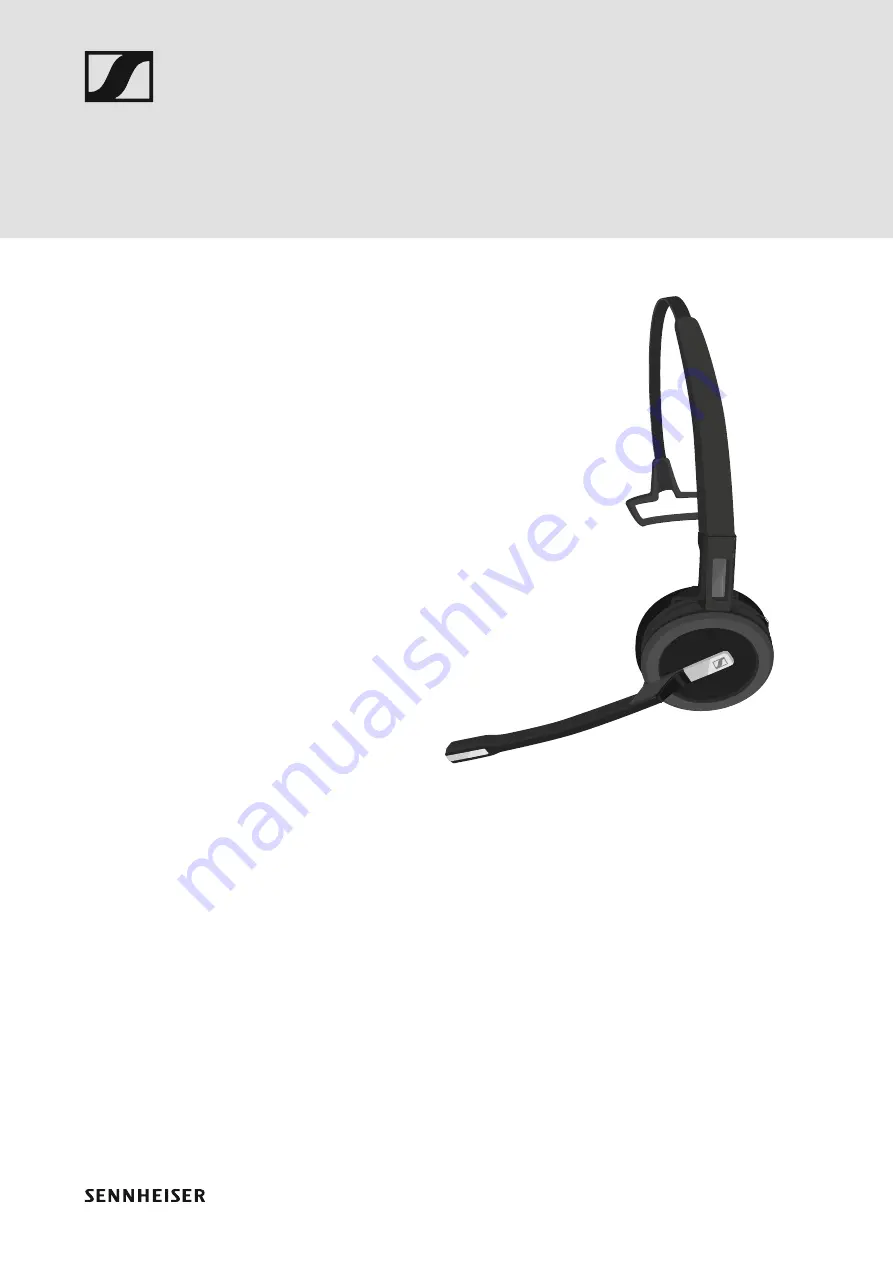
Headset – SDW 10 HS
MAY 2018
Se
nnh
ei
ser Commu
ni
cati
o
n
s
A
/
S
, Indu
tri
p
a
rk
en
2
7,
DK
-2
750
Ba
ll
eru
,
Den
m
Disassembly/Assembly Instructions
Page 1: ...ASSY 180118 Replacing the rechargeable battery pack Headset SDW 10 HS MAY 2018 Sennheiser Communications A S Industriparken 27 DK 2750 Ballerup Denmark Disassembly Assembly Instructions...
Page 2: ...y 5 2 1 Required material 5 2 2 Disassembling the rechargeable battery pack 5 2 2 1 Removing the ear hook or the headband 5 2 2 2 Opening the battery compartment 6 2 2 3 Removing the rechargeable batt...
Page 3: ...y skilled personnel e g in accordance with VDE 1000 in Germany When repairing a device or replacing single components you have to use the original parts from the device s current spare parts list When...
Page 4: ...ry pack can lead to explosion fire heat or smoke or gas Do not crush puncture short circuit disassemble expose to moisture heat or store above 70 C 158 F or dispose of in fire or water Only use rechar...
Page 5: ...echargeable battery pack 2 2 1 Removing the ear hook or the headband 1 Rotate the holder with the charging pin away from the microphone boom 2 Hold the headset with the one hand 3 Slide one finger of...
Page 6: ...apart from each other The headset loosens and you hear a click 5 Remove the headset from the holder 2 2 2 Opening the battery compartment 1 Press the first clamp with a screwdriver The battery compar...
Page 7: ...holder until you overcome a slight resistance 4 Open the battery compartment cover as shown CAUTION Damage to the product due to improper handling The wires can be kinked or damaged if you open the b...
Page 8: ...SDW 10 HS Disassembly Assembly ASSY 180118 MAY 2018 8 11 2 2 3 Removing the rechargeable battery 1 Lift the rechargeable battery 2 Carefully loosen the connector plug Do not pull on the wires...
Page 9: ...t the marking signs are visible at the top Insert the connector plug of the new rechargeable battery into the connection socket Observe correct orientation of the connector plug 2 Press on the plastic...
Page 10: ...ke sure that the wires are aligned and not crossing over each other Gently press down the three wires 5 Slide the battery compartment cover in the two small locking pins 6 Close the battery compartmen...
Page 11: ...ery for at least 20 minutes before using the headset See User Guide for further information 4 Switch off the headset before sending it to the customer Press and hold the Hook button for 5 seconds The...