RS 185
Digital Wireless Headphone System
Instuction Manual
Page 1: ...RS 185 Digital Wireless Headphone System Instuction Manual...
Page 2: ......
Page 3: ...7 Charging the rechargeable batteries 18 Adjusting the headband 19 Using your RS 185 headphone system 20 Switching your wireless headphone system on 20 Selecting an audio input 21 Adjusting the volume...
Page 4: ...o avoid corrosion or deformation The normal operating tem perature is from 0 to 40 C 32 to 104 F Use only attachments accessories spare parts supplied or recom mended by Sennheiser Unplug the power su...
Page 5: ...echargeable batteries Observe correct polarity Use only rechargeable batteries and chargers recommended by Sennheiser Pack store standard charged rechargeable batteries so that the terminals cannot co...
Page 6: ...nd system via optical or analog inputs and lose yourself in the music Sennheiser s RS 185 The right wireless choice for serious listeners Features Wireless open circumaural headphones with uncompresse...
Page 7: ...multi country adapters EU UK US AU Low self discharge NiMH rechargeable batteries AAA size Optical digital cable 1 5 m Stereo RCA cable 1 2 m Quick guide Instruction manual CD in 15 languages PDF fil...
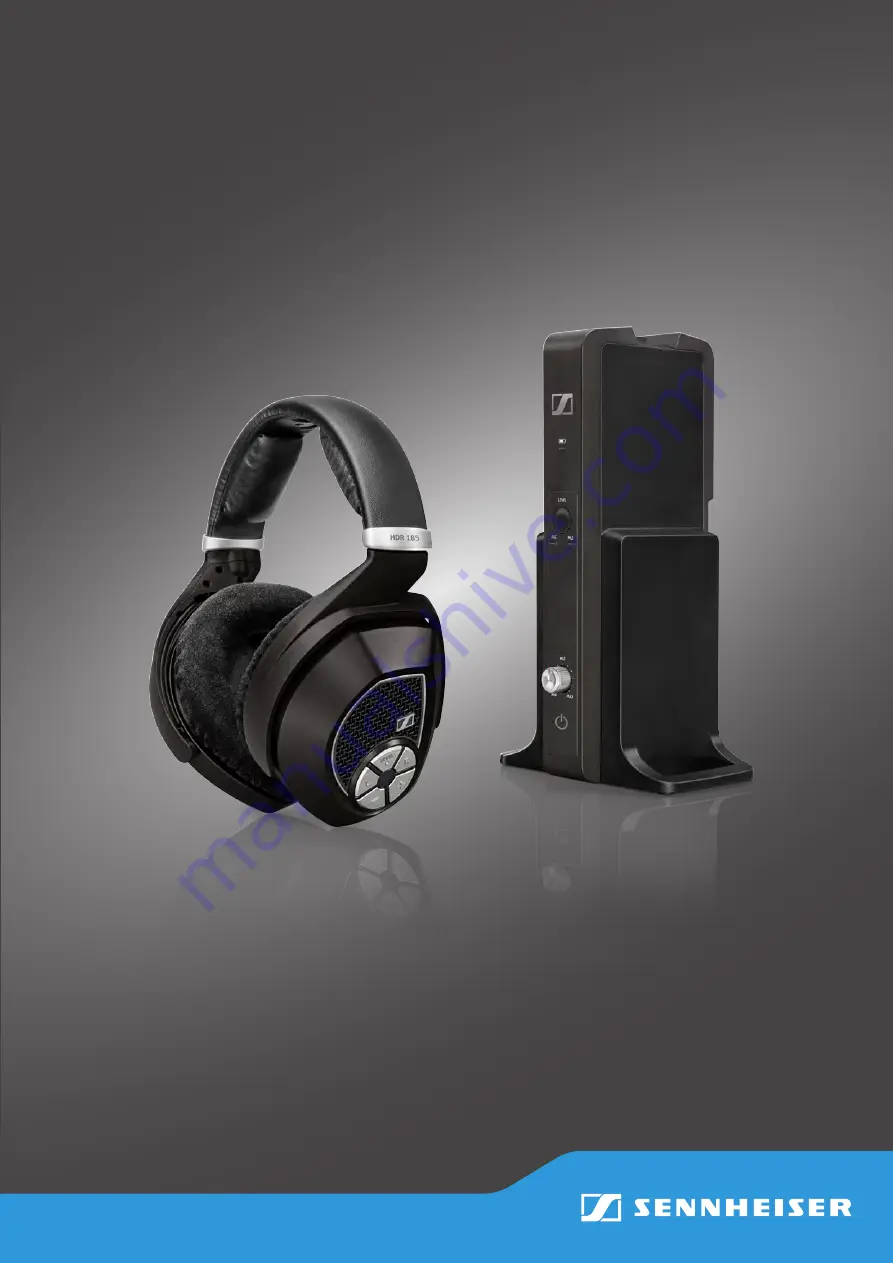
Page 8: ...5 7 6 8 1 3 2 4 A 0 LEVEL LEVEL 1 Headband 2 Charging contacts 3 Ear pads 4 Ear cups Battery com partments 5 LEVEL button for manual and auto matic level control selec tion 6 Balance L button 7 Balan...
Page 9: ...MLC LEVEL LEDs indicate the selected signal level control 4 LEVEL button to toggle between manual and automatic level controls 5 Charge status LED 6 Charging contacts 7 DIGITAL OPTICAL IN Digital opt...
Page 10: ...not disturb you LED indicators on the headphones HDR status LED Meaning The headphones are switched off The transmitter and headphones are connected The transmitter and headphones are connected and t...
Page 11: ...mitter is not charging The rechargeable batteries are being charged The rechargeable batteries are fully charged A charging battery fault has been detected Charge status LED Operating time Battery cap...
Page 12: ...rmitted level 3 2 ALC and MLC LED Meaning When the ALC and MLC LEDs flash three times the optical audio input is selected The level adjustment is only necessary for the analog audio input ALC MLC 4 TR...
Page 13: ...oose a suitable place near your audio source Separate the transmitter and other wireless devices in a room by at least 50 cm 20 to avoid interference Do not place the transmitter close to metal object...
Page 14: ...corresponding connection cable and if necessary a suitable adapter Depending on the connection option selected go to the respective chapter and follow the instructions on how to connect the transmitte...
Page 15: ...nnected through the optical digital input DIGITAL OPTICAL IN Refer to the sound menu or the instruction manual of your device to change from another audio stream e g Bitstream to PCM Switch your audio...
Page 16: ...CA plugs to the RCA inputs of the transmitter Connect the red RCA plug to the red RCA socket and the white RCA plug to the white RCA socket Connect the RCA plugs to the RCA outputs of your audio sourc...
Page 17: ...or B Switch your audio source off before connecting the transmitter Connect the RCA plugs to the RCA inputs of your transmitter Connect the red RCA plug to the red RCA socket and the white RCA plug t...
Page 18: ...adapter and slide it onto the power supply unit until it locks firmly in place 2 Connect the power supply unit connector to the power input socket of the transmitter 3 Plug the power supply unit into...