Rostock MAX v2 Assembly Guide
Installing the Vertical Supports and Power Supply
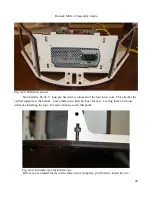
Before the two back vertical supports can be installed, we need to install the power supply on
the power supply mounting plate with the four #6-32, 1/2” Nylon pan head screws.
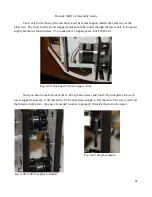
The power supply mount is designed such that it only fits one way (shown above) and it's a
pretty easy install. The method I've found that works the easiest is to pin the power supply between my
knees while I install the mount.
To attach the power supply
mount, all you need to do is thread
the nylon screws in with your fingers
and then lightly tighten with a flat
bladed screwdriver. Take care to not
over-tighten the screws!
47
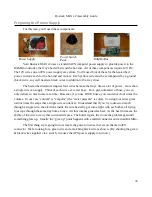
Fig. 4-15: Power supply, mount & hardware.
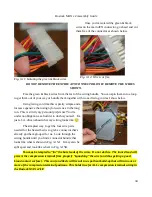
Fig. 4-16: Ready for the nylon screws.
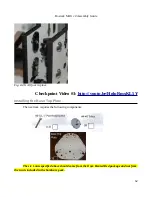
Fig. 4-17: Installing the nylon screws.
Summary of Contents for Rostock MAX v2
Page 25: ...Rostock MAX v2 Assembly Guide Melamine Parts Sheet 1 25 ...
Page 26: ...Rostock MAX v2 Assembly Guide Melamine Parts Sheet 2 Melamine Parts Sheet 3 26 ...
Page 27: ...Rostock MAX v2 Assembly Guide Melamine Parts Sheet 4 27 ...
Page 171: ...Rostock MAX v2 Assembly Guide 171 Fig 14 8 Spool holder support installed ...

