If your company's IT policies prevent SLP network broadcasting, you can use other methods for detecting the
device in Lyve Client. See Alternative methods for device detection below.
Pre-Setup
Before beginning the configuration, make sure a Windows or Mac computer that will run the Lyve Client
Software app can access the same management network connected to the Ethernet management port on
the back of Rackmount Receiver.
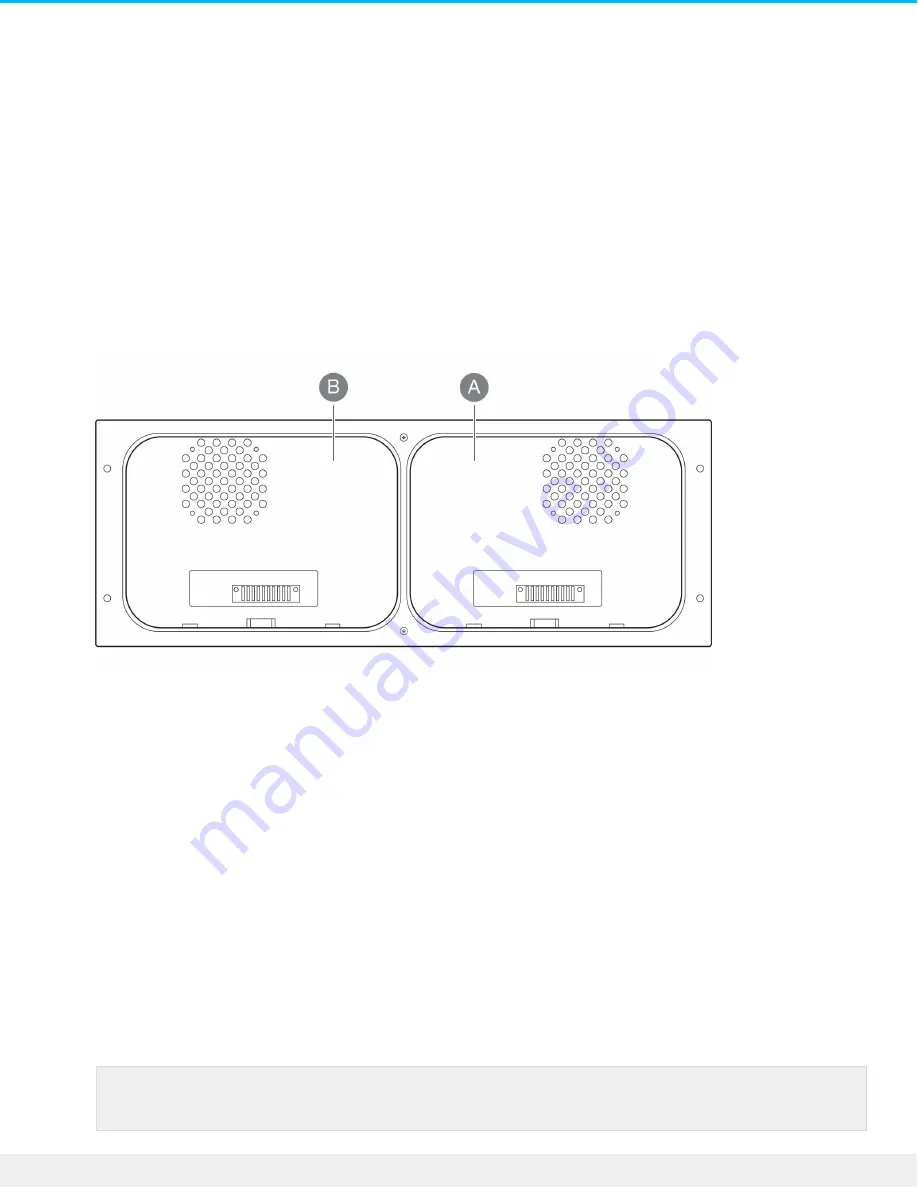
1. Insert Lyve Mobile Array into slot A or B on Lyve Mobile Rackmount Receiver. Be sure to select the
correct slot for the iSCSI connections behind Rackmount Receiver.
2. Set the power switch on Lyve Mobile Rackmount Receiver to ON.
The LED on the device inserted in Lyve Mobile Rackmount Receiver blinks white during the boot process
and will turn one of two colors, depending on your device's security settings:
Solid orange—Indicates the device is ready to be unlocked and is awaiting security credentials.
Solid green—Device is unlocked and ready for use.
Mul path Input/Output setup on the host side
If your network environment supports a Multipath I/O (MPIO) framework, ensure that MPIO is installed
before configuring iSCSI.
For reference, see the following
.
72
Lyve Mobile Rackmount Receiver
7/26/22
Summary of Contents for Lyve Mobile Array
Page 7: ......
Page 24: ...24 Lyve Mobile Rackmount Receiver 7 26 22 ...
Page 27: ...SAS cable SAS 12Gb 2 Port SFF 8644 27 Lyve Mobile Rackmount Receiver 7 26 22 ...
Page 39: ...16 Click Add and select your preferred letter 39 Lyve Mobile Rackmount Receiver 7 26 22 ...
Page 43: ...Example output 43 Lyve Mobile Rackmount Receiver 7 26 22 ...
Page 50: ...Example output 50 Lyve Mobile Rackmount Receiver 7 26 22 ...
Page 68: ...3 Select the desired file system format 4 Click OK 68 Lyve Mobile Rackmount Receiver 7 26 22 ...
Page 81: ...81 Lyve Mobile Rackmount Receiver 7 26 22 ...
Page 104: ...Example output 104 Lyve Mobile Rackmount Receiver 7 26 22 ...
Page 111: ...Example output 111 Lyve Mobile Rackmount Receiver 7 26 22 ...


