Once Lyve Client has validated permissions for the device connected to the computer, the LED on the
device turns solid green. The device is unlocked and ready for use.
Set up IP addresses for Lyve Mobile Rackmount
Receiver iSCSI ports
1. On the computer connected to the management network, open the Lyve Client app.
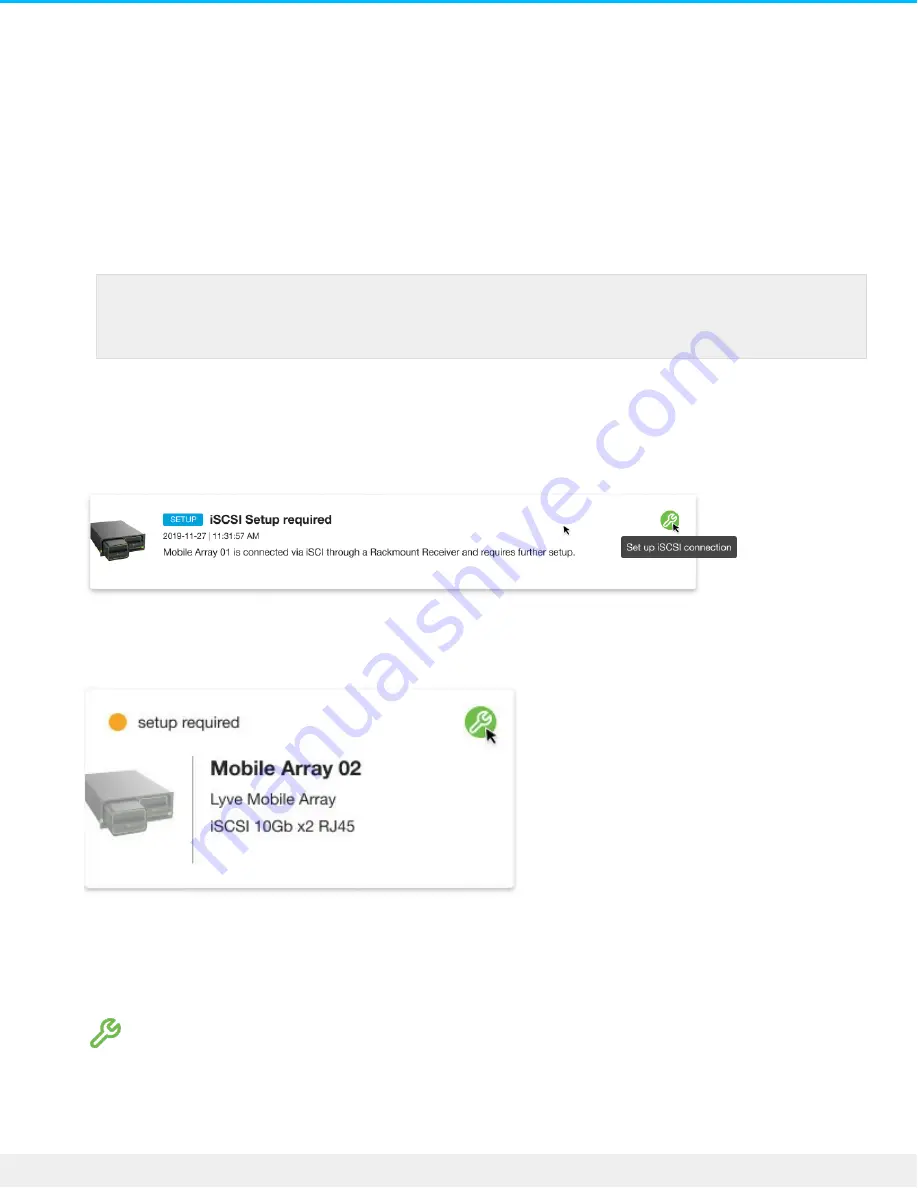
The iSCSI setup sequence can be initiated from the Activity or Devices screen.
Activity—An iSCSI Setup notification informs you that a setup is required.
Devices—The status indicator on the Device card informs you that a setup is required.
2. Click on the Activity or Devices tab.
3. Locate the card indicating the Lyve Mobile Array connected to the Rackmount Receiver's iSCSI ports.
Click on the Setup icon.
Important—The status indicator for detecting devices may run for a few minutes while
Lyve Client discovers Lyve Mobile Array.
58
Lyve Mobile Rackmount Receiver
7/26/22
Summary of Contents for Lyve Mobile Array
Page 7: ......
Page 24: ...24 Lyve Mobile Rackmount Receiver 7 26 22 ...
Page 27: ...SAS cable SAS 12Gb 2 Port SFF 8644 27 Lyve Mobile Rackmount Receiver 7 26 22 ...
Page 39: ...16 Click Add and select your preferred letter 39 Lyve Mobile Rackmount Receiver 7 26 22 ...
Page 43: ...Example output 43 Lyve Mobile Rackmount Receiver 7 26 22 ...
Page 50: ...Example output 50 Lyve Mobile Rackmount Receiver 7 26 22 ...
Page 68: ...3 Select the desired file system format 4 Click OK 68 Lyve Mobile Rackmount Receiver 7 26 22 ...
Page 81: ...81 Lyve Mobile Rackmount Receiver 7 26 22 ...
Page 104: ...Example output 104 Lyve Mobile Rackmount Receiver 7 26 22 ...
Page 111: ...Example output 111 Lyve Mobile Rackmount Receiver 7 26 22 ...


