G24 HDMI User Guide
4.1.
Matrix Switch
Users can connect the G24 HDMI device to control PC and set up the device as matrix switcher in this
section.
4.1.1.
Connect to the G24 HDMI via UART for RS232
Connect the G24 HDMI to the control PC with a serial cable (see 3.1 for cable wiring)
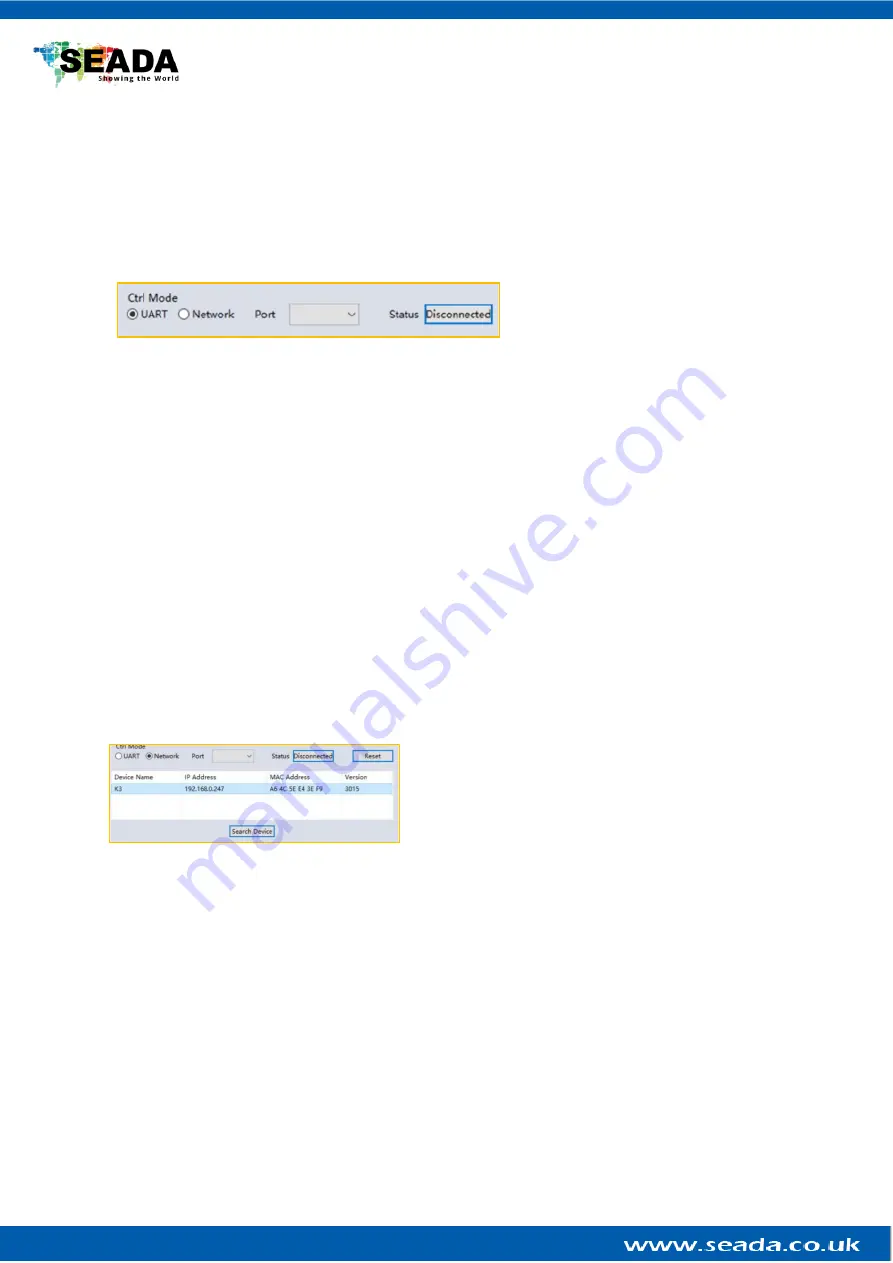
If the software was connected via UART
(RS232) last time, software will connect
to the G24 HDMI automatically via
RS232. If it was used at Network last time, a ‘Network Timeout’ error message will be shown on
screen and users need to set up as below for RS232 connection in the software
•
Choose ‘
UART
’ instead of ‘
Network
’
•
Select the
COM port
from the
Port
dropdown menu
•
Press
‘Disconnected’
button to connect
The software will check all the parts of the device.
A ‘Read data succeeded’ dialog box will be s
hown
on screen when finished.
4.1.2.
Connect to the G24 HDMI via Network
The default IP address for G24 HDMI controller is
192.168.0.247
, Users need to change the IP
address of the control PC to the same network segment as the G24 HDMI.
• Change the
‘Obtain an IP address automatically’
to
‘Use the following IP address’
to set up a
static
IP address of
TCP/IPv4
in
Ethernet Properties
➢
IP address: any address between
192.168.0.2
and
192.168.0.254
except the address which has
been taken by the G24 HDMI
➢
Subnet mask:
255.255.255.0,
Default Gateway:
192.168.0.1
Connect the G24 HDMI with a CAT cable to the control PC (cable included in the package)
If the software was connected via Network last time, software will connect to the G24 HDMI
automatically via network. If it was used at serial port last time, a ‘Please select COM port’ error
message will be shown on screen and users need to set up as below for Network connection in the
software
• Choose
‘Network’
instead of
‘UART’
• Press
‘Search Device’
button to find the G24 HDMI on the network
• Highlight the device Press
‘Disconnected’
button to connect


