Maintenance and care
02.00|NSL3 turn 450-3, 450-3-Z, 570-5, 570-5-Z |en
43
Only use SCHUNK original spare parts.
To assemble the clamping station, complete the above procedure
in reverse.
•
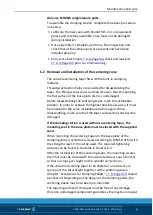
Lubricate the new seals with Renolit HLT-2 or an equivalent
grease and carefully assemble. They must not be damaged
during installation.
•
Once assembly is complete, perform a final inspection and
check that all the components are present and have been
installed properly.
•
Carry out a functional
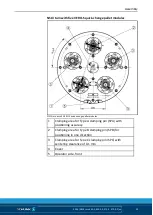
Removal and installation of the centering cone
The versatile centering taper fits with the built-in clamping
modules.
Threaded extraction holes are provided for disassembling the
taper. The lifting screws press on deep recesses, thus this keeping
the flat surface of the base plate (item 1) undamaged.
Before disassembling the centering taper, mark the installation
position. In order to achieve the highest possible accuracy, it must
be mounted in the same installation position again. When
disassembling, make sure that the taper surface does not become
damaged.
If the clamping station is used without a centering taper, the
mounting seat in the base plate must be closed with the supplied
cover.
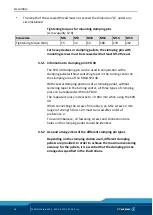
When mounting the centering taper on the base plate of the
clamping station, cylindrical screws according to DIN ISO 4762 with
the strength class 10.9 must be used. The required tightening
torques can be found in the table in chapter 6.2.
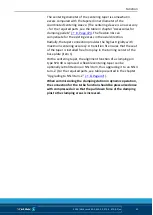
After the installation of the centering taper, the mounting screws
(item 52) must be closed with the associated cover caps (item 53)
so that no chips get caught on the cylinder center bores.
If the versatile centering taper is retrofitted as an accessory or
spare part, the total height together with a centering sleeve
(chapter "Accessories for Clamping Pallets"
) should
be checked. Depending on the design of the clamping pallet, the
centering sleeve may have been pre-mounted.
The tapering surface of the taper must be free of any damage.
Only one undamaged component guarantees the maximum repeat
6.2

