Description of Functions
EN
· 30.30.01.02851 · 01 · 03/22
43 / 96
7.1.3
Setting Mode
Setting mode is used for locating and eliminating leakages in the vacuum circuit. Since the valve protection
function is deactivated and the control is not deactivated, even at increased control frequencies.
In this operating mode, the “SP1” and “SP2” LEDs both flash.
Setting Mode Activated and Deactivated
Set the corresponding value using bit 2 in the output process data byte (PDO).
A change to bit 0 or bit 1 (suction or blow off) in the PDO also causes the area gripper to exit setting mode.
This function is only available in IO-Link mode.
7.2
Monitoring the System Vacuum and Defining Limit Values
The area gripper has integrated sensors for measuring the vacuum.
The current vacuum and pressure levels are shown on the display and can be read out via IO-Link.
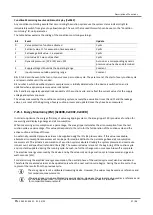
The limit values are set in the main menu using the parameters [
], [
], [
] and [
] or via IO-Link.
Limit values SP1 and rP1 are used by the control function to control the vacuum.
Limit value SP3, “Part deposited” [PDIN0] cannot be set using the main menu. It is fixed at 20 mbar. Signal SP3 is
issued when the vacuum reaches < 20 mbar (providing the vacuum has already reached SP2 once). By issuing this
signal, the area gripper tells the control system that the part has been deposited successfully. The signal is reset by
issuing a new Suction ON command.
Overview of the limit values:
ISDU [Hex]
Limit value parameter
Description
P-0: 0x0064
SP1
Vacuum control value
Vacuum switching point
P-0: 0x0065
rP1
Vacuum hysteresis
Vacuum reset point
P-0: 0x0066
SP2
Activation value of “Part Present” signal output
P-0: 0x0067
rP2
Deactivation value of “Part Present” signal output
—
SP3
Part deposited (vacuum < 20 mbar)
7.3
Calibrating the Vacuum Sensor [0x0002]
Since the sensor integrated in the area gripper is subject to variation due to the manufacturing process, we
recommend calibrating the sensor after installation. To calibrate the sensor, the system’s pneumatic circuits must be
open to the atmosphere.
A zero offset is only possible in the range of ±3 percent of the end value of the measuring range.
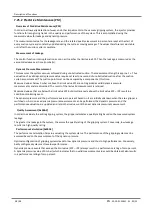
If the permitted limit is exceeded by ±3%, error code
appears on the display.
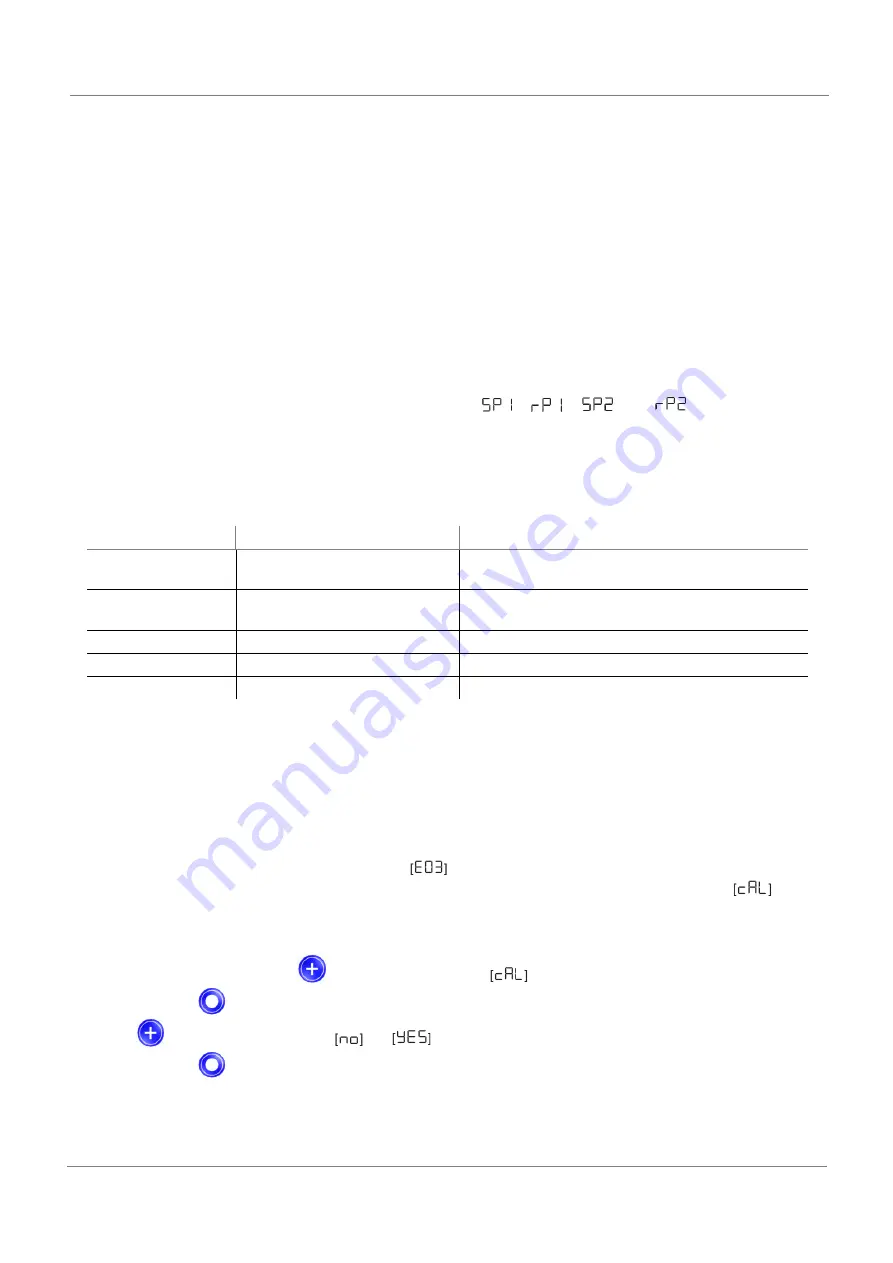
The function for zero-point adjustment of the sensor is performed in the main menu under the parameter
or
via IO-Link.
Calibrating from the main menu:
1.
To adjust the zero point, press the
button several times until
appears on the display.
2.
Confirm using the
button.
3.
Use the
button to choose between
and
(vacuum sensor calibration).
4.
Confirm using the
button.
The sensor is calibrated.


