Operating and Menu Concept
18 / 52
EN-US · 30.30.01.01963 · 01 · 09/21
5.1.3 Locking the Keypad
In order for the keypad lock to work, the ejector must not be in a menu.
Activating the keypad lock:
4
Hold down the PLUS button
for 3 seconds.
ð
LoC
appears on the display.
ð
The keypad lock is activated.
Deactivating the keypad lock:
4
Hold down the PLUS button
for 3 seconds.
ð
VNC
appears on the display.
ð
The keypad lock is deactivated.
The slideshow operates even when the keypad lock is activated.
5.2 Main Menu
All settings for standard applications can be accessed and configured using the main menu.
5.2.1 Functions in the Main Menu
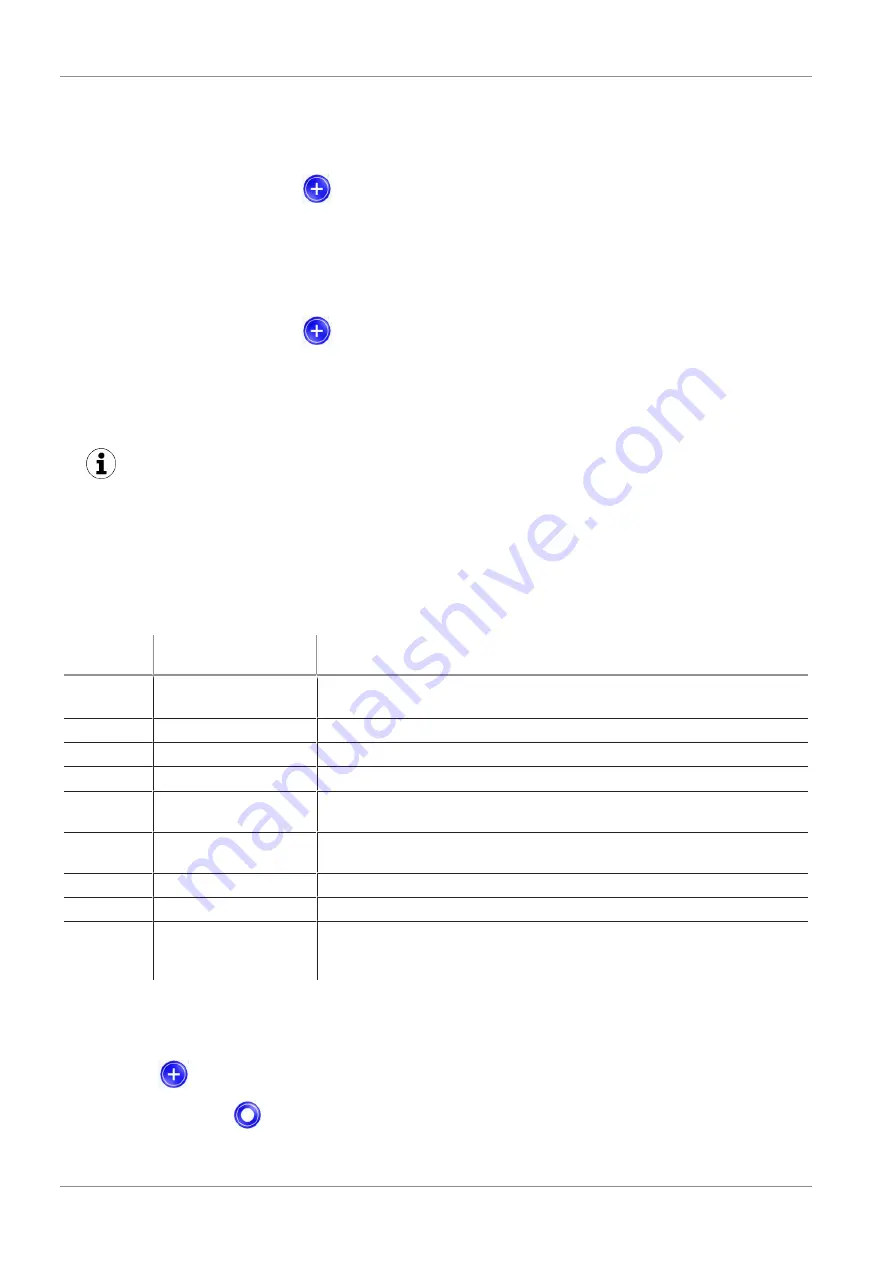
The following table shows an overview of the display codes and parameters in the main menu:
Display
code
Parameter
Explanation
5P1
Switching point 1
Value at which the control function deactivates
(only active if [
ctr
] = [
on
])
rP1
Reset point 1
Reset value 1 for the control function
5P2
Switching point 2
Switching value for the “Parts control” signal
rP2
Reset point 2
Reset value 2 for the “Parts control” signal
tbL
Blow off time
Blow off time setting for time-controlled blow off (only active if
value > 0)
CAL
Zero-point adjust-
ment (calibration)
Calibrate vacuum sensor, zero point = ambient pressure
EF
Extended functions
Open the “Extended Functions” submenu
1mF
Information
Open the “Information” submenu
1nc
Incorrect
The entered value is not within the permissible value range.
This is an informational message that appears if incorrect informa-
tion is entered.
5.2.2 Changing the Parameters of the Main menu
If you wish to change values, e.g. the switching points, you have to enter the new value digit by digit.
1. Use the
button to select the desired parameter.
2. Confirm using the
button.
ð
The value that is currently set is displayed and the first digit flashes.


