


STK-81H-SCA user manual
5
www.scaltek.com
c) COAX: Connect to an amplifier or active speakers for audio output in digital format. Note: When the
input audio source signal is in bit-stream format and the AUDIO SOURCE setting is set to AUTO in the
OSD menu, the coaxial output will bypass the input audio signal including compatible surround sound
formats.
d) AUDIO: Connect to an amplifier or active speakers for audio output in stereo format.
5- INPUTS:
a) HDMI 1/2/3: Connect to HDMI sources such as Blu-ray/DVD player for both video and audio signal
conversion.
b) PC 1/2/3: Connect to a PC/Laptop source for video signal input with a D-Sub 15pin cable.
c) 3.5mm Mini-jacks: Connect to source's L/R output with 3.5mm mini-jack for audio signal conversion.
Note: For HDMI signals you can select in the OSD Menu whether you require audio from the HDMI
(AUTO) or from the analog audio inputs (EXT)
d) YCbCr/YPbPr + L/R: Connect to source equipment such as a DVD player for both video and audio
signal conversion.
e) CV + L/R: Connect to a composite video source such as a video/DVD player for both video and
audio signal conversion.
6- CONTROL: This port is the link for Telnet or Web GUI controls, connect to an active Ethernet link
with an RJ45 terminated cable
7- POWER: Switch this power toggle to turn on and activate the device or turn off to shut it down.
8- DC 5V: Connect the power adaptor included in the package to the device and plug it into an AC wall
outlet for power supply.
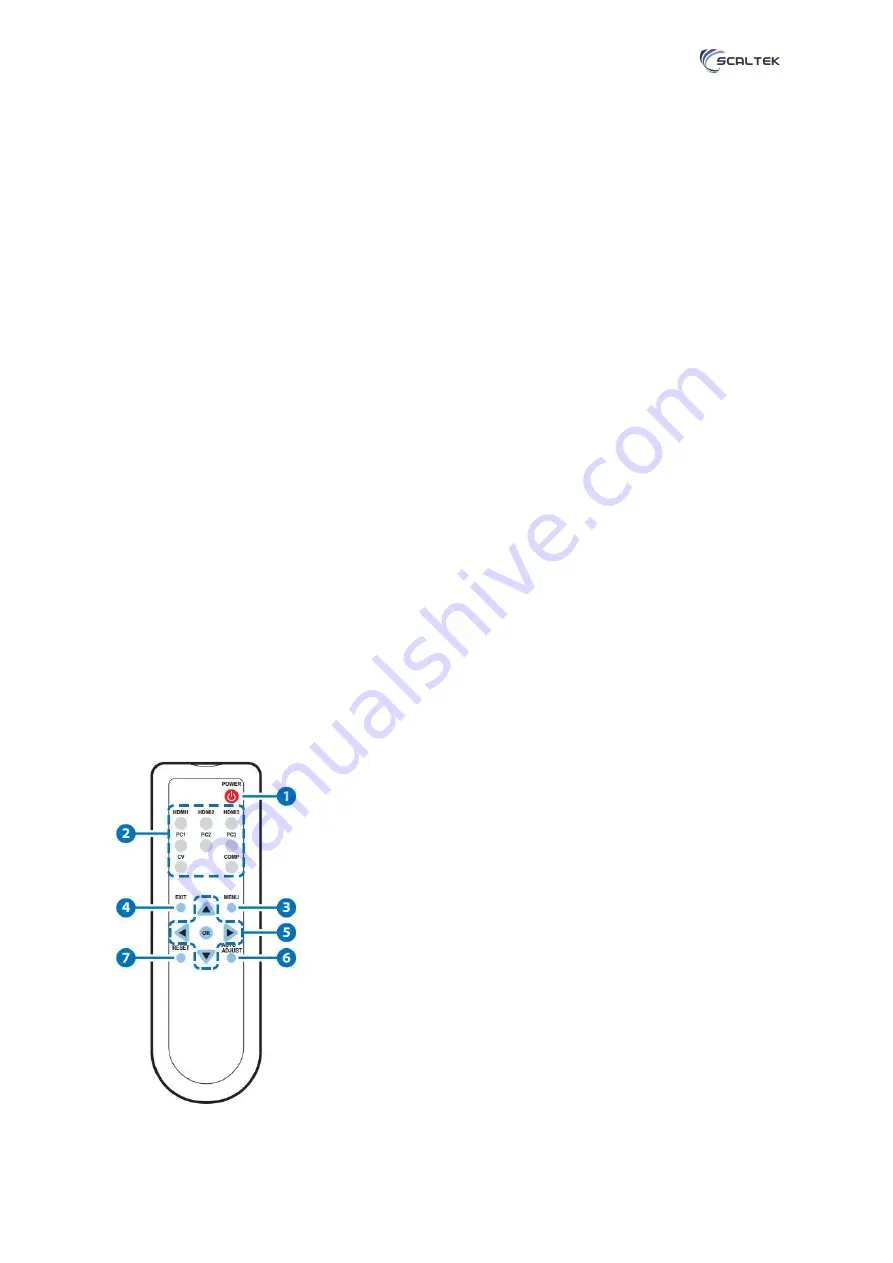
c. Infrared Remote
1- POWER: Press this button to switch the device on or to set it to
standby mode
2- HDMI1/2/3, PC1/2/3, CV and COMP: Direct source selection keys.
Press one of these keys to switch to the required source.
3- MENU: Press this button to enter the OSD menu.
4- EXIT: Press this button to exit the menu or the current selection in
the OSD menu.
5- OK &
▲▼◄►: Press OK to confirm the selection or press the
arrow buttons to navigate the OSD menu. When the OSD menu is not
active, use the LEFT/RIGHT
(◄►) to control the volume level.
6- AUTO ADJUST: Press this button when the image being outputted
does not correctly fit the display's screen. The device will auto adjust
the image to fill the screen.
RESET: Press this button to reset the device back to the default
settings.