i
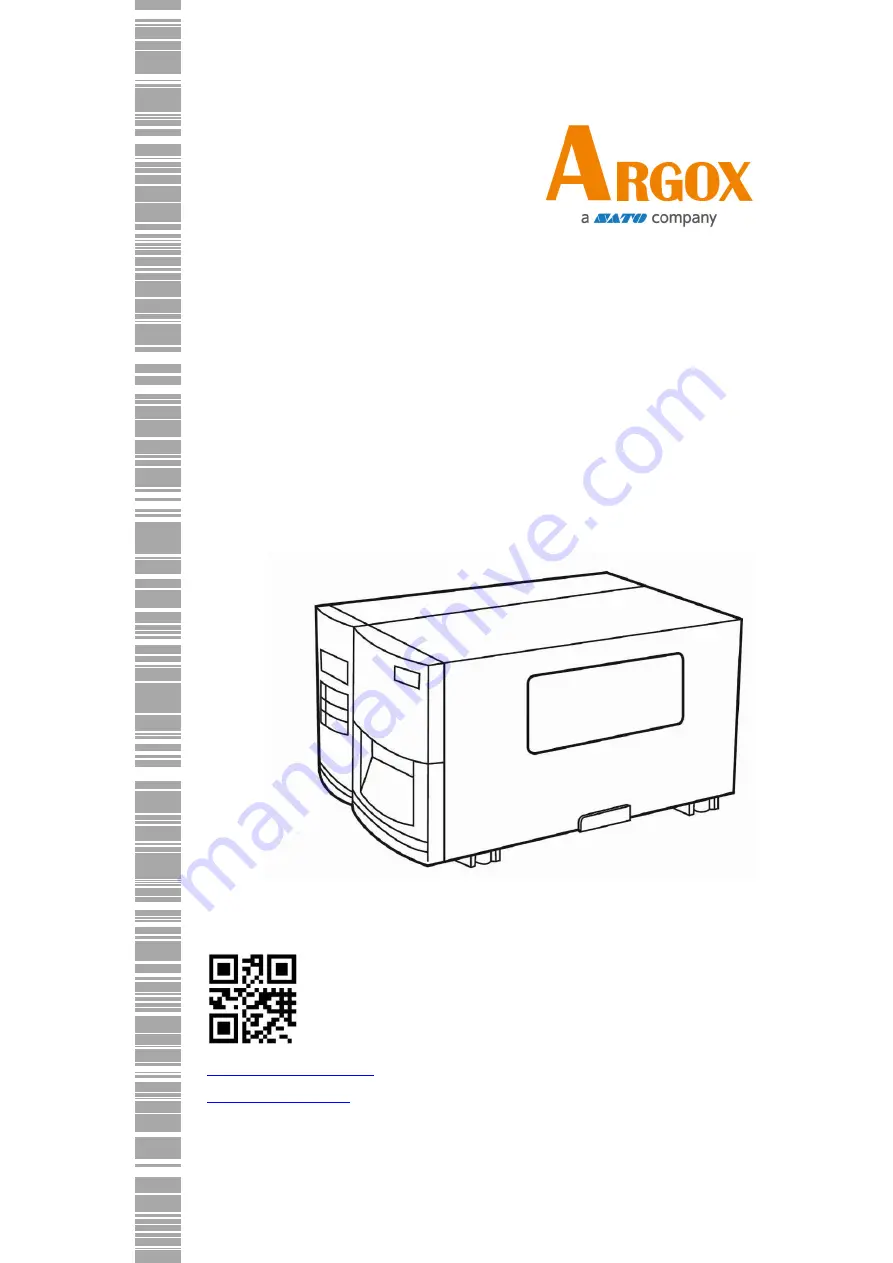
I4 Series Printer
User Manual
http://www.argox.com
[email protected]
Version: 1.3 Date: May 23, 2019
Page 1: ...i I4 Series Printer User Manual http www argox com service argox com Version 1 3 Date May 23 2019...
Page 2: ...easonable protection against harmful interference in a residential installation This equipment generates uses and can radiate radio frequency energy and if not installed and used in accordance with th...
Page 3: ...In this case the user is encouraged to try to correct the interference by effective measures Caution Any changes or modifications not expressly approved by the party responsible for compliance could v...
Page 4: ...14 2 3 3 Media types 26 2 4 Load Ribbon 28 2 4 1 Placing Ribbon Roll 29 3 Printer operation 32 3 1 Front Panel 32 3 1 1 LCD Function Setting Procedure 33 3 2 Printing Media Calibration Configuration...
Page 5: ...5 5 2 Media issues 76 5 3 Ribbon issues 77 5 4 Other issues 78 6 Specifications 79 6 1 Printer 79 6 2 Media Ribbon 81 6 1 Fonts Barcodes and Graphics Specification 82 6 3 Electrical and operating envi...
Page 6: ...are provided to help you quickly become familiar with the printer 1 1 Features Fast Print Speed Max 8 IPS fastest print speed in its class Communication Standard Ethernet dual USB hosts USB device and...
Page 7: ...ID Core for Ribbon When you receive the printer open the package immediately and inspect for shipping damage If you discover any damage contact the shipping company and file a claim Argox is not respo...
Page 8: ...1 Introduction Understand your printer 3 1 3 Understand your printer 1 3 1 Perspective view Control panel Top Access Door Front Access Door...
Page 9: ...1 Introduction Understand your printer 4 1 3 2 Back view WIFI Optional Standard USB Type A Ethernet USB Type B RS232 Serial Power switch AC power connector Parallel port GPIO...
Page 10: ...erstand your printer 5 1 3 3 Interior view Internal Parts and Features Open Bracket Head Latch Paper Sensor Paper Roller Thermal Print Ribbon Pick up Spindle Ribbon Supply Spindle Media Supply Spindle...
Page 11: ...READY ON ON ON In the ready mode PRINT HEAD HEAT ON Blinking ON Print head needs to cool down COMMAND ERROR ON Blinking Blinking A command error was found while checking the command sequence EEPROM E...
Page 12: ...dia sensor cannot index label gaps PRINTHEAD BROKEN Blinking ON ON Head broken error PRINT HEAD OPEN Blinking ON ON Head latch is not closed RESET Blinking ON ON Press CANCEL KEY POWER ON to reset NVR...
Page 13: ...ration The label has run out The last label has been issued normally and the label has run out PAPER JAM Blinking Blinking ON A paper jam occurred during paper feed 1 4 2 Buttons There are three butto...
Page 14: ...on 2 Place the printer within cable distance of the host and printer USB or Serial cable 3 Isolate the power cord from other electrical cables 4 Plug the other end of the AC power cord into the wall s...
Page 15: ...on the host and turn off the host before turning off the printer 2 2 1 Turn on your printer 1 To turn on your printer turn on the Power Switch as below The I is the ON position 2 READY MEDIA and RIBBO...
Page 16: ...urn off your printer 1 Make sure READY MEDIA RIBBON are solid green before turning off the printer 2 To turn off your printer turn off the Power Switch as below The O is the OFF position Caution Do no...
Page 17: ...from the label as it prints After the label is removed the next label prints Cutter mode automatically cuts the label after it prints There are rotate cutter and guillotine cutter types to cut media...
Page 18: ...nd media roll can be loaded into the printer the same way In case the media roll is dirty during shipping handling or storage remove the outside length of the media It helps avoid dragging adhesive an...
Page 19: ...edia roll Load Media In Standard Mode 1 Lift the top cover and front access door to expose the media compartment 2 Insert the media roll into the media supply spindle and move the media guide to the i...
Page 20: ...nd open the bracket Turn the outside media guide counter clockwise for media insert 4 Lead the media through the print head module under the paper sensor guide and over the roller Print Head Module Pa...
Page 21: ...2 Get started Load media 16 5 Return the outside media guide close the bracket and hook the head latch 6 Close the front access door and the top cover Bracket Outside Media Guide Head Latch...
Page 22: ...is already on Important After the media is loaded please perform media calibration to calibrate the label sensor before printing Note Make sure the die cut media s label length is at least 25mm or lo...
Page 23: ...e media roll into the media supply spindle and move the media guide to the inside 3 Turn the head latch counter clockwise and open the bracket Turn the outside media guide counter clockwise for media...
Page 24: ...release lever and lead the media under the peeler module 7 Return the outside media guide close the bracket and hook the head latch Close the peeler module using the peel off mechanism release lever...
Page 25: ...20 8 Close the top access door and turn on the printer or press the FEED button if the printer is already on Important After the media is loaded please perform media calibration to calibrate the labe...
Page 26: ...xpose the media compartment 2 Insert the media roll into the media supply spindle and move the media guide to the inside 3 Turn the head latch counter clockwise and open the bracket Turn on the outsid...
Page 27: ...p access door and turn on the printer or press the FEED button if the printer is already on The printer will then feed the labels through the cutter automatically Important After the media is loaded p...
Page 28: ...2 Get started Load media 23...
Page 29: ...into the media supply spindle and move the media guide to the inside 3 Turn the head latch counter clockwise and open the bracket Turn on the outside media guide 4 Insert the media into the print head...
Page 30: ...h 6 Close the top access door and turn on the printer or press the FEED button if the printer is already on The printer will then feed the labels through the cutter automatically Important After the m...
Page 31: ...lowing table provides details about them Media Type Looks Like Description Non Continuous Media Non continuous media is the typical media for bar code printing Labels and tags are made of various mate...
Page 32: ...it is used for direct thermal printing Fanfold Media Fanfold media is in continuous form but it can be used as non continuous media because its labels are separated by folds Some fanfold media also ha...
Page 33: ...ermal does not need ribbon to be installed I4 Series printers apply to both Inside wound ribbon and Outside wound ribbon Printers can switch automatically Note Media and ribbon types should be matched...
Page 34: ...rted Loading Ribbon 29 2 4 1 Placing Ribbon Roll 1 Lift the top cover and front access door to expose the media compartment 2 Turn the head latch counter clockwise and open the bracket Head latch Brac...
Page 35: ...e core Insert the ribbon roll onto the ribbon supply spindle 4 Lead the ribbon through the print head module Attach the edge of the ribbon onto the bare core and wind it a bit onto the core Make sure...
Page 36: ...g Ribbon 31 5 Insert the core onto the ribbon pick up spindle Turn the pick up spindle to ensure the ribbon is tightly wound 6 Close the top cover and the front access door and turn on the printer Rib...
Page 37: ...PAUSE CANCEL Press to enter setting mode Press again to exit setting mode and return to normal mode FEED Press to show next parameter PAUSE Press to show next setting item CANCEL Selects and saves a p...
Page 38: ...them to exit from settings Press both PAUSE CANCEL buttons Then release the buttons to enter settings READY 203 AUTO PRINT MODE THERM TRANSFER PRINT MODE DIRECT THERMAL PRINT MODE DIRECT THERMAL READY...
Page 39: ...NT SMART PRINT INTELLI PRINT INTELLI PRINT Just install labels latch print module press FEED button once and then the printer will feed 1 2 labels to detect next gap black mark before printing SMART P...
Page 40: ...mm Available only in Windows with bundled printer driver and for continuous media 11 SPEED 2 8 IPS I4 250 2 6 IPS I4 350 6 IPS I4 250 5 IPS I4 350 12 COUNTING DOWN UP DOWN 13 MEDIASENSER TYPE SEE THR...
Page 41: ...setting of host Restart printer after change setting 21 CLEAR FLASH NO YES NO When YES is selected all the label forms soft fonts and graphics stored will be deleted Restart printer after change sett...
Page 42: ...FAULTS LAST SAVED FACTORY NETWORK LAST SAVED LAST SAVED NO 1 15 NO 17 NO 22 NO 24 25 and language will be loaded FACTORY NO 1 NO6 NO9 NO11 NO14 15 NO17 NO 27 30 will be loaded NETWORK NO 27 30 will be...
Page 43: ...8 IP ADDRESS xxx xxx xxx xxx xxx range 0 255 When DHCP is disabled default IP address is 192 168 1 100 If _ sign appears that means that DHCP setting is disabled On the contrary DHCP setting is enable...
Page 44: ...Fi module Option Item Range Remarks WIFI SSID Read only WIFI module is an option for I4 Series Connect printer to PC and use print tool to set WIFI module To have more information please refer to Prin...
Page 45: ...es holes After the media is loaded please perform media calibration to calibrate the label sensor in advance For printer without LCD please see indicators 1 Turn off the printer 2 Press and hold the P...
Page 46: ...d the FEED button while turning on the power 4 When SELF TEST is displayed on the LCD release the FEED button 5 The printer now prints out a configuration report as the sample in next page All charact...
Page 47: ...3 Printer Operation Printing Media Calibration Configuration 42 PPLB...
Page 48: ...umber of fonts is downloaded in USB HOST 9 H Position Adjust Move the print position horizontally 10 Sensor Type The media sensor type such as reflective sensor 11 Label less Calibration Value Check i...
Page 49: ...pe in use 24 Calibration mode There are intelli mode or smart mode Intelli mode Just install labels latch print module press FEED button once and then the printer will feed 1 2 labels to detect next g...
Page 50: ...5 0 31 Gateway The manually specified gateway of the printer The default value is 0 0 0 0 32 MAC Address The unique address assigned to the printer that connects to the internet 33 DHCP When DHCP is e...
Page 51: ...host 45 TPH and Cutter Offset For developers to debug 46 Reflective Sensor Gap Calibration For developers to debug 47 See Through Sensor Gap Calibration For developers to debug 48 Reflective Sensor Pr...
Page 52: ...ed IP address 4 Subnet mask The netmask of your printer When DHCP is enabled it shows the automatically assigned netmask when DHCP is disabled it shows the manually specified netmask 5 Gateway The gat...
Page 53: ...ere are ad hoc and infrastructure mode Refer to Print Tool Network type description from Technical manual 12 Country Code The country or region 13 Channel The Wi Fi channel 14 Network Authentication T...
Page 54: ...3 Printer Operation Printing Media Calibration Configuration 49 PPLA...
Page 55: ...3 Printer Operation Printing Media Calibration Configuration 50 PPLZ...
Page 56: ...the printer to factory default settings 1 Turn off the printer 2 Press and hold the CANCEL button and turn on the printer 3 When RESET is displayed on the LCD and the READY indicator blinks release th...
Page 57: ...f media sensor transmissive and reflective They are used for detecting specific media types Both sensor types are installed together as a movable module 3 5 1 Transmissive sensor The transmissive sens...
Page 58: ...53 3 5 2 Reflective sensor The reflective sensor detects gaps notches and black marks Multi Columns Notch Black Mark Flip the media so the black mark side is facing down to align with the sensor 3 5...
Page 59: ...sitions and label length For labels with gaps label sensor can be positioned wherever media locates If labels with notches or holes are in use follow the steps below to check position of the label sen...
Page 60: ...3 Printer operation Media sensing 55 Make sure the Media sensor position mark locates right on notch or hole of labels Check below Paper Sensor Position Lever...
Page 61: ...ter Serial RS 232 Port The required cable must have a nine pin D type male connector on one end which is plugged into serial port located on the back of the printer The other end of the cable connects...
Page 62: ...pted For more information contact local dealer Ethernet Module Status Indicators The indicators with two different colors help users understand status of Ethernet LED Status Description Both Off No Et...
Page 63: ...lications under Windows XP Vista Windows 7 Windows 8 Windows 10 supporting 32 bit 64 bit operation systems With this driver you can operate any popular Windows software applications including Argox Ba...
Page 64: ...sing a USB cable then the Windows Add Hardware Wizard will automatically detect the printer and display a dialog that allows you to install a driver Click Cancel and do not install the driver using th...
Page 65: ...tion Driver installation 60 3 Run the driver from Argox website On the prompt Windows Printer Driver select I accept and click Next 4 Assign the directory to keep Seagull driver for example C Seagull...
Page 66: ...3 Printer operation Driver installation 61 5 Click Finish 6 Select Install printer drivers and Click Next...
Page 67: ...tion 62 7 On the Seagull Driver Wizard prompt select the first radio button to Install a driver for a Plug and Play printer Then click Next 8 Enter Printer name i e Argox I4 250 PPLB and select do not...
Page 68: ...3 Printer operation Driver installation 63 9 Check all the data on the showing screen if it is correct click Finish 10 After the related files have been copied to your system click Finish...
Page 69: ...3 Printer operation Driver installation 64 11 After driver installation is complete click Close The driver should now be installed...
Page 70: ...the power cable into the power socket on the wall and then connect the other end of the cable to printer s power socket Connect the Parallel cable Serial cable or Ethernet cable to the proper port on...
Page 71: ...3 Printer operation Driver installation 66 3 Assign the directory to keep Seagull driver for example C Seagull and click Next 4 Click Finish...
Page 72: ...3 Printer operation Driver installation 67 5 Select Install printer drivers and Click Next 6 Make sure printer is connected to PC select Other and click Next...
Page 73: ...3 Printer operation Driver installation 68 7 Select model emulation the following examples are based on model I4 250 PPLB 8 Select the port of the printer and click Next...
Page 74: ...ter operation Driver installation 69 9 Enter Printer name i e Argox I4 250 PPLB and select do not share this printer and click Next 10 Check all the data on the showing screen if it is correct click F...
Page 75: ...Printer operation Driver installation 70 11 After the related files have been copied to your system click Finish 12 After driver installation is complete click Close The driver should now be installe...
Page 76: ...ean the print head If the problem persists replace the print head For unstable ribbon roll rotation check the label path and make sure the head latch is securely closed Poor printout quality The ribbo...
Page 77: ...ronment or the print quality declines you need to clean the printhead more frequently Keep in mind these things before you clean Keep the water away in case of corrosion on heating elements If you jus...
Page 78: ...important for print quality Dirty platen roller may damage the printhead Clean the platen roller right away if the adhesive dirt or dust accumulates on it 1 Moisten a soft cloth with absolute ethyl a...
Page 79: ...The RTC battery keeps the RTC running even if the printer is turned off If the battery is low or out you need to replace it with a new one To replace a RTC battery 1 Open the left cover of printer Tur...
Page 80: ...he printer Test the power cord and the socket with other electrical devices Disconnect the printer from the wall socket and connect it again The printer turns itself off Turn on the printer again If t...
Page 81: ...Media Calibration Configuration to calibrate the sensor The media sensor is dirty Clean the media sensor Nothing is printed The media is not loaded correctly See Section 2 3 Loading Media to reload t...
Page 82: ...ogether 4 Reload both rolls into the printer The ribbon is printed out with the media The ribbon is not loaded correctly See Section 2 4 Loading Ribbon to reload the ribbon The printhead temperature i...
Page 83: ...ad temperature is extremely high The printhead temperature is controlled by the printer If it is extremely high the printer will stop printing automatically until the printhead is cool down After that...
Page 84: ...ay Battery for RTC Type CR2032 3V 225mAh Print Speed 2 6 ips 51 152 mm s 2 8 ips 51 203 mm s 2 6 ips 51 152 mm s Print Length Max 100 2540 mm Min 0 2 5mm 50 1270mm 0 2 5mm Print Width 4 25 108 mm 4 08...
Page 85: ...6 Specifications Printer 80 Model I4 240 I4 250 I4 350 Software Utility Printer Tool Agency Listing CE FCC CB LVD cULus ICES Energy Star Note Print quality and speed is based on 15 print coverage...
Page 86: ...177 8mm OD on a 1 5 38mm ID core Min width 2 3 58mm for partial cutter options Min length 1 25 4mm for cutter options Media Type Roll feed die cut continuous fan fold tags ticket or plain paper or la...
Page 87: ...Code pages Courier font symbol set Roman 8 ECMA 94 PC PC A PC B Legal and PC437 Greek Russian Soft fonts Downloadable soft fonts by Print Tool Font size 1x1 to 24x24 times Character rotation 0 90 180...
Page 88: ...0 90 180 270 degree 4 direction rotation Graphics PCX Binary Raster BMP and GDI 1D Barcodes Code 39 UPC A UPC E Matrix 2 of 5 UPC Interleaved 2 of 5 Code 39 with check sum digit Code 93 EAN 13 EAN 8 S...
Page 89: ...8 UTF 16 Big Endian UTF 16 Little Endian Code page 1250 1251 1252 1253 1254 Soft fonts Downloadable soft fonts by Print Tool Font size 1x1 to 10x10 Character rotation 0 90 180 270 degree 4 direction...
Page 90: ...4 Physical dimension Dimension Size and Weight Size W 250mm x H 263mm x D 418 mm Weight 11 kg 24lbs 6 5 Wireless LAN Option Properties Wireless LAN I F Hardware Protocol IEEE 802 11 b g n Enabled Dev...
Page 91: ...FDM method Channel US 1 11ch JP DE 1 13ch Data Transmission Speed Modulation 20MHz 6 5M 7 2M 13M 14 4M 19 5M 21 7M 26M 28 9M 39M 43 3M 52M 57 8M 58 5M 65M 72 2M Auto sensing Antenna External antenna A...
Page 92: ...ting 87 Properties Wireless LAN I F Parameter Setting and Status Monitor Note The specifications may be changed at any time without prior notice For more information about the new specifications visit...
Page 93: ...for the printer 6 6 1 USB There are two common USB connectors Typically type A is found on hosts and hubs type B is found on devices The figure below shows their pinouts Type A Type B Pin Signal Desc...
Page 94: ...ound 6 NA No Function 7 CTS Clear to Send 8 RTS Request to Send 9 NC No Connection Host DB9 Printer DB9 Signal Description Pin Pin Description Signal CD Carrier Detect 1 1 No Function NC RxD Receive 2...
Page 95: ...r Data 2 21 S GND Signal GND 4 To Printer Data 3 22 S GND Signal GND 5 To Printer Data 4 23 S GND Signal GND 6 To Printer Data 5 24 S GND Signal GND 7 To Printer Data 6 25 S GND Signal GND 8 To Printe...
Page 96: ...1 6 6 4 Ethernet The Ethernet uses RJ 45 cable which is 8P8C 8 Position 8 Contact The figure below shows its pinout 1 2 3 4 5 6 7 8 Pin Signal 1 Transmit 2 Transmit 3 Receive 4 Reserved 5 Reserved 6 R...