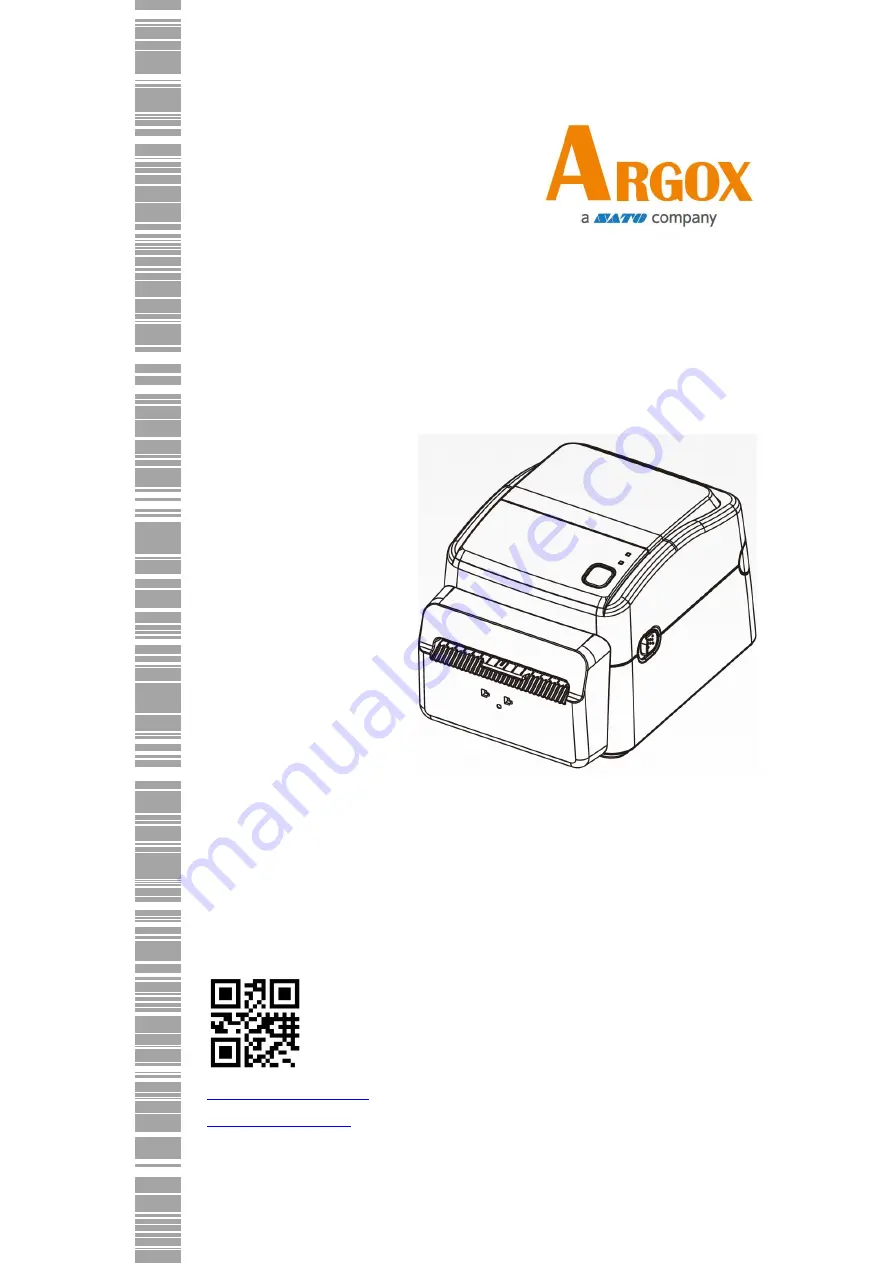
D4-280plus Printer
User Manual
http://www.argox.com
[email protected]
Version: 1.0 Date: Sept. 14, 2020
Page 1: ...D4 280plus Printer User Manual http www argox com service argox com Version 1 0 Date Sept 14 2020...
Page 2: ...D4 280plus User Manual i Revision History Changes to the user manual are listed below Version Date Description Page 1 0 2020 9 14 Initial release...
Page 3: ...radiate radio frequency energy and if not installed and used in accordance with the instructions in this manual it may cause harmful interference to radio communications Operation of this equipment in...
Page 4: ...ent for USA only Liability Disclaimer ARGOX Corporation takes steps to assure that the company s published engineering specifications and manuals are correct however errors do occur ARGOX reserves the...
Page 5: ...n your printer 10 2 2 2 Turn off your printer 11 2 3 Load media 12 2 3 1 Prepare media 12 2 3 2 Place a media roll 13 2 3 3 Test media feed 15 2 4 Media types Linerless label 16 2 5 Media sensing 17 2...
Page 6: ...ng 46 5 1 Printer issues 46 5 2 Media issues 47 5 3 Other issues 48 6 Specifications 49 6 1 Printer 49 6 2 Media 50 6 3 Fonts Barcodes and Graphics Specification 51 6 4 Wireless LAN Option 54 6 5 Blue...
Page 7: ...ur printer load the media and solve common problems 1 1 Features Various Connectivity Options USB Ethernet RS 232 Easy Operation One button design for easy control Fast Print Speed Max 6 inches sec Wi...
Page 8: ...Power Cord Accessories When you receive the printer open the package immediately and inspect for shipping damage If you discover any damage contact the shipping company and file a claim ARGOX is not r...
Page 9: ...D4 280plus User Manual 3 1 3 Understand your printer 1 3 1 Perspective view Top Cover LED Indicator 2 LED Indicator 1 Feed Button Cover Open Latch...
Page 10: ...d by the ellipse have sharp edges To avoid injury be careful not to touch them when handling the printer Caution To avoid injury be careful not to trap your fingers in the Paper Slot while opening or...
Page 11: ...printhead becomes very hot during printing Do not touch the thermal printhead or touch around it directly after printing By doing so you may get burnt Thumbscrew Thermal Printhead Transmissive Sensor...
Page 12: ...Status lights help you check printer s condition The following tables show the blinking speed of status lights and the conditions they indicate LED image Blinking Speed Blinking Interval Lightening A...
Page 13: ...dia is out when the print data sent to the printer Paper end Red Red H W Error The printhead is broken Communication error RS 232C Cutter error with optional cutter The RTC battery is low If the print...
Page 14: ...nds for you to select and run To enter the system mode and run the command do the following 1 Turn off the printer 2 Press and hold the FEED button and turn on the printer 3 Both status lights glow so...
Page 15: ...power cord 1 Make sure the power switch is set to the OFF position 2 Insert the power supply s connector into the printer power jack 3 Insert the AC power cord into the power supply 4 Plug the other e...
Page 16: ...Turn on your printer 1 To turn on your printer turn on the Power Switch as below The I is the ON position 2 Both status lights glow solid amber for a few seconds and then LED 2 goes out while LED 1 t...
Page 17: ...our printer 1 Make sure LED 2 is off and LED 1 is solid green before turning off the printer 2 To turn off your printer turn off the Power Switch as below The O is the OFF position Caution Do not turn...
Page 18: ...le media to satisfy your need 2 3 1 Prepare media Load the outside wound media roll into the printer In case the media roll is dirty during shipping handling or storage remove the outside length of th...
Page 19: ...User Manual 13 2 3 2 Place a media roll 1 Open the top cover of the printer 2 Place the 1 5 media roll between the holders Make sure the print side is up and the media roll is clamped tightly by the h...
Page 20: ...0plus User Manual 14 3 Pull the media until it reaches out of the printer Thread the media under the media guides Caution Do not ship or carry the printer while it holds a label roll 4 Close the top c...
Page 21: ...a label After the label is fed or printed the printer s cutter automatically cuts the paper Take out the cut paper before the printer makes the next label paper print If you do not use the printer for...
Page 22: ...e of the media that can be used on this printer as shown below The table below shows the size and shape of the media that can be used on this printer Item Cut Mode Label width 25 4mm to 118mm Cut leng...
Page 23: ...missive sensor It is used for detecting specific media type 2 5 1 Paper end sensor transmissive sensor The transmissive sensor is fixed and placed near the center of the printhead Make sure that the p...
Page 24: ...hold the FEED button and turn on the printer 3 Both status lights glow solid amber for a few seconds Next they turn to green shortly and then turn to other colors When LED 2 turns to green and LED 1...
Page 25: ...D4 280plus User Manual 19 Your configuration label should look like this...
Page 26: ...r of fonts is downloaded in RAM 8 No of DL soft fonts HOST The number of fonts is downloaded in USB HOST 9 H Position Adjust Move the print position horizontally 10 Sensor Type SEE THRU 2 SENSOR Two s...
Page 27: ...s in The default value is 192 168 1 1 23 Subnet Mask Display printer subnet mask The default value is 255 255 255 0 24 Gateway Display printer gateway The default value is 0 0 0 0 25 MAC Address The u...
Page 28: ...ess type of your printer There are four types NONE NORMAL EUI and ANY 34 IPv6 Address Display printer current IPv6 address 35 Link Local The IPv6 address that used in a network segment It is allocated...
Page 29: ...h status lights glow solid amber for a few seconds Next they turn to green shortly and then turn to other colors When both lights turn to red release the FEED button immediately 4 Press and hold the F...
Page 30: ...e The USB s plug and play design makes installation easy Multiple printers can share a single USB port hub The different usage of type A and B as below USB type A USB Flash drive USB keyboard or USB S...
Page 31: ...elp users understand status of Ethernet LED Status Description Both Off No Ethernet link detected Blinking The printer waits for printer ready It will take about few seconds to be ready Green Speed LE...
Page 32: ...abel editing software or MS Word etc to print to this printer We strongly recommend that you use the Seagull Driver Wizard instead of the Microsoft Windows Add Printer Wizard when installing and updat...
Page 33: ...o the USB port on the printer and on the PC 2 Turn on the printer If the printer supports Plug and Play and you have successfully connected it using a USB cable then the Windows Add Hardware Wizard wi...
Page 34: ...D4 280plus User Manual 28 4 Assign the directory to keep Seagull driver for example C Seagull and click Next 5 Click Finish...
Page 35: ...280plus User Manual 29 6 Select Install printer drivers and Click Next 7 On the Seagull Driver Wizard prompt select the first radio button to Install a driver for a Plug and Play printer Then click Ne...
Page 36: ...D4 280plus User Manual 30 8 Enter Printer name i e Argox D4 280plus PPLZ and select do not share this printer and click Next 9 Check all the data on the showing screen if it is correct click Finish...
Page 37: ...D4 280plus User Manual 31 10 After the related files have been copied to your system click Finish 11 After driver installation is complete click Close The driver should now be installed...
Page 38: ...the wall and then connect the other end of the cable to printer s power socket Connect the Parallel cable Serial cable or Ethernet cable to the proper port on the printer and on your computer for ins...
Page 39: ...D4 280plus User Manual 33 3 Assign the directory to keep Seagull driver for example C Seagull and click Next 4 Click Finish...
Page 40: ...D4 280plus User Manual 34 5 Select Install printer drivers and Click Next 6 Make sure printer is connected to PC select Other and click Next...
Page 41: ...D4 280plus User Manual 35 7 Select model emulation the following examples are based on model D4 280plus PPLZ 8 Select the port of the printer and click Next...
Page 42: ...D4 280plus User Manual 36 9 Enter Printer name i e Argox D4 280plus PPLZ and select do not share this printer and click Next 10 Check all the data on the showing screen if it is correct click Finish...
Page 43: ...D4 280plus User Manual 37 11 After the related files have been copied to your system click Finish 12 After driver installation is complete click Close The driver should now be installed...
Page 44: ...and benzene as this may cause discoloration of the cover print failure or breakdown of the printer Do not touch the print head element with bare hands as the print head element may be easily damaged 4...
Page 45: ...oid if printhead s serial number is removed altered defected or made illegible under every circumstance 4 1 2 Media housing Use a soft cloth to clean the dust dirt or debris built up on the Media Roll...
Page 46: ...y brush sensors to remove the dust away 3 Use a dry cloth to clean the residue 4 1 4 Platen roller The platen roller is also important for print quality Dirty platen roller may damage the printhead Cl...
Page 47: ...one label roll or at the end of day 1 Turn the power off 2 Wipe Cutter Outlet and Cutter Tray with a soft cloth moistened with absolute ethyl alcohol 3 Detach the Cutter Tray from the Cutter Block 4 T...
Page 48: ...D4 280plus User Manual 42 5 Slide two levers as indicated by the arrows 6 Open the Paper Guide for cleaning 7 Wipe up and down the Paper Guide with a soft cloth moistened with absolute ethyl alcohol...
Page 49: ...he Paper Guide with a soft cloth moistened with absolute ethyl alcohol 9 Use the Scraper to remove adhesive residues from the cutter blade 10 Use the Cleaner Pen to clean the blade surface Warning As...
Page 50: ...n remove the cutter module from the printer To remove the cutter module just pull the connector of connection cable of the printer out of the socket on the circuit board of the cutter module Hold Hold...
Page 51: ...ct the cable of the printer back to the socket on the circuit board of the cutter module Before connection determine that the blue portions of the connector and socket are on the same side It is wrong...
Page 52: ...ther electrical devices Disconnect the printer from the wall socket and connect it again The printer turns itself off Turn on the printer again Make sure the power supply s connector and the power cor...
Page 53: ...ed See Section 3 1 Media Sensor Calibration to calibrate the sensor The media sensor is dirty Clean the media sensor Nothing is printed The media is not loaded correctly See Section 2 3 Loading Media...
Page 54: ...The printer is unable to save files due to insufficient USB memory Delete the files on your USB drive to free some space or replace your USB drive with an empty one The printhead temperature is extre...
Page 55: ...Print Darkness Darkness level PPLZ SD 0 30 Default PPLZ SD 16 Printable Area Length 152 4mm Width 25 4mm 118mm 1 0mm 1 5mm Print Ratio Average print ratio within 15 or less whole print layout area Ful...
Page 56: ...D4 280plus User Manual 50 6 2 Media Properties Description Media Size Length 25 4mm 152 4mm Width 25 4mm 118mm Max Roll Diameter Size 127 mm 5 inches...
Page 57: ...s Courier font symbol set Roman 8 ECMA 94 PC PC A PC B Legal and PC437 Greek Russian Soft fonts Downloadable soft fonts by Print Tool Font size 1x1 to 24x24 times Character rotation 0 90 180 270 degre...
Page 58: ...270 degree 4 direction rotation Graphics PCX Binary Raster BMP and GDI 1D Barcodes Code 39 UPC A UPC E Matrix 2 of 5 UPC Interleaved 2 of 5 Code 39 with check sum digit Code 93 EAN 13 EAN 8 Standard 2...
Page 59: ...Big Endian UTF 16 Little Endian Code page 1250 1251 1252 1253 1254 Soft fonts Downloadable soft fonts by Print Tool Font size 1x1 to 10x10 Character rotation 0 90 180 270 degree 4 direction rotation...
Page 60: ...11b DSSS method Channel Depending on the country Data Transmission Speed Modulation 11 5 5 Mbps CCK 2 Mbps DQPSK 1 Mbps DBPSK IEEE 802 11g Transmission Method Conforming to IEEE 802 11g OFDM method DS...
Page 61: ...re Connection mode Infrastructure Adhoc Default IP Address 192 168 1 1 Default Subnet Mask 255 255 0 0 Default ESSID WIRELESS PRINTER Security IEEE 802 11i Cryptograp hy WEP 128 bit TKIP WPA AES WPA2...
Page 62: ...one to one connection is supported Support Profile Serial Port Profile SPP PIN code is supported Class of Radio Transmission CLASS 2 Transmission Method Bi directional Half duplex Flow Control Credit...
Page 63: ...DIX Auto Negotiation 6 7 Electrical and operating environment Properties Range Power Supply Voltage AC 100 V 240 V 10 full range Frequency 50 Hz 60 Hz 5 Power Consumption 60W Temperature Operating 5 C...
Page 64: ...e printer 6 9 1 USB There are two common USB connectors Typically type A is found on hosts and hubs type B is found on devices and hubs The figure below shows their pinouts Type A Type B Pin Signal De...
Page 65: ...6 9 2 Ethernet The Ethernet uses RJ 45 cable which is 8P8C 8 Position 8 Contact The figure below shows its pinout 1 2 3 4 5 6 7 8 Pin Signal 1 Transmit 2 Transmit 3 Receive 4 Reserved 5 Reserved 6 Rec...
Page 66: ...d 6 NA No Function 7 CTS Clear to Send 8 RTS Request to Send 9 NC No Connection Host DB9 Printer DB9 Signal Description Pin Pin Description Signal CD Carrier Detect 1 1 No Function NC RxD Receive 2 2...