Use fun-Link
Your TV supports fun-Link, which enables one-touch play and one-touch
Standby between fun-Link-compliant devices. Compliant devices must
be connected via an HDMI connector.
One-touch play
When you connect your TV to devices that support one-touch play, you
can control your TV and the devices with one remote control. For
example, when you press
K
(
Play
) on your DVD remote control, your TV
automatically switches to the correct channel to show the DVD content.
One-touch Standby
When you connect your TV to devices that support Standby, you can use
your TV remote control to put your TV and all connected HDMI devices
in Standby mode. You can perform one-touch Standby using the remote
control from any of the connected HDMI devices.
System audio control
When you connect your TV to HDMI CEC compliant devices, your TV
can switch automatically to play audio from the connected device. To use
one-touch audio, you must map the audio input from the connected
device to your TV. You can use the remote control from the connected
device to adjust the volume.
Device Control
Device Control allows you to control fun-Link-compliant devices using
your TV remote control.
HDMI-ARC (Audio Return Channel) (HDMI 1 only)
HDMI-ARC allows you to use fun-Link to output TV audio directly to a
connected Audio device, without the need for an additional Digital Audio
cable. Be sure that the device is HDMI CEC and ARC compliant, and that
the TV is connected to the device using an HDMI cable attached to both
HDMI-ARC connectors.
Note(s)
●
SANYO does not guarantee 100% interoperability with all HDMI CEC devices.
●
The fun-Link-compliant device must be Switched On and selected as the source.
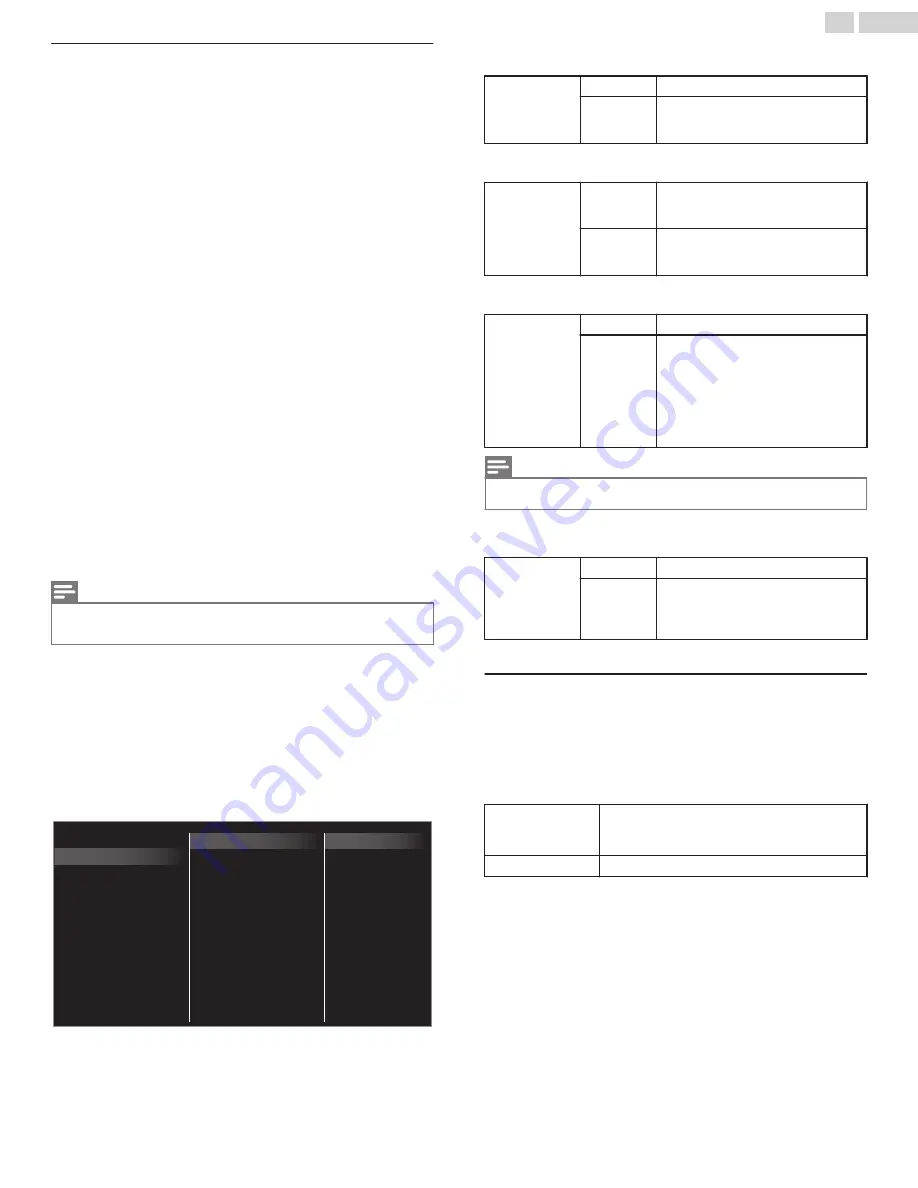
fun-Link (HDMI CEC)
This function allows you to operate the linked functions between our
brand Devices with a fun-Link feature and this unit connecting through
an HDMI cable. You must connect this unit to our brand fun-Link devices
and be sure its fun-Link (HDMI CEC) setting is also set to On.
1
Use
H
I
to Select
Preferences
, then press
OK
.
2
Use
H
I
to Select
fun-Link (HDMI CEC)
, then press
OK
.
3
Use
H
I
J
K
to Select the item you want to adjust, then press
OK
.
On
Off
HDMI-ARC
Auto TV On
E-sticker
TV placement
Location
fun-Link control
fun-Link (HDMI CEC)
Device control
Set the
fun-Link control
to
On
or
Off
. The following additional settings
will be grayed out when you set them to
Off
.
fun-Link
control
Off
Disables All fun-Link.
On
Selects if you have connected an
External Device that is compatible with
the fun-Link function.
This unit will Turn On when the Power On signal is sent from your
connected fun-Link device.
Auto TV On
Off
This unit stays in Standby mode even
if you Turn On your connected fun-Link
device.
On
This unit Turns On Automatically when
you Turn On your connected fun-Link
device.
You can operate some functions such as disc playback or call up the
menu of the connected devices, by using this unit’s remote control.
Device control
Off
Disable Device control.
On
PLAY, PAUSE
K
F
/
STOP
C
/
FWD
D
/
REV
E
/
VOL + / –
/
D
(
MUTE
) /
OPTIONS
/
H
I
J
K
/
OK
/
BACK
/
the NUMBER buttons
can be
used to control your connected fun-
Link devices by this unit’s remote
control.
Note(s)
●
Pause may not work properly on some devices even if they are fun-Link (HDMI CEC)
compliant.
HDMI-ARC allows you to use fun-Link to output TV Audio directly to a
connected Audio device, without the need for an additional Digital Audio
cable.
HDMI-ARC
(HDMI 1 only)
Off
Disable HDMI-ARC.
On
You can output TV Audio through the
HDMI cable solely, provided both the
TV and device are HDMI-ARC
compliant.
Return your settings to default values
You can return settings to their default values.
1
Use
H
I
to Select
Restore default settings
, then press
OK
.
2
Use
H
I
to Select
Reset AV settings
or
Reset all settings
, then
press
OK
.
Reset AV settings
Return picture and sound settings to their default
values. The channel installation settings are not
affected.
Reset all settings
Return all the settings to their default values.
35
.
English
Continued on next page.
Summary of Contents for FW43C46F
Page 57: ...A5DREUH A5DVEUH ...


