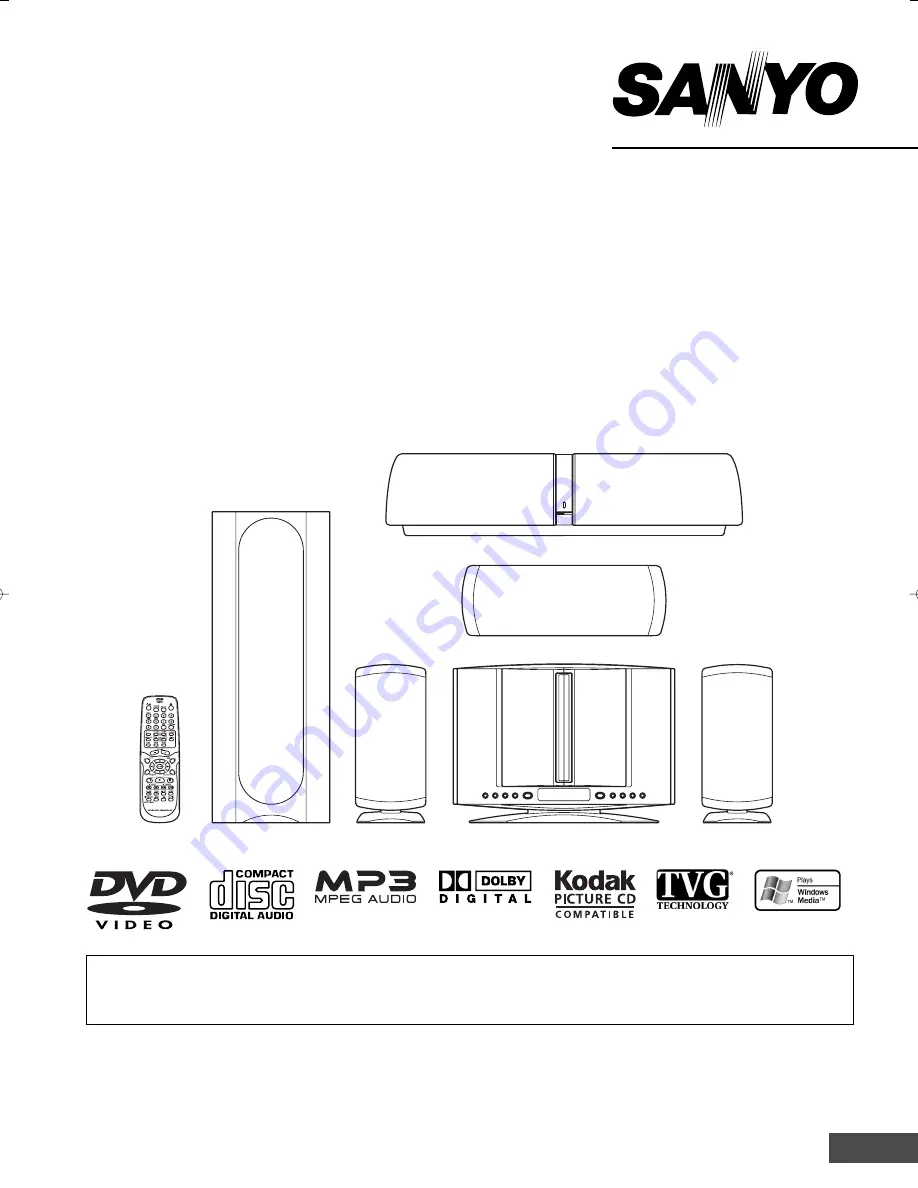
Sanyo DWM-4500 Instruction Manual Download Page 1

INSTRUCTION MANUAL

DVD Home Theater System

1AD6P1P2104--A  DWM-4500, Issue Number 2

DWM-4500

SANYO’S HELP-LINE

Call the toll-free number below if you have any difficulties operating this product.
1-800-813-3435 (Weekdays: 7:30 AM - 4:00 PM Central Time)

TM

English

Please Read This Manual.

Because DVD is a new technology, we recommend that you read this manual carefully before connecting your DVD
Home Theater System and operating it for the first time.
Keep the manual in a safe place for future reference.

Summary of Contents for DWM-4500

Page 1: ...have any difficulties operating this product 1 800 813 3435 Weekdays 7 30 AM 4 00 PM Central Time TM English Please Read This Manual Because DVD is a new technology we recommend that you read this manual carefully before connecting your DVD Home Theater System and operating it for the first time Keep the manual in a safe place for future reference ...

Page 2: ...use E25 Frame by Frame Advance Playback DVD E25 Picture Zoom DVD E25 Viewing from a Desired Camera Angle Multi Angle DVD E26 Designated Range Repeat Playback A B Repeat E26 Repeat Playback E26 Random Playback CD E27 Programmed Playback CD E27 Selecting Subtitle Language DVD E28 Selecting Audio Soundtrack Language Multi Language DVD E28 Selecting On Screen Information E28 TVGuardian Operation E29 B...

Page 3: ...ess remote control Video cable FM indoor antenna lead wire Either the main unit or remote control can be operated However for convenience this instruction manual explains operation using the remote control Note This handling description is printed prior to product development When a part of the product specification must be changed to improve operability or other functions priority is given to the...

Page 4: ...RTIFICATION This unit is made and tested to meet exacting safety standards It meets UL and FCC requirements and com plies with safety performance standards of the U S Depart ment of Health and Human Services CAUTION USE OF CONTROLS OR ADJUSTMENTS OR PERFORMANCE OF PROCEDURES OTHER THAN THOSE SPECIFIED HEREIN MAY RESULT IN HAZARD OUS RADIATION EXPOSURE THISUNITSHOULDNOTBEADJUSTEDORREPAIRED BY ANYON...

Page 5: ...dical Institutions hospitals or near medical equipment The radio waves may cause nearby equipment to operate incorrectly or fail When other equipment or a medical apparatus operates incorrectly or fails to operate due to radio wave interference stop using this unit The radio waves may cause nearby equipment to operate incorrectly or fail In plant radio stations and special low power radio stations...

Page 6: ... speaker 3 Frequency switch FREQUENCY top side See page E12 2 3 1 CONTROLS 1 Remote sensor IR 2 Function button FUNCTION 3 Volume buttons VOL 4 Power button z ON 5 Display 6 Disc door 7 Play button a 8 Stop button n 9 Skip Next Previous Preset tuning buttons f e PRESET 10 Open Close button q 11 S video and Component video out select switch VIDEO OUT SELECT right side See pages E13 and E15 1 2 3 4 ...

Page 7: ...tton SOUND Volume buttons VOLUME 7 Shift button SHIFT 8 Open Close button q 9 Return button RETURN See page E23 10 Clear Trim button CLEAR TRIM Note At Trimming mode press the button while holding the SHIFT button down See page E19 11 Test tone button TEST See page E19 12 Menu button MENU 13 Directional arrow buttons o a p b 14 On screen display button ON SCREEN 15 Play button a 16 Stop button n 1...

Page 8: ...an be operated using this remote control Refer to your TV instruction manual for more details There may be some TV models that cannot be operated with this remote control If this is the case use the original remote control supplied with the TV IMPORTANT NOTE If the batteries in the remote control are changed the code settings for the TV must be re entered Write your code number below for future re...

Page 9: ...V AC 60Hz outlet until all connec tions have been made System cable from Main unit DVD Receiver Main unit DVD Receiver Sub woofer Powered speaker System cable to Sub woofer Powered speaker System cable Attach the ferrite core Ferrite core System Cable Connection ...

Page 10: ...g the system cable pull out the plug 2 while pressing 1 down Main unit Sub woofer Powered speaker Note Take care when installing it It may cause damage or serious injury should it fall from its mountings Approx 3 16 inch 5mm Approx 5 4 inch 144mm Round head screw not supplied Toward you ...

Page 11: ...DVD Receiver Ferrite core Note Do not connect the power cord to a 120V AC 60Hz outlet until all connections have been made Speaker Wire Color Use Black and White Front left speaker Black and Red Front right speaker Black and Green Center speaker Speaker Connections To achieve proper stereo reproduction connect the speaker wires without shorting to adjacent wires as shown below SYSTEM TO DVD RECEIV...

Page 12: ...ay field compensation They may be placed close to a TV without affecting the color purity Place the front left and right speakers either side of the TV Place the center speaker directly above the TV The front center and rear speakers should be placed at approximately the same distance from the listening position Place the rear speaker behind the listening position on the floor or approximately 2 f...

Page 13: ... sent to the rear speaker through the assistant speaker cable Sub woofer powered speaker Assistant speaker cable Note Adjust the distances between the sub woofer and the rear speaker to be suitable shorter than approx 23 feet cord length If Using the External Speaker Not Supplied Instead of the Rear Speaker 1 Connect the external speaker 4 Ω more than 50 Watts for each speaker not supplied to the ...

Page 14: ...least You cannot connect it to an antenna terminal of TV Video cable supplied To VIDEO INPUT jack To VIDEO OUT jack Yellow Sub woofer Powered speaker Using S VIDEO OUT jack Note Please follow the steps before turning on the power 1 If your TV has the S VIDEO INPUT jack connect the S video cable not supplied as shown in figure The VIDEO OUT jack connection is not necessary You can enjoy clearer pic...

Page 15: ... the 75 ohm coaxial cable not supplied between the TO TV terminal of the RF Modulator and the VHF UHF ANTENNA IN terminal of the TV 4 Connect the audio cables not supplied between the AUX jacks of the unit and the AUDIO OUT jacks of the VCR Use the red connectors for the right R jacks and the white connectors for the left L jacks 5 Connect the Video cable with yellow connectors supplied between th...

Page 16: ...wer and disconnect both units from the wall outlet until all the connections have been made Do not connect the unit to a VCR directly The playback picture will be distorted because DVD video discs are copy protected Interlaced scanning Progressive scanning 3 Set the unit to the PROGRESSIVE mode See pages E21 and E35 Sub woofer Powered speaker Main unit Right side Use of your VCR and Sanyo DVD Home...

Page 17: ...reception is found In fringe areas or where reception is distorted or noisy an FM outdoor antenna not supplied should be connected instead of the FM indoor antenna lead wire The terminals will accept 75 ohm coaxial cable Note To minimize noise Do not place the antenna close to a TV or speaker Note to CATV system installer This reminder is provided to call the CATV system installer s attention to S...

Page 18: ...g a DVD disc with the volume set low at night select this mode It enhances spoken lines making speech clearer 3 Repeat steps 1 to 2 for another sound mode 4 Press SOUND repeatedly to close the display Bass boost system Press BASS repeatedly to select the desired bass boost effect BOOST v BASS OFF v NORMAL v BOOST Adjusting the FL display brightness While holding n down on the main unit press ON SC...

Page 19: ...r SURR appears briefly on the display DVD video discs with DTS may not work correctly You can see the picture on the TV screen but there is no sound In this case press the AUDIO button repeatedly while holding the SHIFT button down to select Dolby Digital sound See page E28 When receiving weak FM broadcasts set the mode to 2 1ch The sound quality may improve 5 1 SURR 5 1 AUTO DVD CD AUX FM TUNER S...

Page 20: ...ecomes a comfortable level 5 If the test tone level is not the same from each speaker press p or o to adjust it while the speaker is activated The level appears on the TV screen and display Front L 10 0 appears Center 10 10 appears Front R 10 0 appears Surround R 10 10 appears Surround L 10 10 appears If necessary repeat this step again 6 Press TEST to turn the test tone off Note If no adjustments...

Page 21: ...tion technology that is protected by method claims of certain U S patents and other intellectual property rights owned by Macrovision Corporation and other rights owners Use of this copyright protection technology must be authorized by Macrovision Corporation and is intended for home and other limited viewing uses only unless otherwise authorized by Macrovision Corporation Reverse engineering or d...

Page 22: ...se the setup screen 5 In NO DISC mode press and hold down e on the remote control until the following message appears on the TV screen Important Note This instruction manual explains the basic instruction of this unit using the remote control unit Some DVD video discs have different functions that may not be explained in this instruction manual You may need extra instructions In this case please f...

Page 23: ...elect the desired menu 2 Press ENTER Playback of the selected menu starts Note For more details please refer to the jacket or case of the disc Chapter number Elapsed playing time Note Some discs may not start playback automatically In such case press a Play to start playback CAUTION Do not touch the disc door while it is closing This will damage the inside of the unit and the disc Notes In some di...

Page 24: ...he disc now Selecting a DVD Menu Notes The operation may differ depending on the disc used Selecting a menu may not be possible on some discs 1 Press MENU The main menu screen will appear Note Press MENU again to resume playback 2 Press 4 5 b or a or the number buttons to select the desired menu 3 Press ENTER The selected menu playback starts Note If RETURN is pressed in some discs it returns to t...

Page 25: ...Chapter No 24 press 2 then 4 Note If you make a mistake press CLEAR 3 Press ENTER or a Play Playback starts from the selected chapter Time Search DVD 1 Press SEARCH MODE three times while holding SHIFT down during playback The time search screen appears on the TV screen 2 Press the number button s to enter the time Example 20 minutes 5 seconds Press 2 0 0 and 5 42 minutes 39 seconds Press 4 2 3 an...

Page 26: ...e Press k during playback k appears on the FL display k appears briefly on the TV screen DVD Still picture mode CD Pause mode Press a Play to return to normal playback Note The sound is muted Important Note may appear on the TV screen during operation This icon means that the function is not available on the disc now Frame by Frame Advance Playback DVD Press k during still picture k a appears brie...

Page 27: ...P Repeat all tracks Off Repeat off mode During Programmed Playback TV screen Display Operation Program 1 REP 1 Repeat the programmed track being played Program All ALL REP Repeat all programmed tracks Off Repeat off mode During Random Playback TV screen Display Operation 1 REP 1 Repeat of the track being played All ALL REP Repeat all tracks at random Off Repeat off mode Important Note may appear o...

Page 28: ...all up the Program Mode screen then press a Play Random Playback CD 1 Press PROGRAM RANDOM once in the stop mode Random On appears on the TV screen RND blinks on the display 2 Press a Play to begin random playback RND remains lit on the display The unit will automatically select tracks at random Note To stop random playback press n To clear the program one by one 1 Press PROGRAM RANDOM twice to di...

Page 29: ...ded French DTS sound Press AUDIO repeatedly while holding SHIFT down during playback until the desired language appears on the TV screen Examples If you use a DVD video disc with DTS DTS appears You can see the picture on the TV screen but there is no sound Notes When the desired language is not selected even if the button is pressed the language is not available on the disc When the power is turn...

Page 30: ...ardian Note If the parental lock is set the highlighted box does not move You must enter the password to release the parental lock first See page E37 5 Press ENTER TVG Setup screen appears Note If you do not set TVG press p to select Back and then press ENTER Parental screen returns 7 Press p or o to select the submenu Off TVG does not operate Tolerant Only the most offensive foul language will be...

Page 31: ... or C1 select CC Channel and then select the submenu CC1 in step 18 19 Press ENTER Parental screen returns IMPORTANT INFORMATION Use a TV with closed caption capability and set the function to On Set the same closed caption channel number on both the unit and your TV The built in TVGuardian Foul Language Filter TVG works only English language DVD video disc supporting closed caption not any other ...

Page 32: ...ssless files or DRM copyright protection files cannot be played back When creating a WMA disc be sure the copyright function is off Microsoft Windows Media and Windows Logo are trademarks or registered trademarks of Microsoft Corporation in both the United States and other countries LIMITATIONS ON DISPLAY Available letters for display are the following capital or small alphabets of A through Z and...

Page 33: ...CD Please refer to page E22 PHOTO appears on the display and the slide show starts from the first file During the slide show Press k to pause Press a Play to continue Press e or f it skips to the next or previous file If the picture appears upside down or sideways press ANGLE repeatedly while holding SHIFT down until it s right side up or Normal appears briefly on the TV screen To stop the slide s...

Page 34: ...ned off Notes In this instruction manual the language in on screen display is English If you change the language please follow the selected language in on screen display The disc information takes priority in various setting For improvement on screen displays subject to change without notice 4 Press ENTER The submenu appears Example 5 Press p or o to select the language highlighted 6 Press ENTER T...

Page 35: ...to quit the setup screen Cut off 4 3 LB Letterbox Select when a conventional TV set is connected When the wide screen disc is played back the black bands appear at the top and bottom of screen 4 3 PS Panscan Select when a conventional TV set is connected When the wide screen disc is played back it displays pictures cropped to fill to your TV screen The left and right edges are cut off 16 9 Select ...

Page 36: ...t to the COMPONENT position See page E15 Next press z ON again to turn the power on and press SETUP to open the setup screen 3 Press 5 or 4 to select the progressive mode On or Off 4 Press ENTER The submenu is set 5 Press 4 to skip back to the setup screen or press SETUP to quit the setup screen Note To reset to the initial setting TV System NTSC and Progressive Off In the no disc mode press ON SC...

Page 37: ...5 feet Approx 450cm 15ms 14 Press ENTER Surr Delay and the selected delay time remain 15 Press o to skip back to the setup screen or press SETUP D1 The distance from the front speaker D2 The distance from the center speaker D3 The distance from the rear speaker Front left speaker Front right speaker Center speaker Rear speaker Surround left and right speakers D1 D2 D3 D1 4 Press ENTER to select Au...

Page 38: ...er than the level you selected unless you cancel the parental lock function For example when you select level 5 the unit will not play discs with ratings of 6 7 or 8 The information will appear on the TV screen Note DVD video discs may or may not respond to the parental lock settings Make sure this function works with your DVD video discs To Lock the Disc Door First select Disc Lock On You can loc...

Page 39: ... 7579 ko Korean 7583 ks Kashmiri 7585 ku Kurdish 7589 ky Kirghiz 7665 la Latin 7678 ln Lingala 7679 lo Laothian 7684 lt Lithuanian 7686 lv Latvian Lettish 7771 mg Malagasy 7773 mi Maori 7775 mk Macedonian 7776 ml Malayalam 7778 mn Mongolian 7779 mo Moldavian 7782 mr Marathi 7783 ms Malay 7784 mt Maltese 7789 my Burmese 7865 na Nauru 7869 ne Nepali 7876 nl Dutch 7879 no Norwegian 7967 oc Occitan 79...

Page 40: ...nd The preset number appears The preset stations are selected in sequence for approximately five seconds each 2 Press n when the desired station has been selected Preset scanning will stop When beat interference is heard A high pitched noise called beat is sometimes heard during reception of radio broadcasts If this occurs while holding ON SCREEN down on the remote control press e on the main unit...

Page 41: ...columns to locate and remedy the problem SYMPTOM No power The power is on but the player does not work No picture POSSIBLE CAUSE No power plug connection at the AC wall outlet The system cable is not connected No disc is loaded An unplayable disc is loaded The TV is not set to receive signal from the unit The video cable is not connected PROGRESSIVE mode is set CORRECTIVE ACTION Insert the power p...

Page 42: ...wer z ON switch See page E17 Match the FREQUENCY switch position on both sub woofer and rear speaker See page E12 Change the FREQUENCY switch position on both sub woofer and rear speaker See page E12 Use the assistant speaker cable See page E12 Load a playable disc Check the disc logo type color system and region number See page E20 Refer to the instruction manual of your TV The feature or action ...

Page 43: ...c shield 5 1 13 cm diameter Cone type Maximum power handling capacity 110 W peak Nominal impedance 4 Ω General Power requirements AC 120 V 60 Hz Power consumption 76 W Dimensions W x H x D Approx 6 1 x 1 8 x 16 154 x 415 x 407 mm Weight Approx 20 5 lbs 9 3 kg Front Speaker DWM 4500S Unit used magnetic shield 3 1 8 cm diameter Cone type Full range Maximum power handling capacity 100 W peak Nominal ...

Page 44: ...y to the cabinet or cosmetic parts broken or damaged video heads batteries or routine maintenance 3 This warranty does not apply to uncrating setup installation removal of the product for repair or reinstallation of the product after repair 4 This warranty does not apply to repairs or replacements necessitated by any cause beyond the control of SANYO including but not limited to any malfunction de...

Reviews: