


Scanning and sending through email
148
7. Scanning
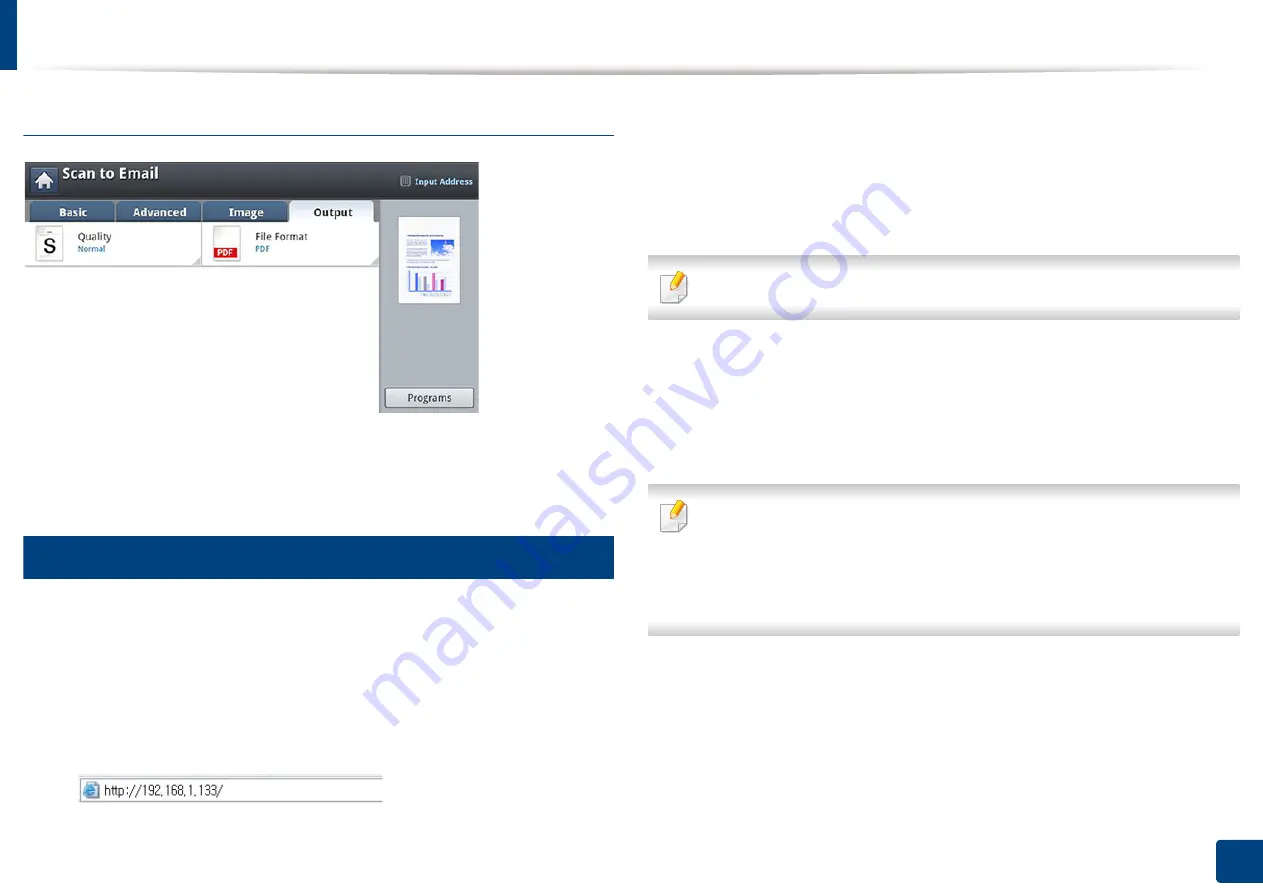
Output tab
•
Quality:
Adjusts the display quality of the scanned output.
•
File Format:
Selects the file format for the file to be sent.
2
Setting up an email account
1
Check whether or not the network cable is connected to the machine. If
not, connect the machine with a standard network cable.
2
Start a web browser such as Internet Explorer, Safari, or Firefox and enter
your machine’s new IP address in the browser window.
For example,
3
Click
Login
on the upper right of the SyncThru™ Web Service website.
4
Type in the
ID
and
Password
.
Use the same login ID, Password as when logging in from the machine
(see "Log-in" on page 238).
If you want to change the password, see "Security tab" on page 266.
5
Select
Settings
>
Network Settings
and
Outgoing Mail Server(SMTP)
.
6
Enter the IP address in dotted decimal notation or as a host name.
7
Select a
Secure Email Connection with SSL/TLS
option.
Based on the option you select, you must enter the port number in step 8.
•
None:
Port 25 is used by default.
•
SSL:
Port 465 is used by default.
•
TLS:
Port 587 is used by default.
8
Enter the server port number, from 1 to 65535.
9
Check the box next to
SMTP Requires Authentication
to require
authentication.
10
Enter the SMTP server login name and password.
Summary of Contents for Multifunction MultiXpress X322 Series
Page 295: ...Redistributing toner 295 14 Maintenance 4 X322x X328x series ...
Page 296: ...Redistributing toner 296 14 Maintenance 5 K325x K330x series ...
Page 298: ...Replacing the toner cartridge 298 14 Maintenance 6 X322x X328x series ...
Page 299: ...Replacing the toner cartridge 299 14 Maintenance 7 K325x K330x series ...
Page 301: ...Replacing the imaging unit 301 14 Maintenance 8 X322x X328x series ...
Page 302: ...Replacing the imaging unit 302 14 Maintenance 9 K325x K330x series ...
Page 303: ...Replacing the imaging unit 303 14 Maintenance ...
Page 305: ...Replacing the waste toner container 305 14 Maintenance 10 X322x X328x series ...
Page 306: ...Replacing the waste toner container 306 14 Maintenance 11 K325x K330x series ...
Page 312: ...Cleaning the machine 312 14 Maintenance X322x X328x series ...
Page 313: ...Cleaning the machine 313 14 Maintenance K325x K330x series ...
Page 315: ...Cleaning the machine 315 14 Maintenance X322x X328x series ...
Page 316: ...Cleaning the machine 316 14 Maintenance ...
Page 317: ...Cleaning the machine 317 14 Maintenance K325x K330x series ...
Page 318: ...Cleaning the machine 318 14 Maintenance ...
Page 320: ...Cleaning the machine 320 14 Maintenance K325x K330x series ...
Page 324: ...Cleaning the machine 324 14 Maintenance X322x X328x series ...
Page 325: ...Cleaning the machine 325 14 Maintenance ...
Page 326: ...Cleaning the machine 326 14 Maintenance K325x K330x series ...
Page 327: ...Cleaning the machine 327 14 Maintenance ...
Page 339: ...Clearing paper jams 339 15 Troubleshooting 3 In the multi purpose tray ...
Page 341: ...Clearing paper jams 341 15 Troubleshooting Jam feed 1 Jam feed 2 ...
Page 342: ...Clearing paper jams 342 15 Troubleshooting Jam feed 3 Jam feed 4 Optional device only ...
Page 357: ...Clearing paper jams 357 15 Troubleshooting 8 In the optional finisher area ...