


Machine setup
253
12. Menu Overview and Advanced Features
1
Press
Machine Setup
>
Application Settings
>
Address Book
from the
display screen.
2
Select the appropriate option.
3
Press (
Back
) to the previous screen.
Tray settings
This feature allows you to check the current tray settings and change the
settings if necessary. There are many options available for setting the tray and
paper. Make the best use of the options to fit your needs for trays and paper.
You can also use this feature from the SyncThru™ Web Service. Open the
Web browser from your networked computer and type the IP address of
your machine. When SyncThru™ Web Service opens, click
Settings
tab >
Machine Settings
>
System
>
Input Tray
.
1
Press
Machine Setup
>
Tray Settings
from the display screen.
2
Check the current tray settings. If you do not need to change the setting,
go to step 5.
3
Press
Settings
to change the current settings.
4
Press the option you want to change.
If some options are grayed out, it means that the grayed-out option is not
supported for your machine or optional parts needed to use the option are
not installed.
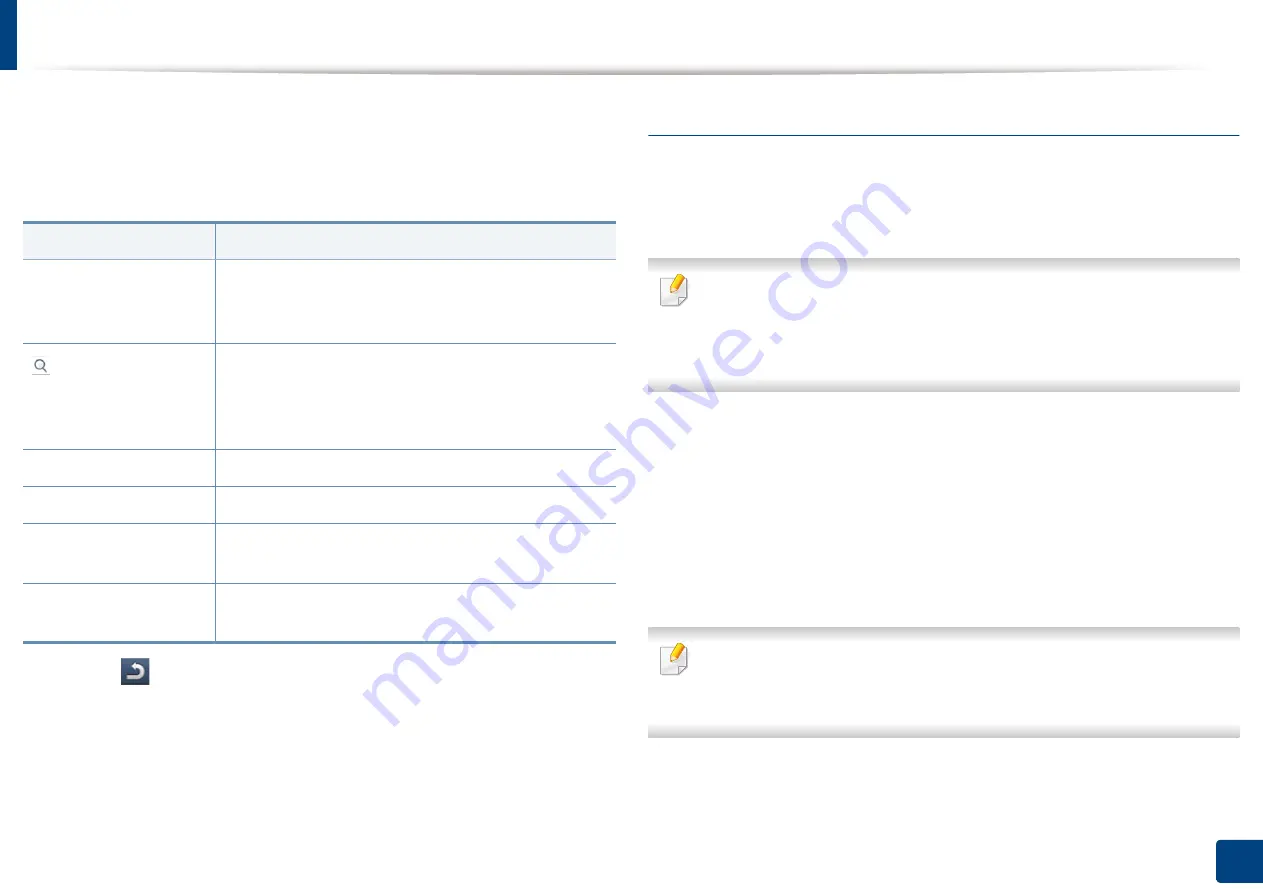
Option
Description
All
Press this button and select your search. The
categories are:
All
,
Individual
,
Group
,
Favorite
and
.
Enter the keyword (eg., the first letter of the name for
which you are searching) in the blank field and press
this button. The machine starts to search for the
address.
Select All
Press checkbox to select all the addresses in the list.
New
Press this button to create a new address.
Edit
Select the address you want to edit and press this
button.
Delete
Select the address you want to delete and press this
button.
Summary of Contents for Multifunction MultiXpress K325 Series
Page 295: ...Redistributing toner 295 14 Maintenance 4 X322x X328x series ...
Page 296: ...Redistributing toner 296 14 Maintenance 5 K325x K330x series ...
Page 298: ...Replacing the toner cartridge 298 14 Maintenance 6 X322x X328x series ...
Page 299: ...Replacing the toner cartridge 299 14 Maintenance 7 K325x K330x series ...
Page 301: ...Replacing the imaging unit 301 14 Maintenance 8 X322x X328x series ...
Page 302: ...Replacing the imaging unit 302 14 Maintenance 9 K325x K330x series ...
Page 303: ...Replacing the imaging unit 303 14 Maintenance ...
Page 305: ...Replacing the waste toner container 305 14 Maintenance 10 X322x X328x series ...
Page 306: ...Replacing the waste toner container 306 14 Maintenance 11 K325x K330x series ...
Page 312: ...Cleaning the machine 312 14 Maintenance X322x X328x series ...
Page 313: ...Cleaning the machine 313 14 Maintenance K325x K330x series ...
Page 315: ...Cleaning the machine 315 14 Maintenance X322x X328x series ...
Page 316: ...Cleaning the machine 316 14 Maintenance ...
Page 317: ...Cleaning the machine 317 14 Maintenance K325x K330x series ...
Page 318: ...Cleaning the machine 318 14 Maintenance ...
Page 320: ...Cleaning the machine 320 14 Maintenance K325x K330x series ...
Page 324: ...Cleaning the machine 324 14 Maintenance X322x X328x series ...
Page 325: ...Cleaning the machine 325 14 Maintenance ...
Page 326: ...Cleaning the machine 326 14 Maintenance K325x K330x series ...
Page 327: ...Cleaning the machine 327 14 Maintenance ...
Page 339: ...Clearing paper jams 339 15 Troubleshooting 3 In the multi purpose tray ...
Page 341: ...Clearing paper jams 341 15 Troubleshooting Jam feed 1 Jam feed 2 ...
Page 342: ...Clearing paper jams 342 15 Troubleshooting Jam feed 3 Jam feed 4 Optional device only ...
Page 357: ...Clearing paper jams 357 15 Troubleshooting 8 In the optional finisher area ...


