


177
8. Faxing (Optional)
Sending a fax
This part explains how to send a fax and the special methods of transmission.
When you place the originals, you can use either the RADF or the scanner
glass. If the originals are placed on both the RADF and the scanner glass, the
machine will read the originals on the RADF first, because it has higher
priority in scanning.
7
Setting the fax header
In some countries, you are required by law to indicate your fax number on any
fax you send.
1
Press
Machine Setup
>
Application Settings
>
Fax Settings
>
Machine ID & Fax No.
from the display screen.
2
Press a fax line if your machine has multiple fax lines.
3
Press the
ID Name
input area. The pop-up keyboard appears.
Enter your name or the company name. Press
OK
.
4
Press the
Fax Number
input area.
Enter your fax number using the numeric keypad on the control panel.
5
Press
OK
to save the information.
8
Sending a fax
1
Place the originals face up in the RADF or place a single original face
down on the scanner glass and close the RADF (see "Loading originals"
on page 72).
This machine automatically reduces the original document to fit the paper
size of the recipient’s fax. For example, the original document size is A5-
sized paper and the paper loaded on recipient’s fax is A4-sized paper, the
original paper get reduced to be fit to A4-sized paper.
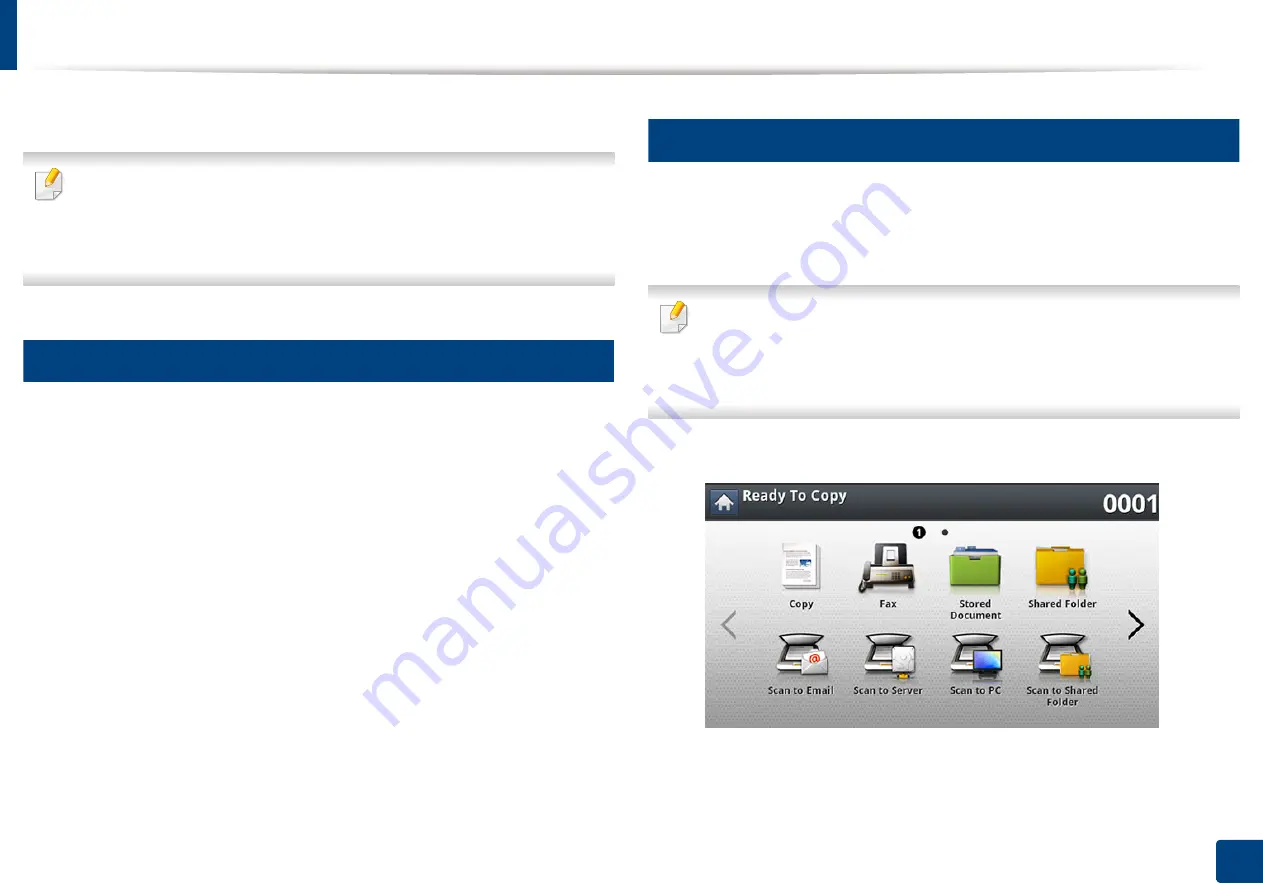
2
Press
Fax
from the display screen.
3
Adjust the document settings in the
Advanced
or
Image
tab (see
Summary of Contents for Multifunction MultiXpress K325 Series
Page 295: ...Redistributing toner 295 14 Maintenance 4 X322x X328x series ...
Page 296: ...Redistributing toner 296 14 Maintenance 5 K325x K330x series ...
Page 298: ...Replacing the toner cartridge 298 14 Maintenance 6 X322x X328x series ...
Page 299: ...Replacing the toner cartridge 299 14 Maintenance 7 K325x K330x series ...
Page 301: ...Replacing the imaging unit 301 14 Maintenance 8 X322x X328x series ...
Page 302: ...Replacing the imaging unit 302 14 Maintenance 9 K325x K330x series ...
Page 303: ...Replacing the imaging unit 303 14 Maintenance ...
Page 305: ...Replacing the waste toner container 305 14 Maintenance 10 X322x X328x series ...
Page 306: ...Replacing the waste toner container 306 14 Maintenance 11 K325x K330x series ...
Page 312: ...Cleaning the machine 312 14 Maintenance X322x X328x series ...
Page 313: ...Cleaning the machine 313 14 Maintenance K325x K330x series ...
Page 315: ...Cleaning the machine 315 14 Maintenance X322x X328x series ...
Page 316: ...Cleaning the machine 316 14 Maintenance ...
Page 317: ...Cleaning the machine 317 14 Maintenance K325x K330x series ...
Page 318: ...Cleaning the machine 318 14 Maintenance ...
Page 320: ...Cleaning the machine 320 14 Maintenance K325x K330x series ...
Page 324: ...Cleaning the machine 324 14 Maintenance X322x X328x series ...
Page 325: ...Cleaning the machine 325 14 Maintenance ...
Page 326: ...Cleaning the machine 326 14 Maintenance K325x K330x series ...
Page 327: ...Cleaning the machine 327 14 Maintenance ...
Page 339: ...Clearing paper jams 339 15 Troubleshooting 3 In the multi purpose tray ...
Page 341: ...Clearing paper jams 341 15 Troubleshooting Jam feed 1 Jam feed 2 ...
Page 342: ...Clearing paper jams 342 15 Troubleshooting Jam feed 3 Jam feed 4 Optional device only ...
Page 357: ...Clearing paper jams 357 15 Troubleshooting 8 In the optional finisher area ...


