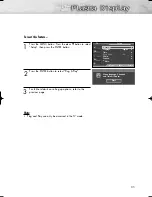
3
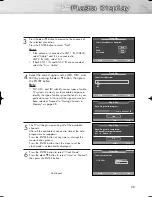
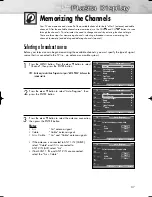
Press the
▲
or
▼
button to memorize the channels of
the selected connection.
Press the ENTER button to select “Start”.
Notes
• If the antenna is connected to ANT 1 IN (CABLE),
select “Cable” and if it is connected to
ANT 2 IN (AIR), select “Air”.
• If both ANT 1 IN and ANT 2 IN are connected,
select the “Air + Cable”.
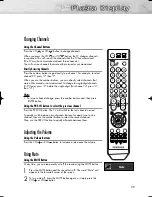
4
Select the correct signal source (STD, HRC, and
IRC) by pressing the
▲
or
▼
button, then press
the ENTER button
.
Note
• STD, HRC, and IRC identify various types of cable
TV systems. Contact your local cable company to
identify the type of cable system that exists in your
particular area. At this point the signal source has
been selected. Proceed to “Storing Channels in
Memory” on page 38.
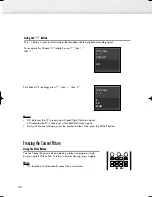
5
The TV will begin memorizing all of the available
channels.
After all the available channels are stored, the Auto
program menu reappears.
Press the ENTER button at any time to interrupt the
memorization process.
Press the ENTER button, then the menu to set the
clock mode is automatically displayed.
6
Press the ENTER button to select “Clock Mode”.
Press the
▲
or
▼
button to select “Auto” or “Manual”,
then press the ENTER button.
Continued...
33
Select the antennas to memorize.
Air
Cable
Air + Cable
Plug & Play
Enter
Skip
Move
Start
Start
Start
Select the cable system.
STD
HRC
IRC
Plug & Play
Enter
Skip
Move
Plug & Play
Enter
Skip
Auto Program in progress.
Cable Channel 67
Stop
Plug & Play
Enter
Skip
Auto Program is completed.
14 Channels were memorized.
Air : 9 , Cable : 5.
OK
Select the clock mode.
Clock Mode
:
English
Plug & Play
Enter
Skip
Manual
Auto
Move
BN68-00991B-01Eng(032~051) 2/17/06 1:57 PM Page 33
Summary of Contents for HP-S4253
Page 6: ......
Page 18: ......
Page 50: ......
Page 96: ......
Page 102: ......
Page 132: ......
Page 138: ...138 SIDE VIEW REAR VIEW...
Page 140: ...140 SIDE VIEW REAR VIEW...
Page 141: ...This page is intentionally left blank...
Page 142: ...This page is intentionally left blank...

